
I'm excited to share this project for two reasons: first, it's really simple and the results are adorable! Second, I get to debut a few brand new products in the shop.

New
retro lawn chair rubber stamps from my Patio Party collection! I have three different designs available - they're the perfect way to jazz up greeting card envelopes, letters, and all sorts of other paper products, like handmade gift tags!
Here's what you'll need:

- Rubber Stamps - you can find these three in my shop!
- Pigment ink pad
- Watercolor paper
- Watercolors. I've had this Windsor Newton set since college and I love it
- Paint brush
- Tag punch
- Hole punc
- Baker's twine, embroidery thread, or yarn

Start with the watercolors. Dip the brush in water and pick up some paint. Dab it onto the paper and then try blending the edges with more water. Experiment mixing and blending colors together. Small areas of color are all you need, so have fun with it! Let dry.

Time for stamping! Place the stamp rubber side up on the table and tap the ink pad over it. When the design is saturated, stamp on the watercolor paper. Stamp up the whole sheet of paper - experiment with placement and see what you like best. My favorites had some white space underneath the image. Let dry. (If you'd like to try a more precise option, try stamping the designs first and then adding color to the open areas afterwards.)
Center the stamped design (save some space for the hole at the top) and punch! Punch 'em all out. Add the holes to the top, and tie up with twine.

How cute! I love the mix of colors. I used blues, greens, and yellows, but these could easily be customized in any color to match your favorite gift wrap. Make a bunch and give sets as gifts.


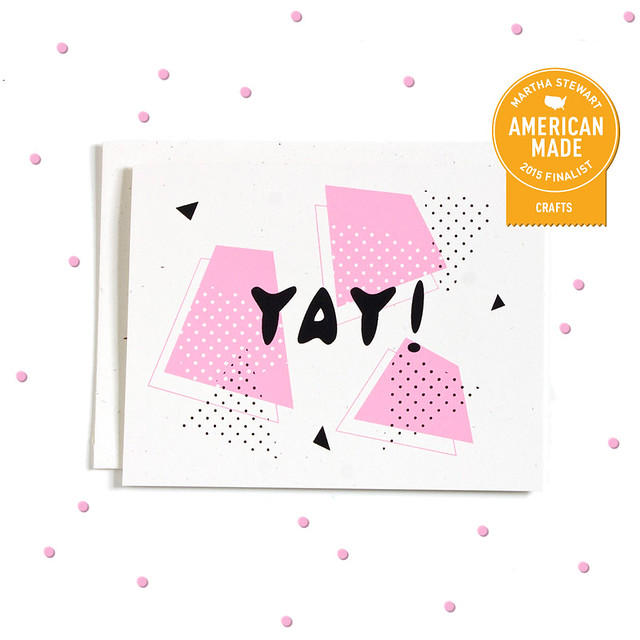 Just popping in to share some exciting news - Vitamini is a finalist in the Martha Stewart American Made Awards! Voting just opened up last week and it would mean the world to me if you'd click a vote or two (or 6!) my way. Click here to read a bit about my story and cast your votes!