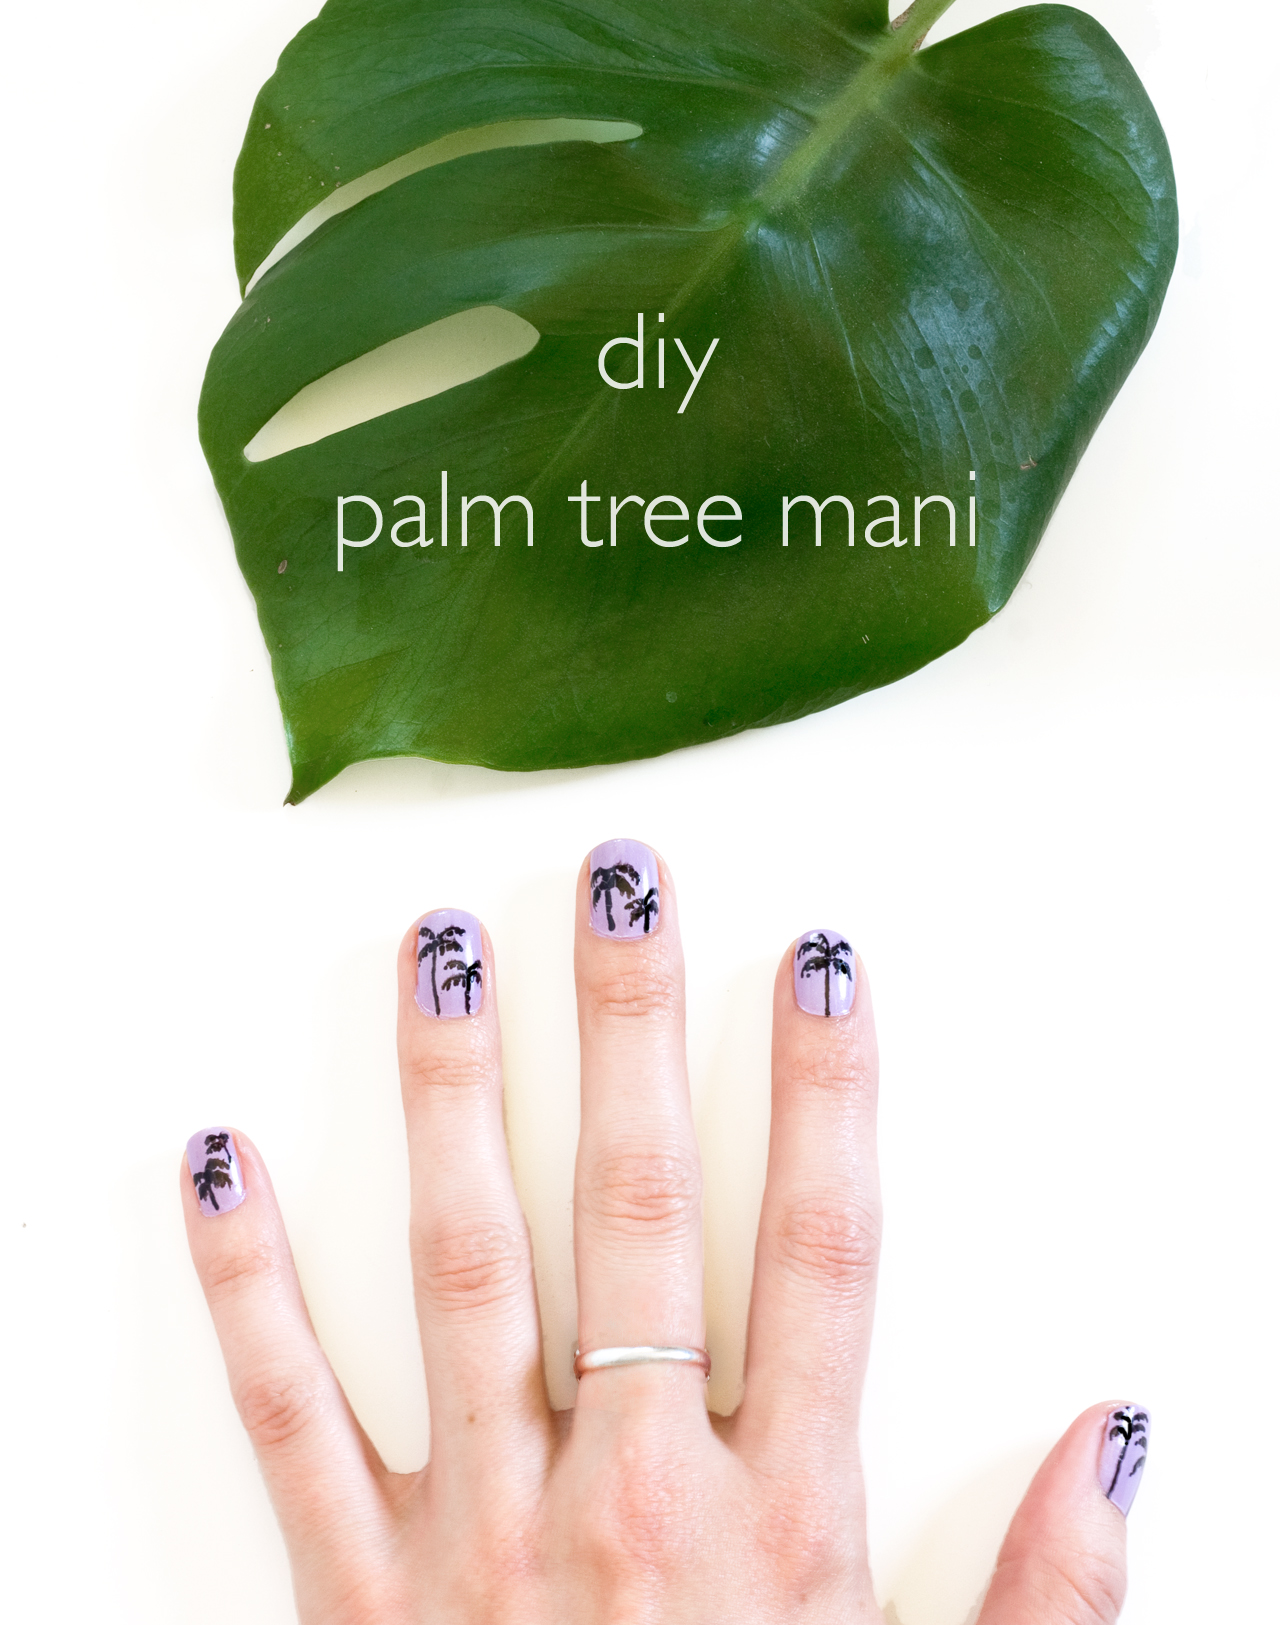
Hey guys! I've got a good one for you today, that is if you're into nail art and tropical prints! And who isn't, amirite? Special bonus, this palm tree mani diy is actually pretty easy to do yourself - no need to pay a premium at the salon. And you don't need any special painting skills - if you can write your name with a pen I bet you can draw some palm trees that look amazing on your nails. So let's get to it!
Here's what you'll need:
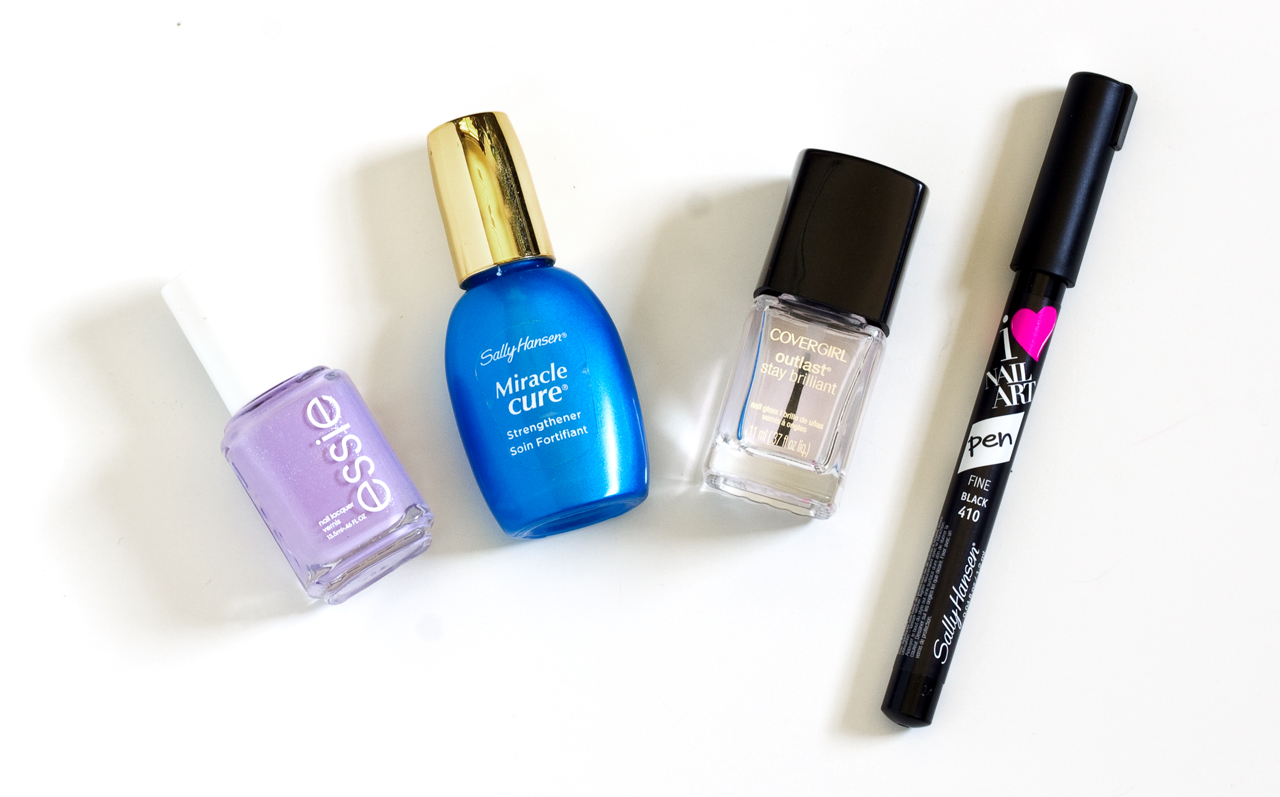
- Base coat. I use Sally Hansen Miracle Cure
- Nail color. I used Essie Full Steam Ahead
- Clear top coat
- Sally Hansen I <3 Nail Art pen in Black, Fine (I found mine at Target for about $5)
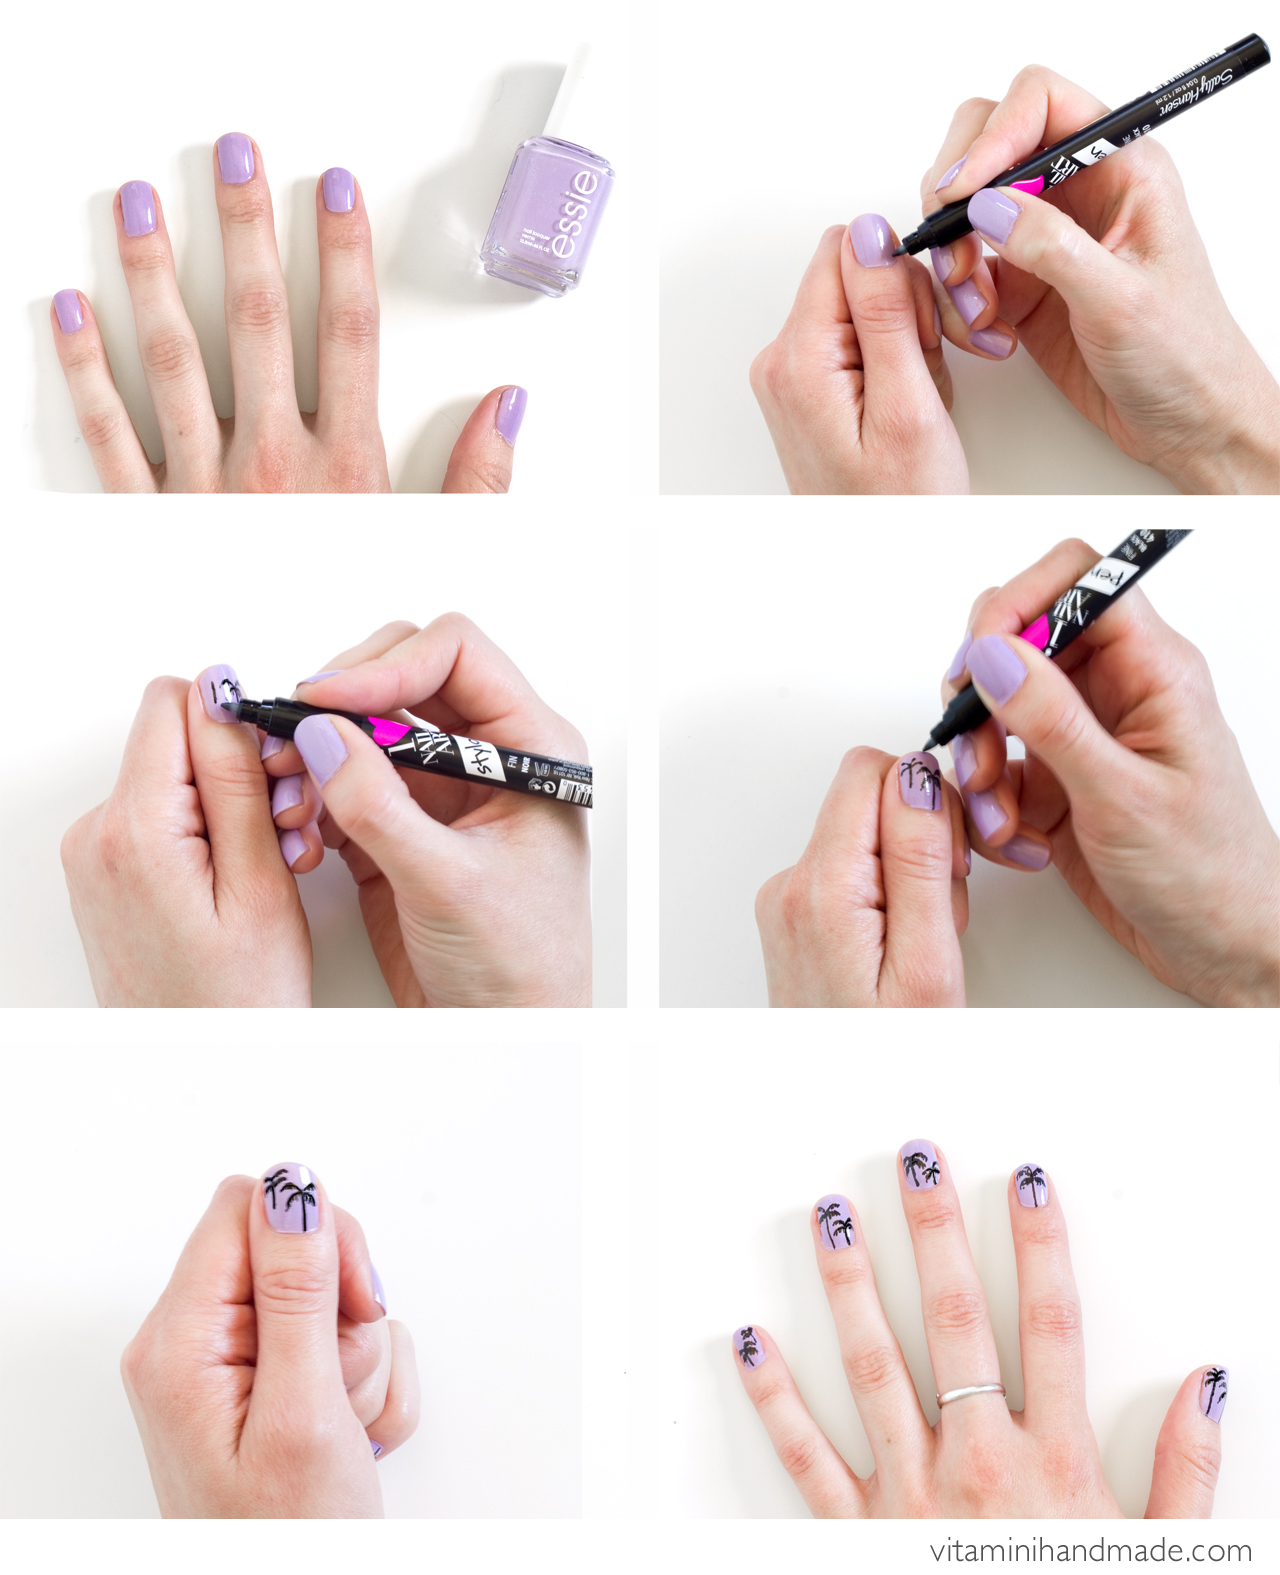
Start with clean, painted nails: 1 coat of the base coat + 2 coats of nail color, and let dry thoroughly. Shake up the pen according to the directions and get it flowing on a scrap of paper. For one palm tree: draw one long line for the trunk. Add 4-5 small arcs coming out of the top of the tree. Draw small vertical lines under each arc to make the palm fronds. Repeat on all or just a few of your nails. Finish with a clear top coat and let the compliments start rolling in!!
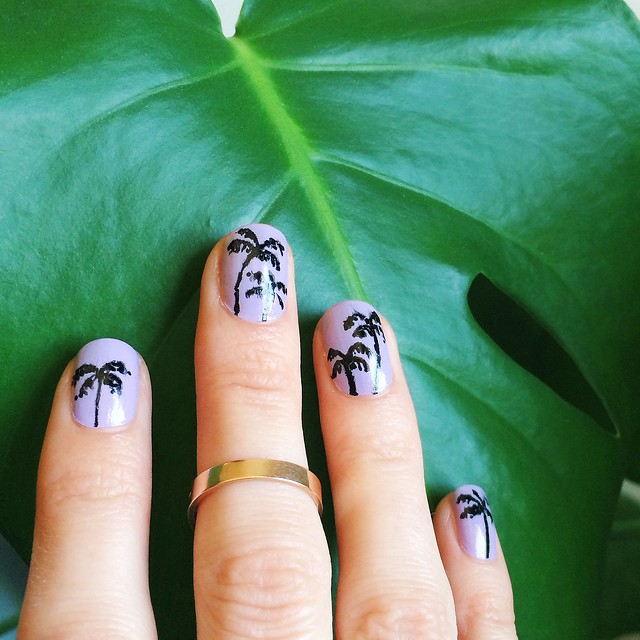
These trees are painterly and somewhat free-form, so don't worry about trying to be perfect! I painted palms on both of my hands and didn't have any trouble painting them on with my non-dominant hand. Practice a bit on a piece of paper, or have a friend help you out if you're having trouble.
I hope you'll give this mani a try! This nail polish pen is seriously a game-changer! I can't wait to try some other designs.
P.S. Love nail art? Check out my gold leaf and heart manicures from the archives!



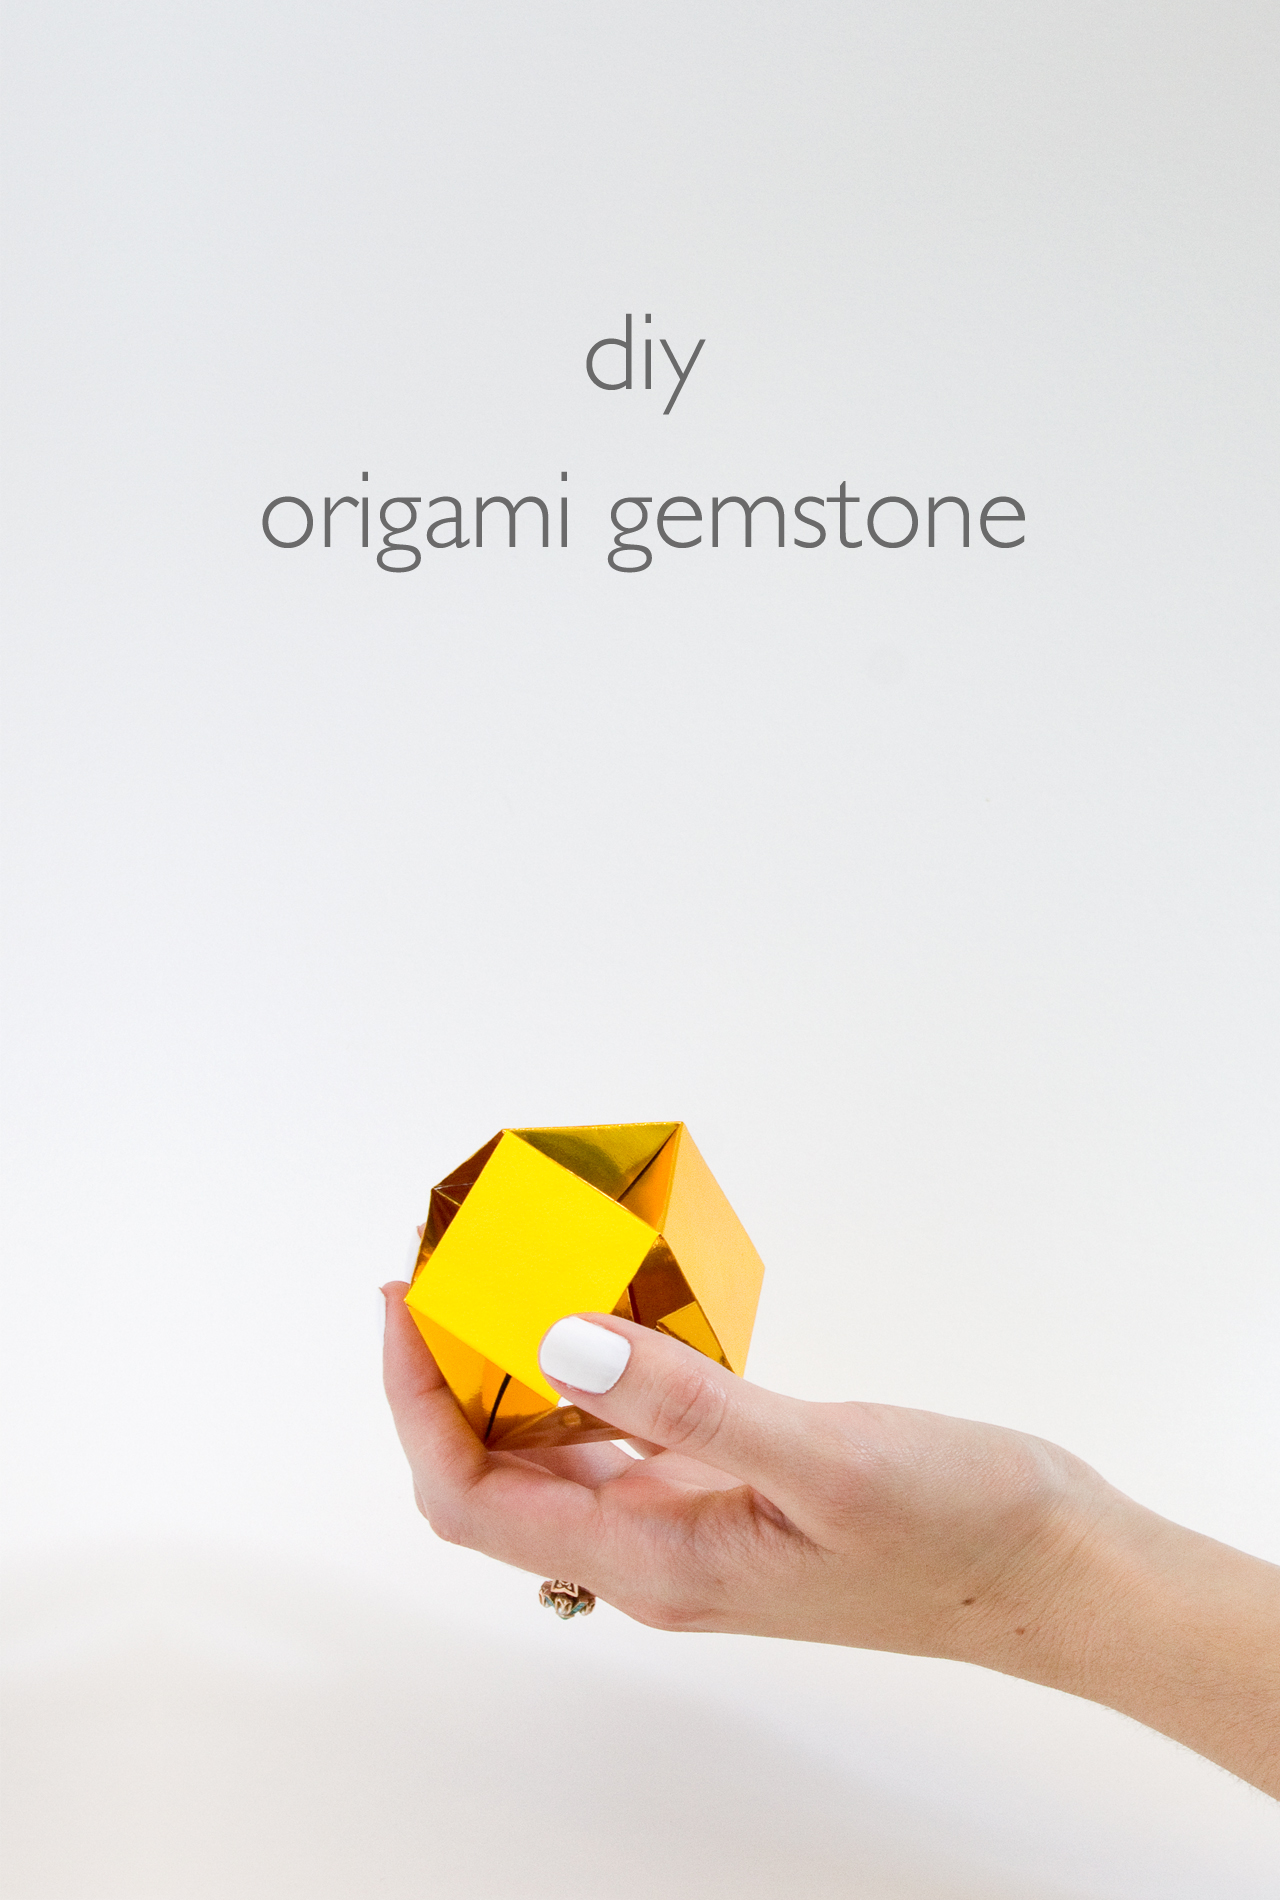
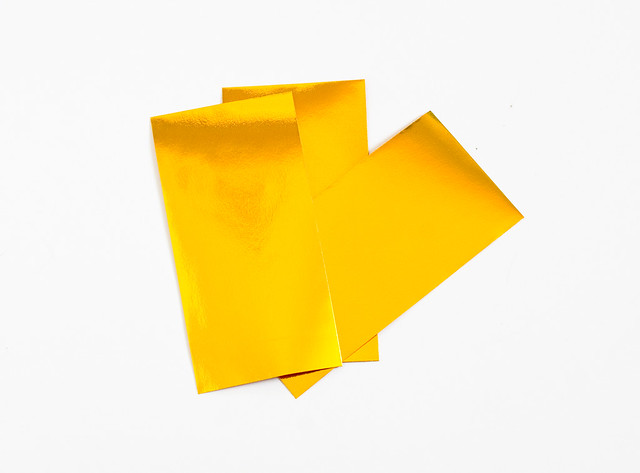
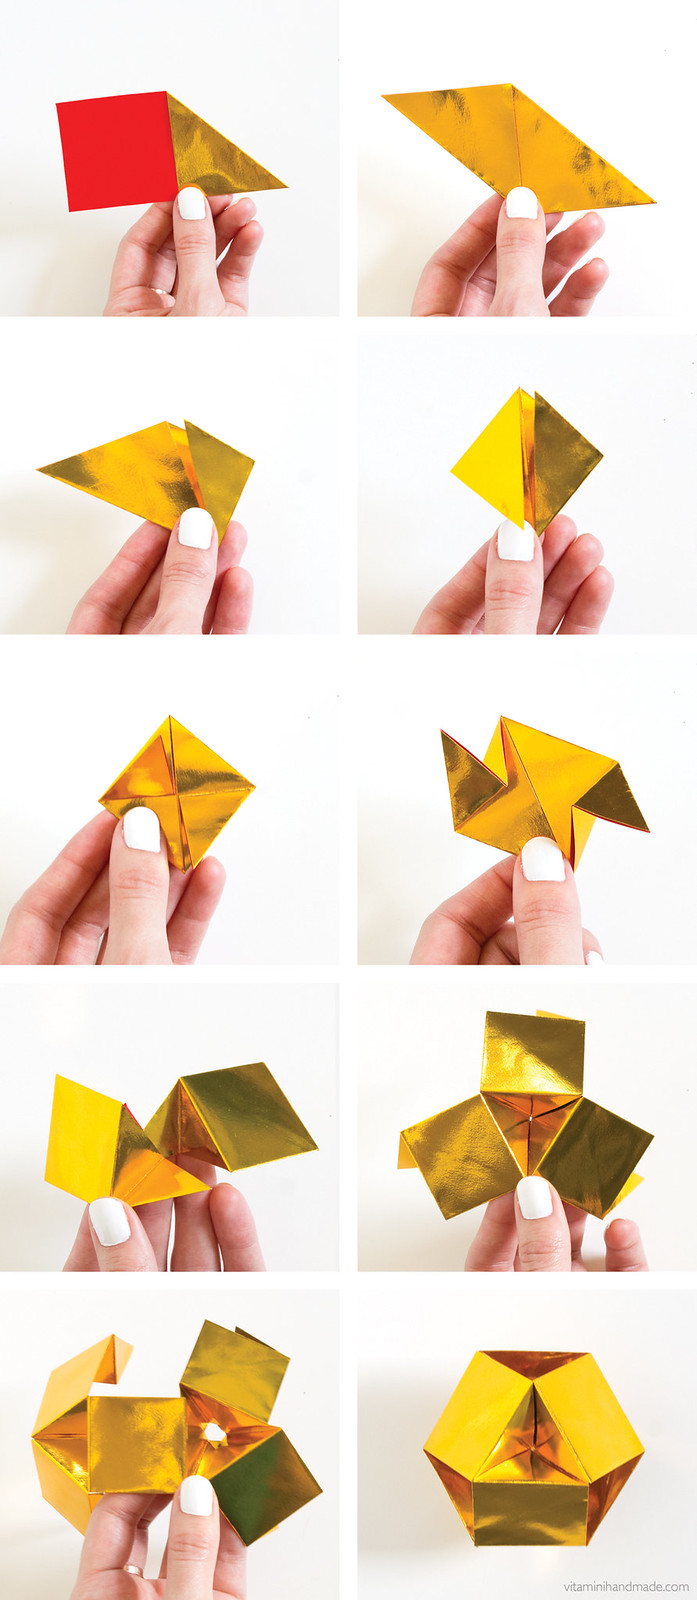 So let's get to it! Starting with the paper face down on the table, fold the upper right corner down to the center point of the rectangle. Repeat on the left. Fold the lower right flap up to the center point, repeat on the left. Fold each of these free flaps down to the center. Gently spread out the folds. Repeat these steps with the 5 other sheets.