5

Friday Finds and a Redesign!

Friday, January 30, 2015

New Digs Card by Vitamini

Did you notice? The blog has a brand new look! I've been working on spiffing things up around here: bigger images, a better organized sidebar, updated about page. I hope you like the improvements!

In the meantime, here are a few noteworthy things from around the web:
  • I'm teaching a screen printing workshop at Craftcation this Spring! You can still get in on early bird registration. Find out more here.
  • I started weaving last weekend and ugh, I'm hooked! So fun! I'm using this loom and can't recommend it enough. I'll share my results soon! 
  • Make these cute pins for the love bugs in your life. 
  • These quilted coasters are adorable and a great way to use up those fabric scraps that you can't bear to toss!
  • Tie your scarf into a bow! I can't wait to try this.
  • "Enchanting Macro Photos of Wet Ladybugs" - need I say more?
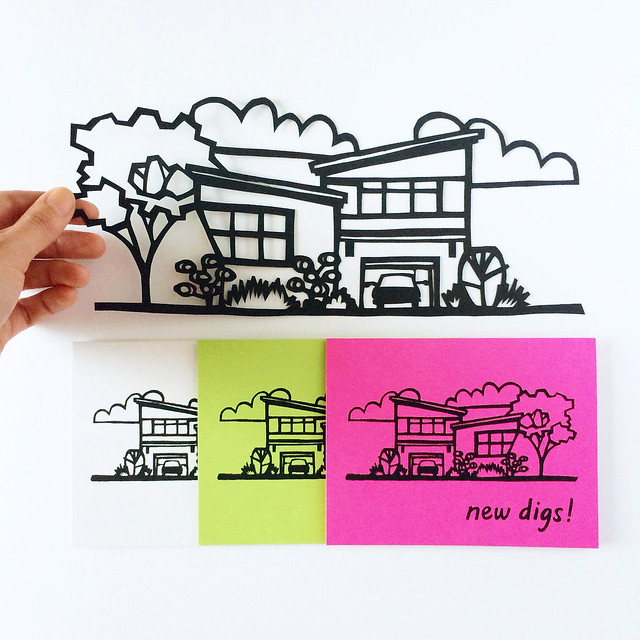
  • Photo above is one of my retro ranch paper cut designs with my New Digs cards, available in the shop.
  •  
Have a creative weekend! I can't believe it's February already!

10

DIY Heart Manicure

Tuesday, January 27, 2015

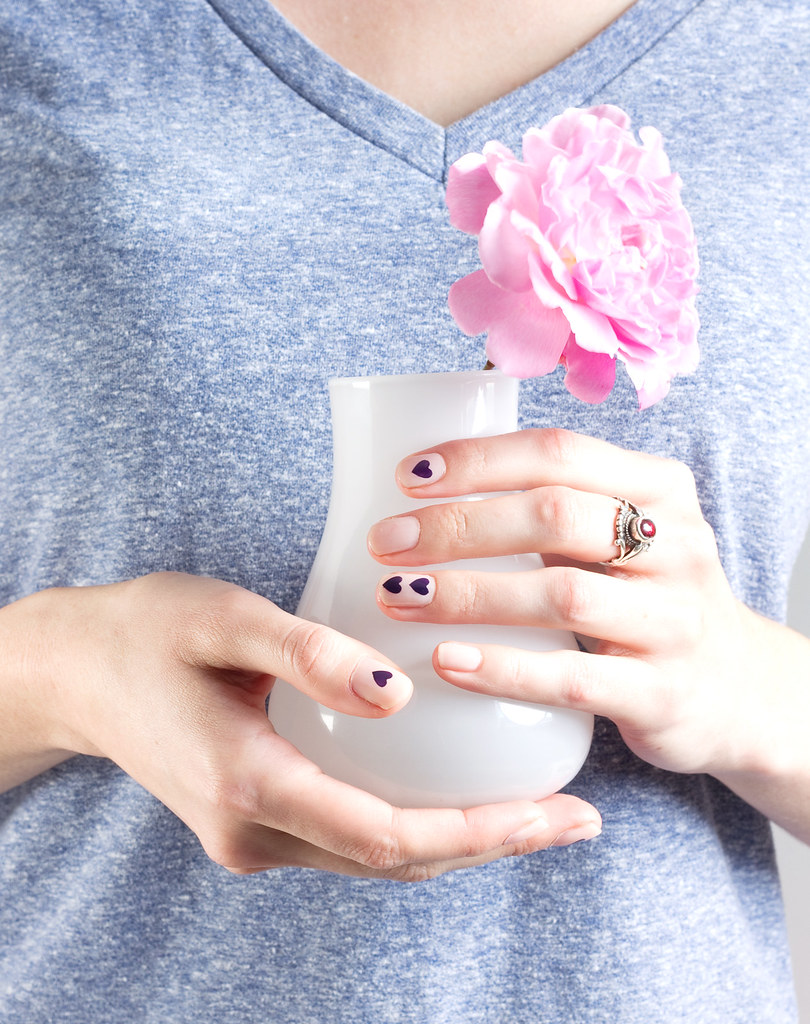
DIY Heart Manicure | www.vitaminihandmade.com

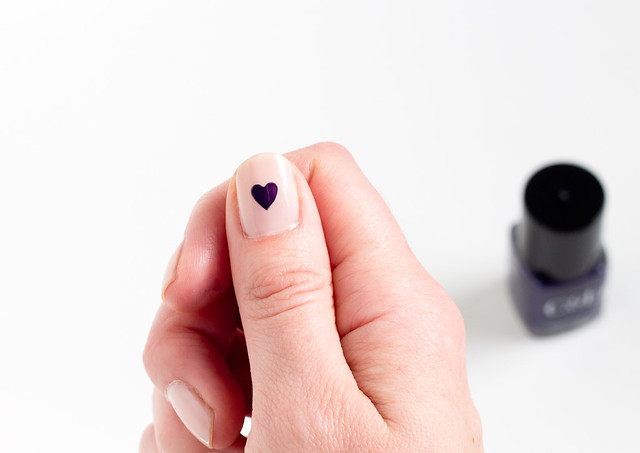
I love painting my nails myself, so I'm always looking for easy ways to make my home manicures a little more special. What's more special than hearts? Here's a super easy way to customize a plain manicure for Valentine's Day, or any other day when you want to some cute little hearts on your nails.
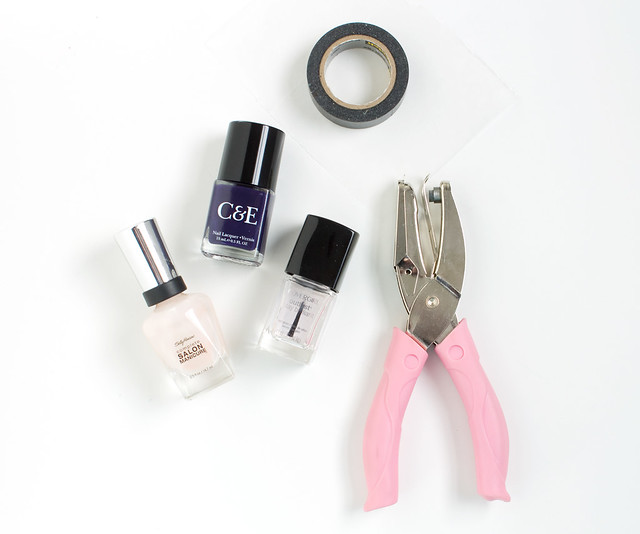
Here's what you'll need:
DIY Heart Manicure | www.vitaminihandmade.com

  • Light colored base coat of nail polish. I used Sally Hansen Shell We Dance
  • Contrasting accent color. I used this deep purple/almost black from Crabtree and Evelyn called Eggplant
  • Clear top coat
  • Washi tape
  • Wax paper
  • Heart hole punch

Start with 2 coats of the base color and let dry.

DIY Heart Manicure | www.vitaminihandmade.com

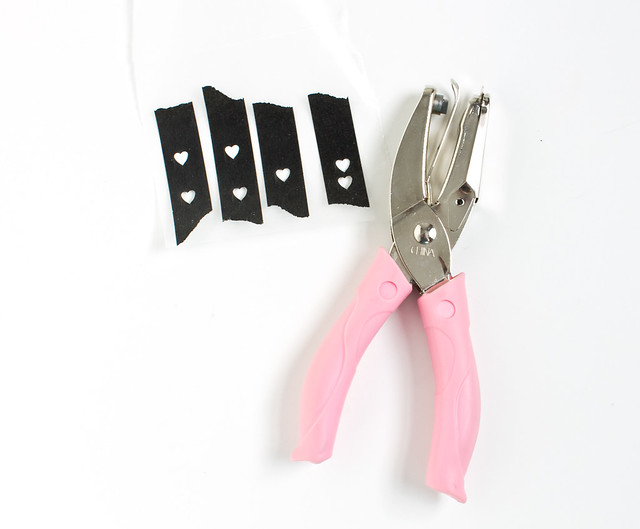
Lay some strips of washi tape onto a small piece of wax paper. Punch out one or two hearts per piece of tape. Here's a little trick if your punch is getting stuck on the paper: double a piece of scrap paper and lay it under the tape/wax paper while you punch to get cleaner edges.

DIY Heart Manicure | www.vitaminihandmade.com

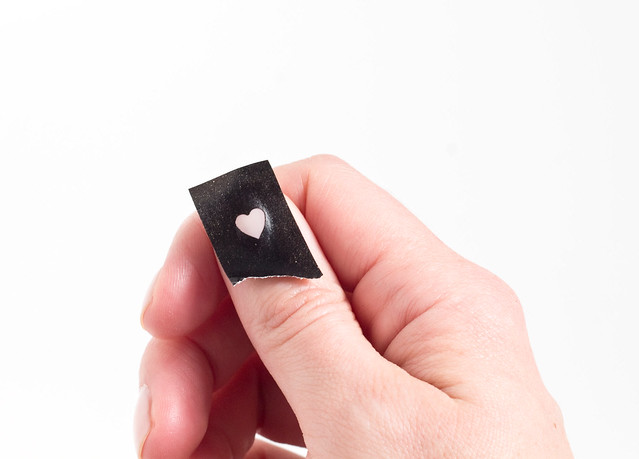
Pull the tape up from the wax paper and center the heart over the nail. Make sure the edges of the heart are stuck down. Paint over the heart area with the accent polish and then carefully pull up the tape while it's still wet.

DIY Heart Manicure | www.vitaminihandmade.com DIY Heart Manicure | www.vitaminihandmade.com

Continue on the other nails. Finish off with a coat or two of clear top coat once the hearts have dried.

DIY Heart Manicure | www.vitaminihandmade.com

Enjoy your new nails! Let's put hearts on everything, mmkay?


5

New Greeting Card Grab Bags!

Friday, January 23, 2015

Greeting Card Grab Bag by Vitamini

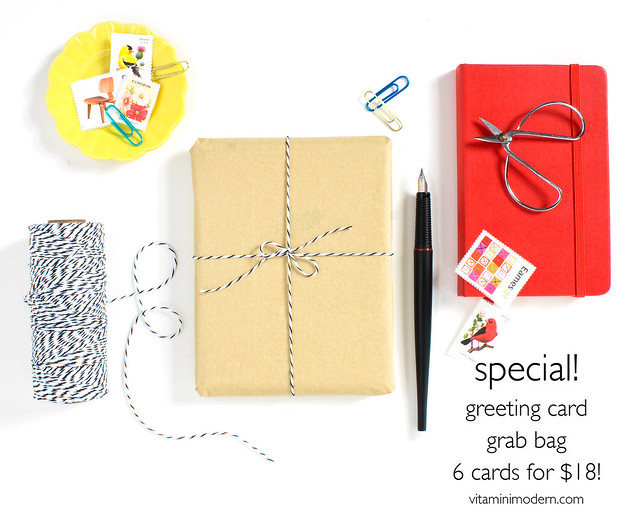
Did you know that today is National Handwriting Day? What better way to show off the sweet cursive that you learned in 3rd grade than with a hand-written note? It comes at the perfect time, too, because I just listed a special greeting card deal in the shop to celebrate Vitamini's 7th (!!) birthday!

Get 6 hand screen printed cards for just $18. That's just $3 per card! Seriously, you can't do much better than that, even at Target. Every grab bag will come with a mix of designs. I get to choose 'em, but don't worry, I'll pick you some good ones.

Have a great weekend! 

167

DIY Easy Origami Candy Boxes

Wednesday, January 21, 2015

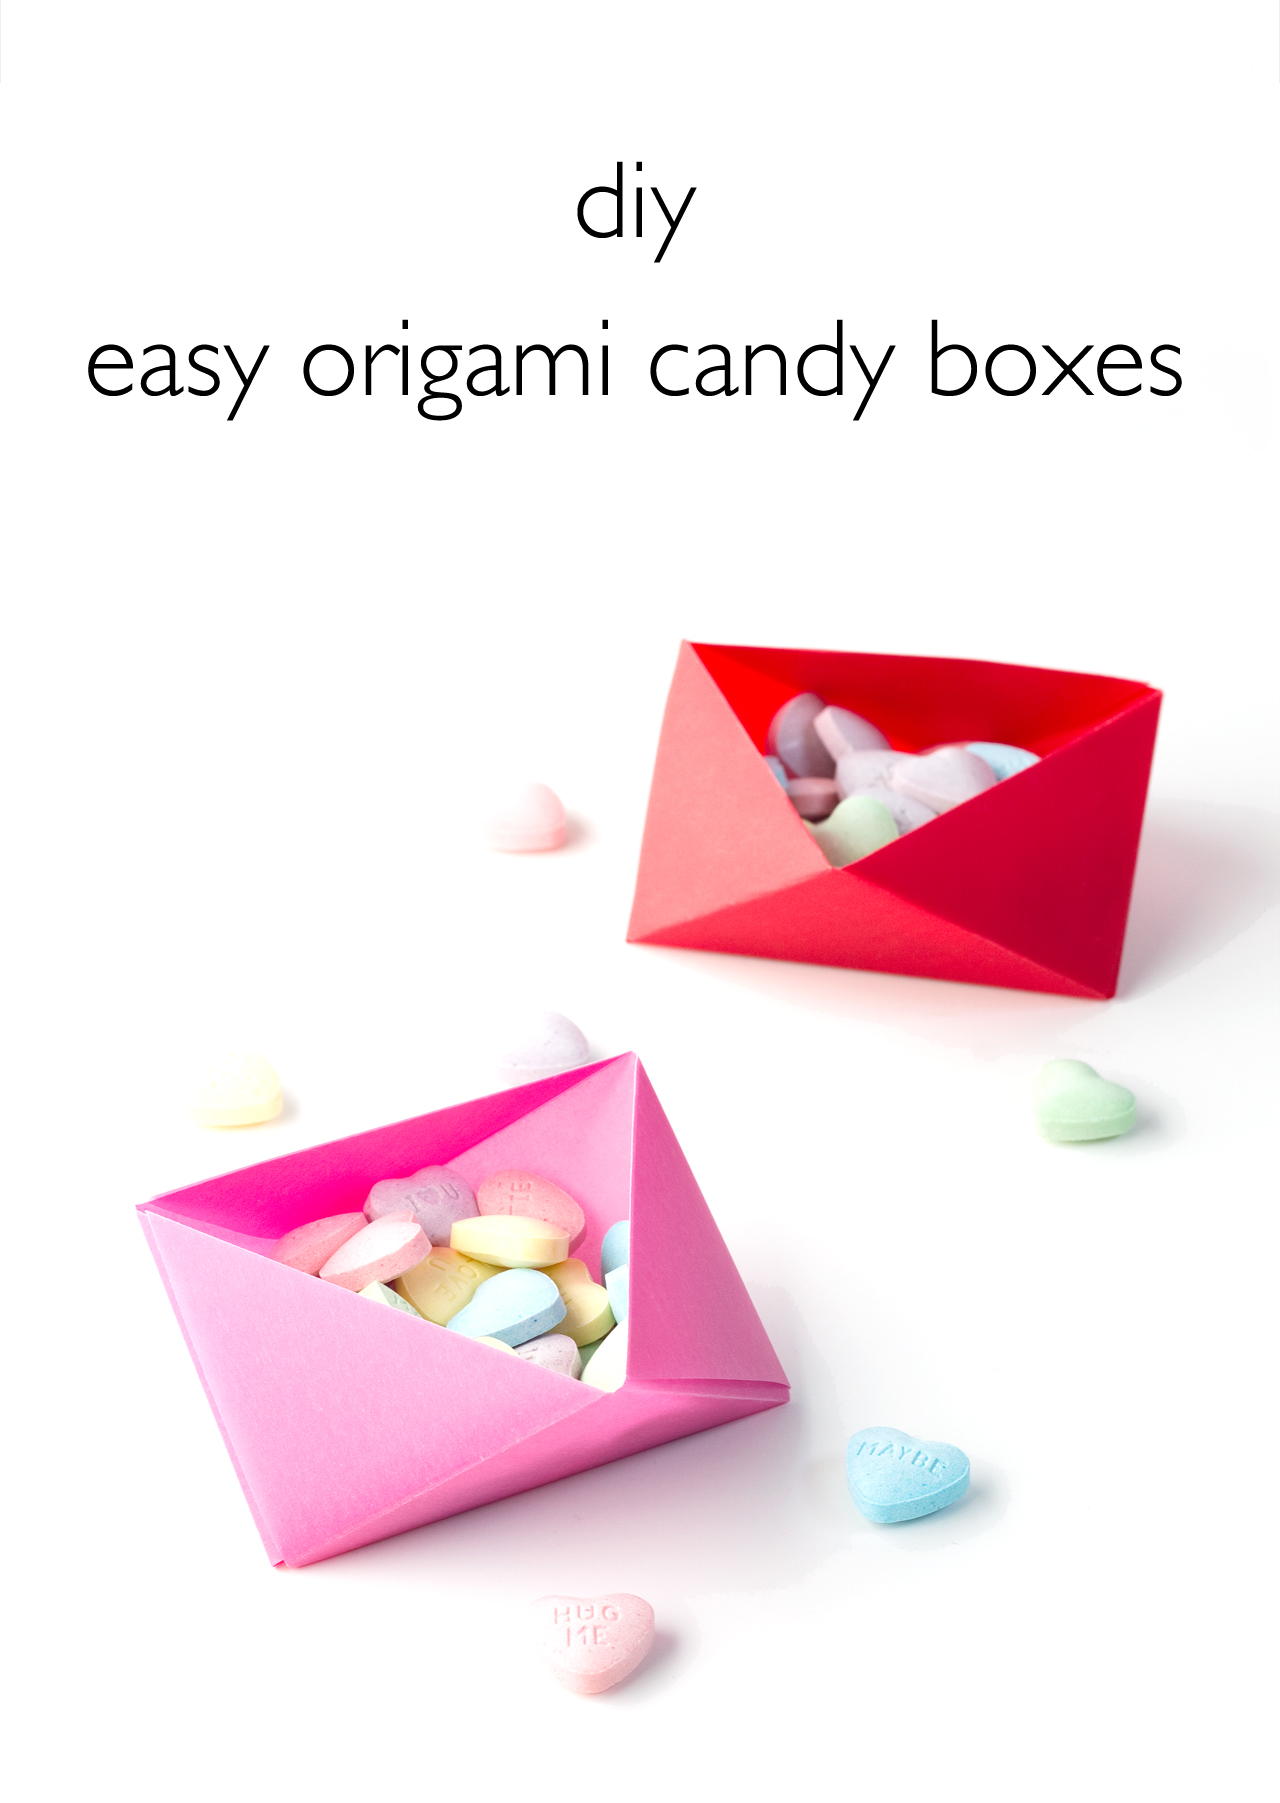
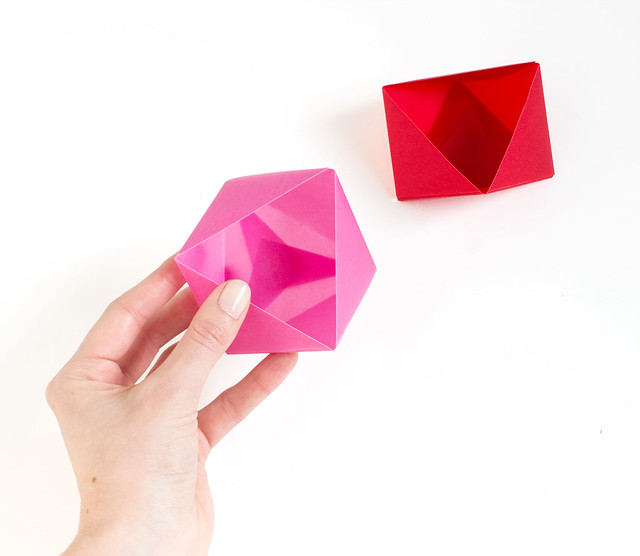
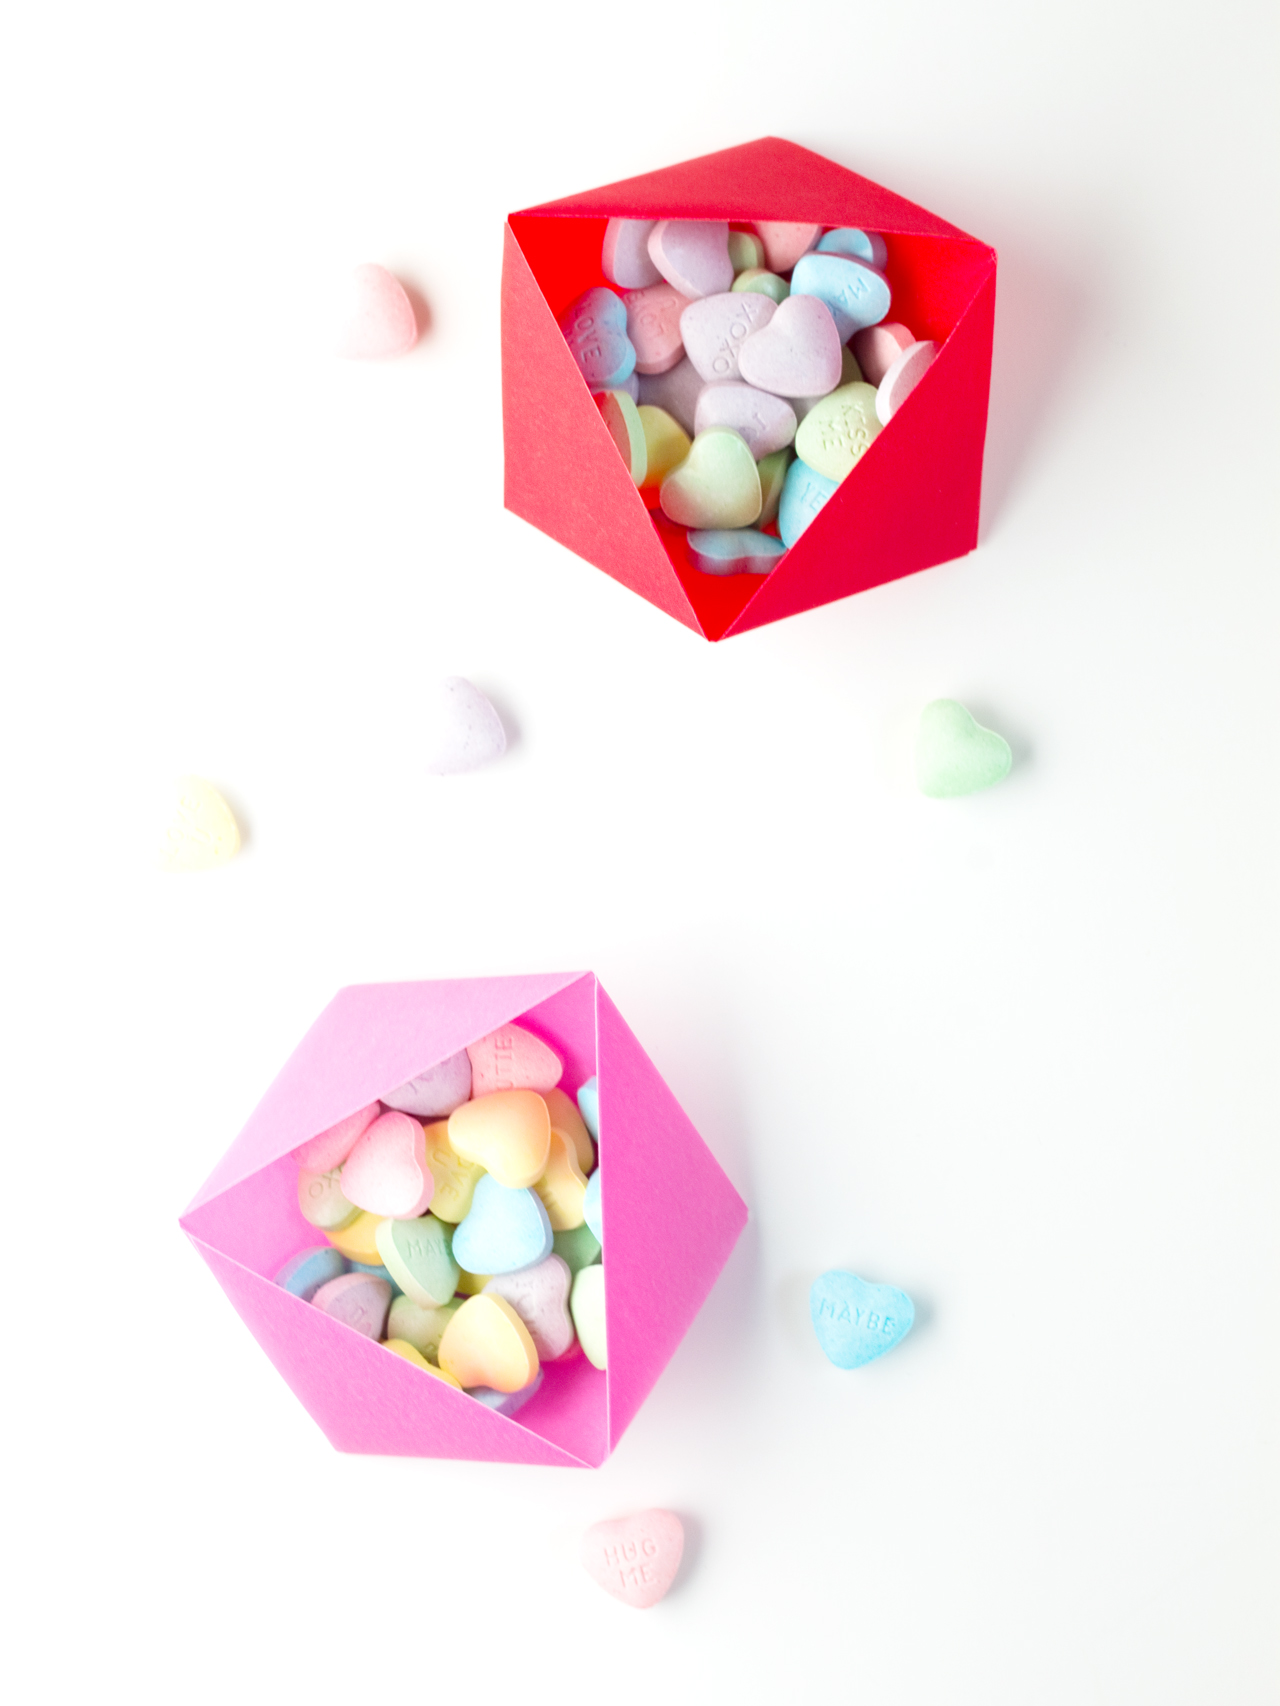
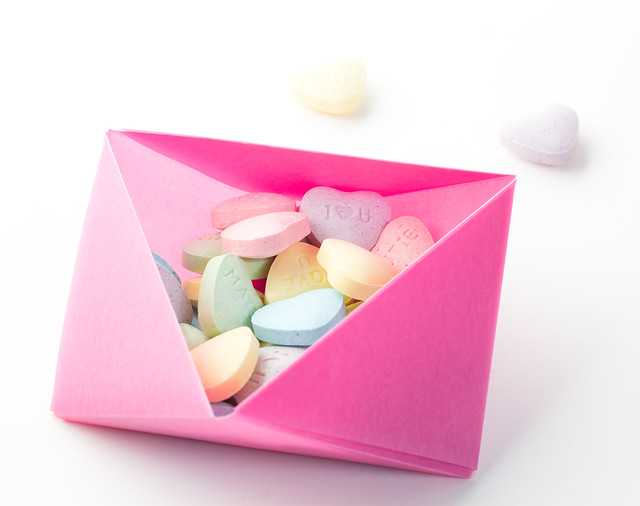
DIY Easy Origami Candy Boxes. Click through for the full tutorial! | www.vitaminihandmade.com It's heart-shaped candy season! Learn how to make these cool faceted origami boxes to hold your treats for Valentine's Day. They're so easy to make, you'll be able to whip up a bunch of them in just a few minutes. I used pink and red vellum, but they would look just as great made with patterned origami papers.
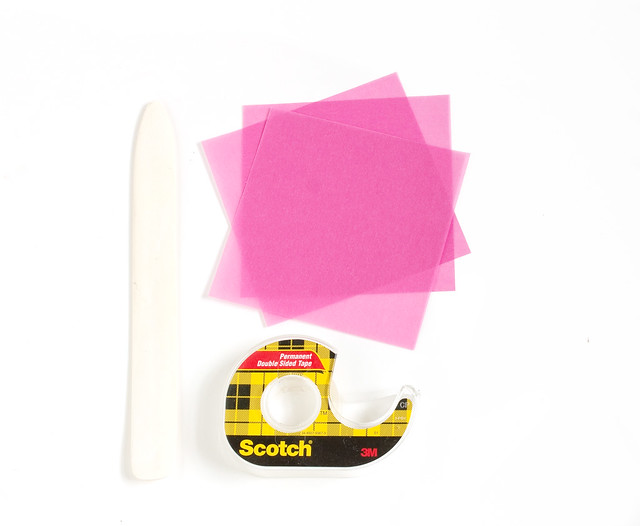
Here's what you'll need:
DIY Easy Origami Candy Boxes. Click through for the full tutorial! | www.vitaminihandmade.com
  • 3 squares of paper. Mine are 4.25" square
That's it!

Optional:
  • Bone folder for crisp folds
  • Double-sided tape

Ok, let's get to it. Seriously you guys, these are so easy you won't believe it.

DIY Easy Origami Candy Boxes. Click through for the full tutorial! | www.vitaminihandmade.com

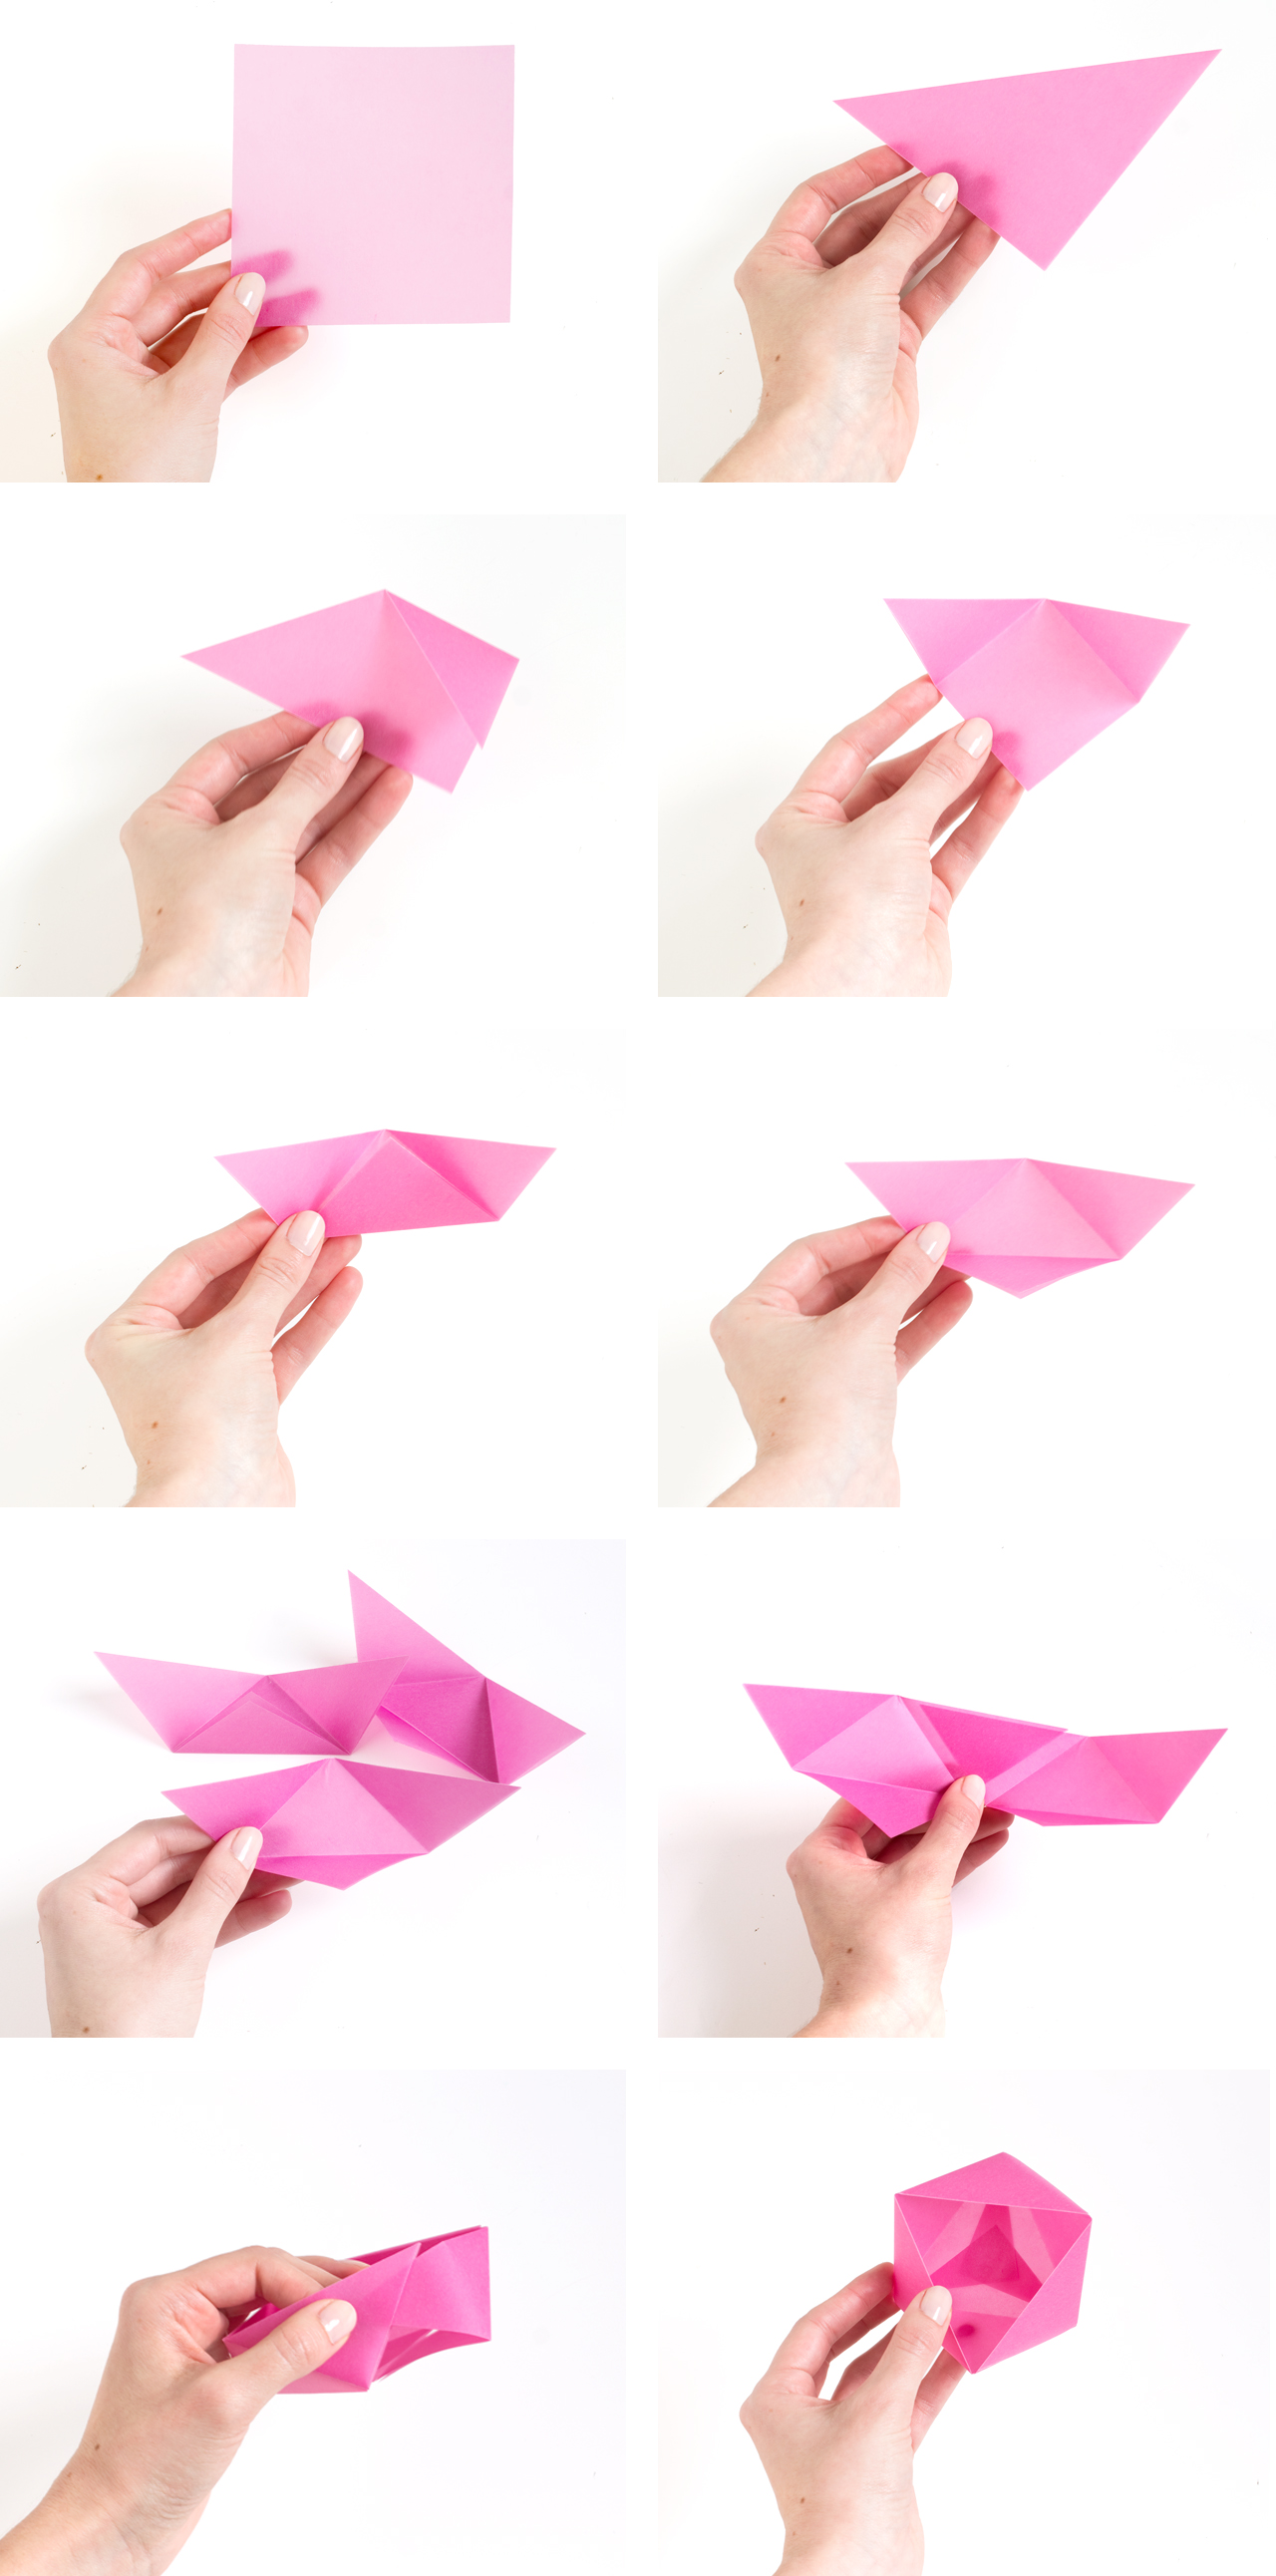
Fold one square in half diagonally. Fold each corner down to meet the bottom corner. Crease and unfold. Fold the bottom corner up to the center. Crease and unfold. Repeat for the other two paper squares. Join the three pieces by sliding one corner into another. Connect the two ends the same way, making sure the bottom flaps alternate so the bottom doesn't fall out. Add a small piece of double sided tape to the flaps in the bottom to secure if you'd like. It'll hold just fine if you don't, though.

DIY Easy Origami Candy Boxes. Click through for the full tutorial! | www.vitaminihandmade.com

Fill with candy! Wouldn't these be cute as little co-worker gifts? Heart-shaped paper clips would be a perfect alternative for those who don't like candy. I've heard those people exist, but I've never met one... ;)

DIY Easy Origami Candy Boxes. Click through for the full tutorial! | www.vitaminihandmade.com DIY Easy Origami Candy Boxes. Click through for the full tutorial! | www.vitaminihandmade.com

I hope you'll give these little origami boxes a try!

20

Friday finds

Friday, January 16, 2015

+ Hi there! I'm working on some design updates around here, so some things might look a little wonky while I work out all of the details. Everything will be ship-shape soon, so make sure to check back again! +

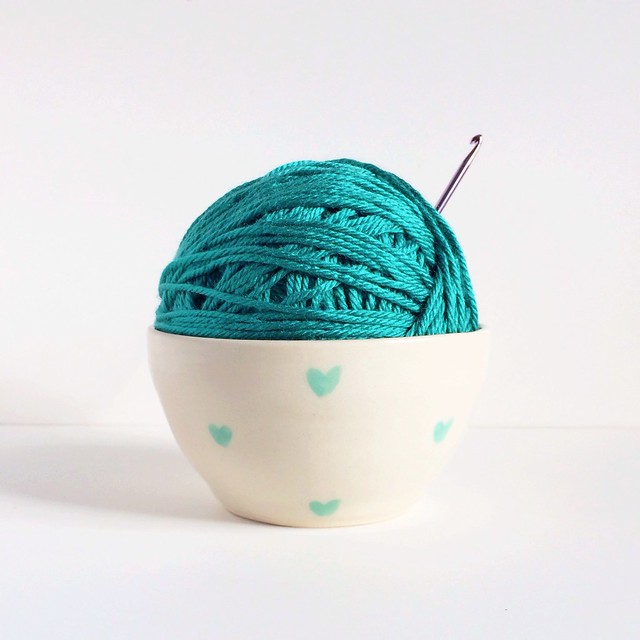
yarn love, via @vitaminimodern on Instagram

I've got a few fun projects in the works: a bedroom makeover (!), a little studio update, some new shop products, and a few fun diys for the blog. I can't wait to share, but they're not quite done yet, so I'll have to hold off for now! In the meantime, here are some cool things from around the web:

  • I've been enamored with yarn and weaving lately. This tutorial makes me want to go out and stock up on supplies right now!
  • Stunning paper sculptures based on postage stamp designs. 
  • These face planters are so dang cute and look really easy to make.
  • Valentine's Day is in less than a month! Click through the blog archives for lovey-dovey diys from years past.
  • IKEAs new SPRUTT collection looks so good! That cart is calling to me.
  • I started a new Pinterest board named "My Mid Century Home...of my dreams." I think retro house enthusiasts will enjoy it! It's full of period house plans and architectural illustrations (my favorite), furnishings, and housewares that would look great in a MCM home. Check it out! 

And speaking of projects, take a good look at the blog because it's not going to look like this for much longer! I'm working on a redesign to give it a fresh new look for 2015! Come back next week and you'll see it shiny and brand new!

8

Aether Cone: Music To Your Ears (& Eyes)

Wednesday, January 14, 2015

As a creative professional who works from home there are a few things in my studio that I rely on to help me to stay focused as I work through my daily to-do lists. Right after coffee, music is a saving grace. Scoring, folding, and packaging a big stack of greeting cards can get monotonous, but not when I’m singing along with the Beach Boys. So when the people from Aether reached out to see if I’d be interested in trying out their new innovative music player I responded with a big fat, “um, YES!”

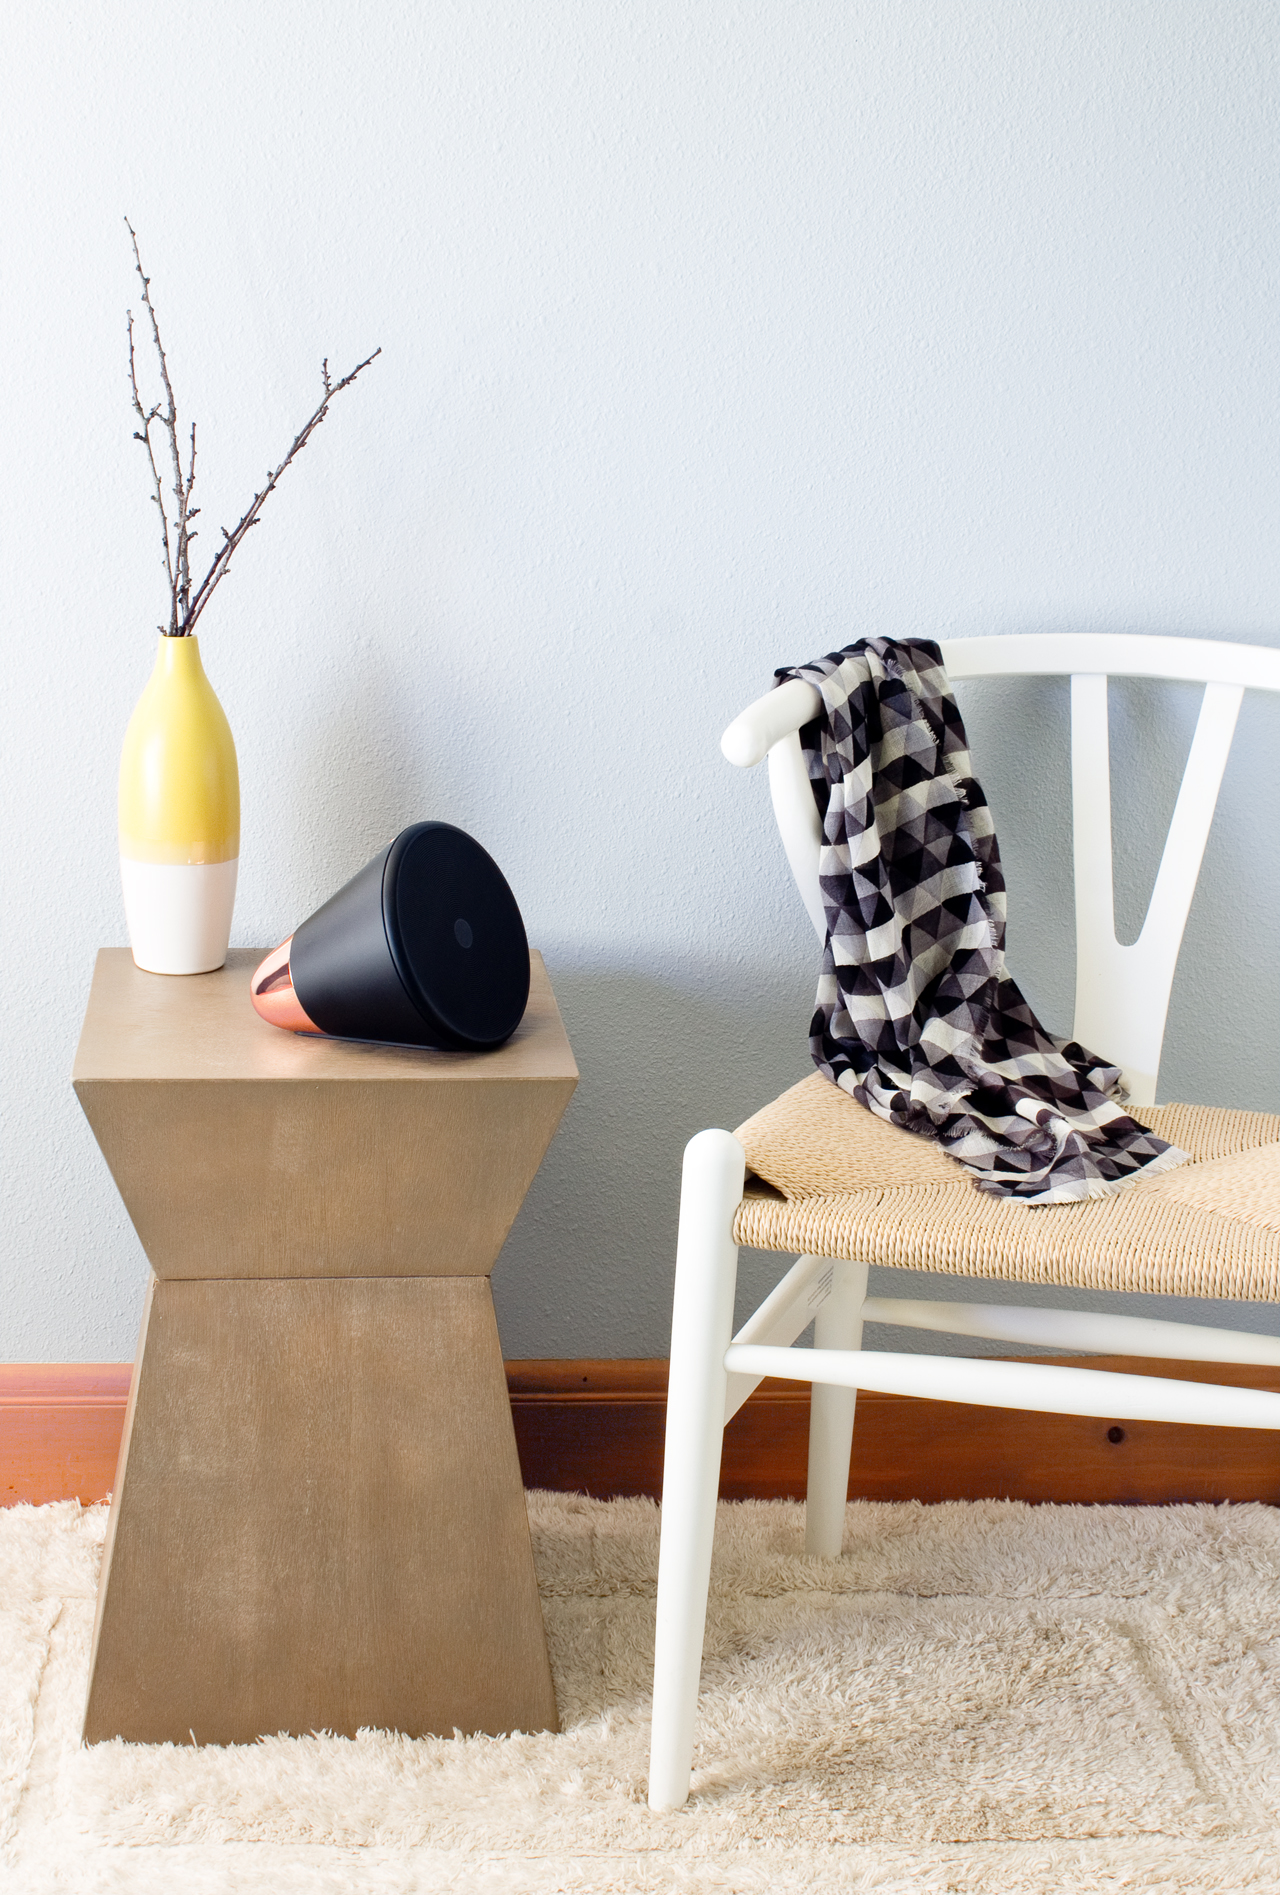
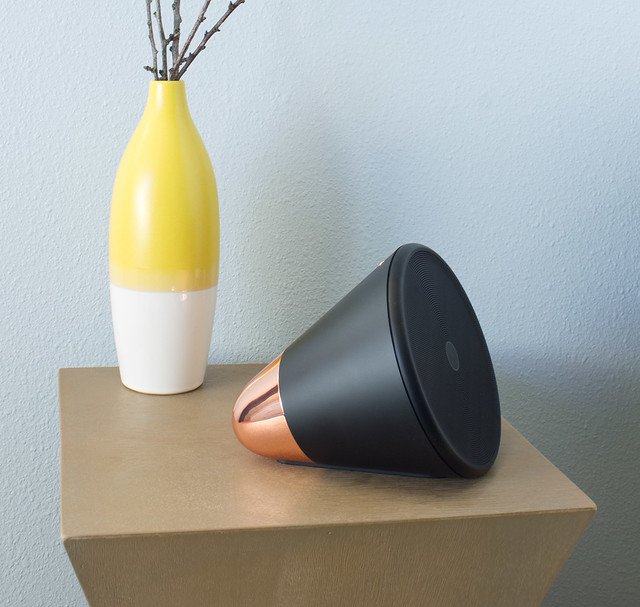
Aether Cone

First off, it’s beautiful. It comes in black + copper or white + silver and honestly looks great just sitting on a table. Second, it’s a really cool interface. It works with Rdio, so there’s a ton of programing to choose from: music, radio shows, podcasts. You can talk to it to make a request, control it from an app on your phone, or simply spin the dial and let it select something similar or different, based on your previous listening history. It does the thinking for you! Everything works wirelessly, so you can take it anywhere as long as it’s charged up and connected to a wireless network. Neat, right? It’s a long way from my iphone-on-a-speaker-dock that I was rocking before. I actually had to walk up to it to change the song. Psh.

Aether Cone

I’m really enjoying the Aether Cone as a new fixture in my studio. The sound quality is very good, song choice is right at my fingertips, and it looks like a million bucks. You can read more about it on their website.

Disclosure: Aether sent me a cone for review. All opinions, words, and images are my own. Thanks for supporting the brands that keep Vitamini Handmade going!

2

New Valentine Cards in the Shop!

Friday, January 9, 2015

New Valentine's Day Cards by Vitamini

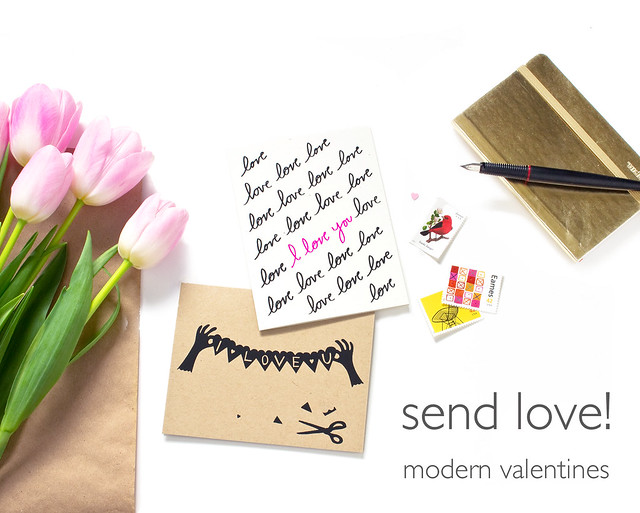
Happy Friday! I'm excited to share one of the many projects I've been secretly working on with you today - New Valentine's Day cards!

Truth is, I started designing these quite a while ago. That's the thing about the stationery business - you have to work pretty far in advance to be ready for each holiday. So while everything was thinking about fall leaves and pumpkin pie, I was channeling pink & red, hearts, and lovey-dovey stuff.
New Valentine's Day Cards by Vitamini
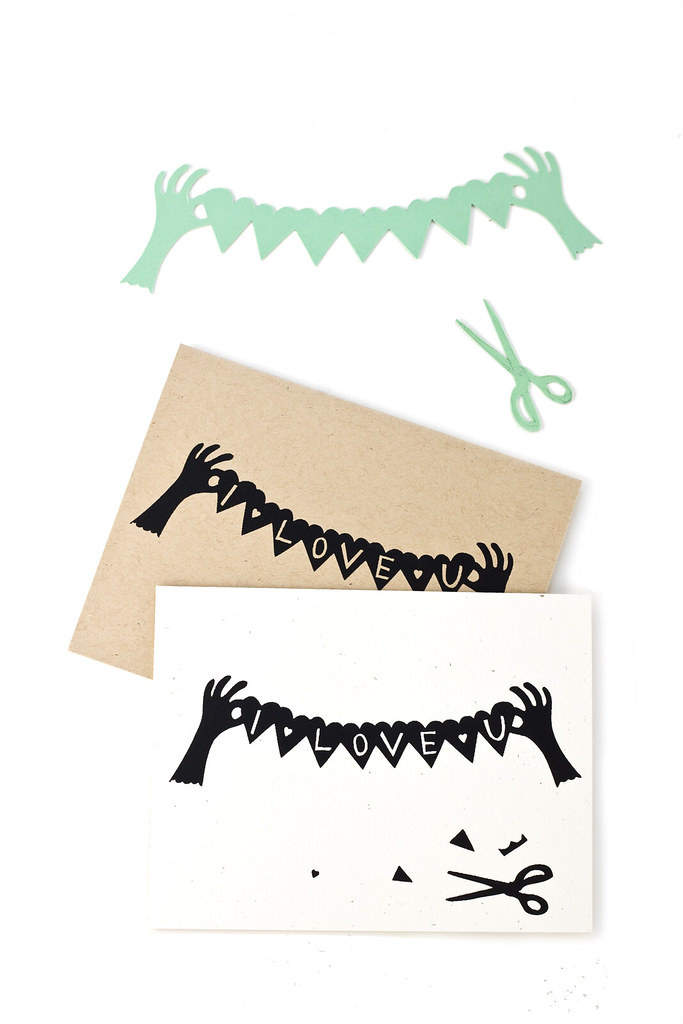
I'm constantly cutting up paper and find it's a great exercise for generating new graphic design ideas. For this one, the "I LOVE U" card, I thought, why not a papercut design of a papercut design? You can see the original papercut in the photos. I added the lettering in Illustrator and then arranged the components (garland, scissors, paper scraps) and made a silkscreen to print the actual cards! It's available in kraft brown and natural white.
New Valentine's Day Cards by Vitamini
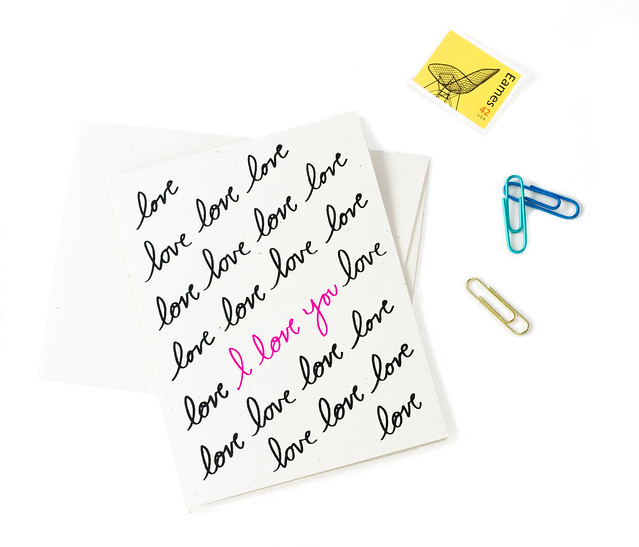
I wrote out a simple script pattern of the word "love" for this one, with "I love you" accented in neon pink. It's a pretty, graphic card that's perfect for Valentine's Day, or any other day when you need to say those three words.

New Valentine's Day Cards by Vitamini
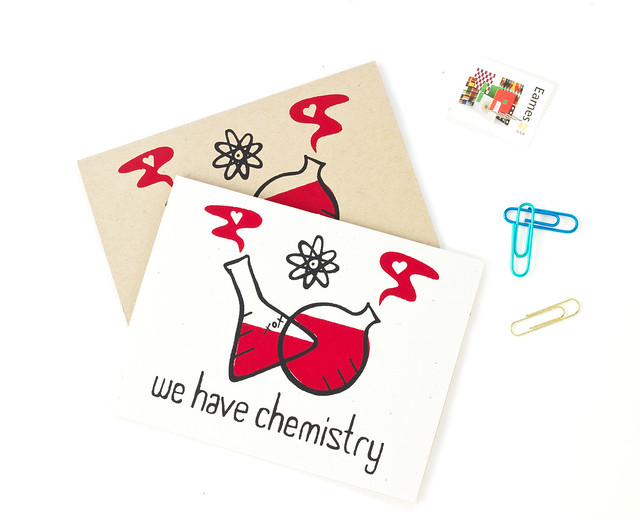
Both new cards and favorites from past years (like these fun Chemistry cards) are available in my shop! I'm also running a promotion - any 4 cards for $16, so stock up if you want to really share the love this Valentine's Day.

123

Top Posts of 2014

Monday, January 5, 2015

DIY Paper Magnolia Blossoms | www.vitaminihandmade.com Happy first Monday of 2015! I'm slowly getting back in the swing of things over here. It was nice to take a break from the computer for a few days over the holiday break, even though I kept myself busy with lots of other offline projects (which I can't wait to share with you). In the meantime, I thought I'd recap 2014 by sharing the most popular posts from the blog. I had so much fun creating these projects and I'm so glad you liked them! So here they are, in chronological order.

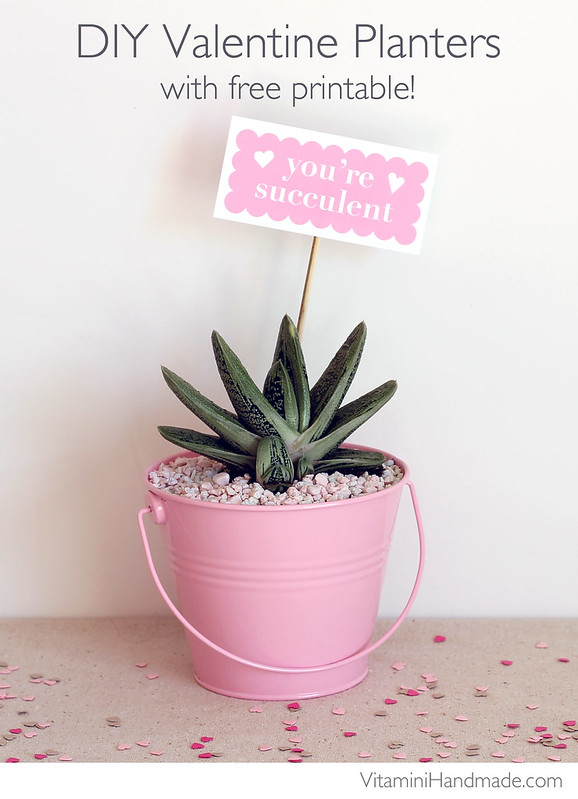
Top DIY Posts for 2014 | www.vitaminihandmade.com DIY Valentine's Day Succulent Planter with Free Printable

Top DIY Posts for 2014 | www.vitaminihandmade.com
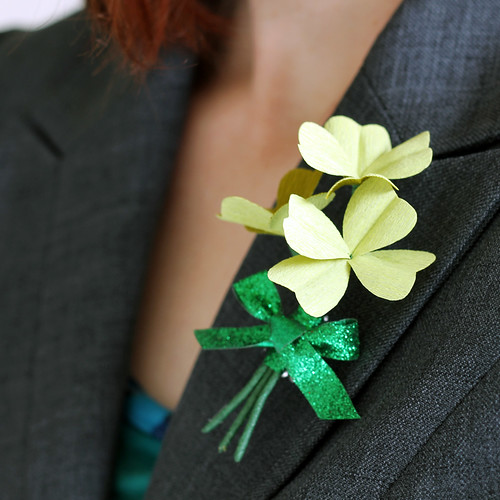
DIY St. Patrick's Day Paper Shamrock Corsage

Top DIY Posts for 2014 | www.vitaminihandmade.com
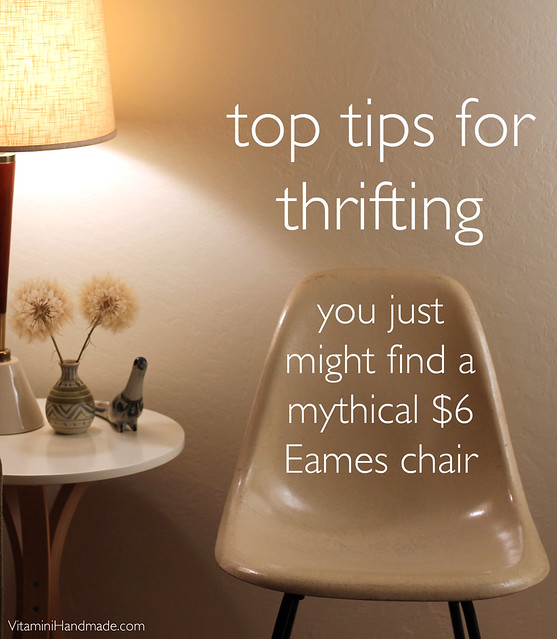
Top Tips for Thrifting

Top DIY Posts for 2014 | www.vitaminihandmade.com
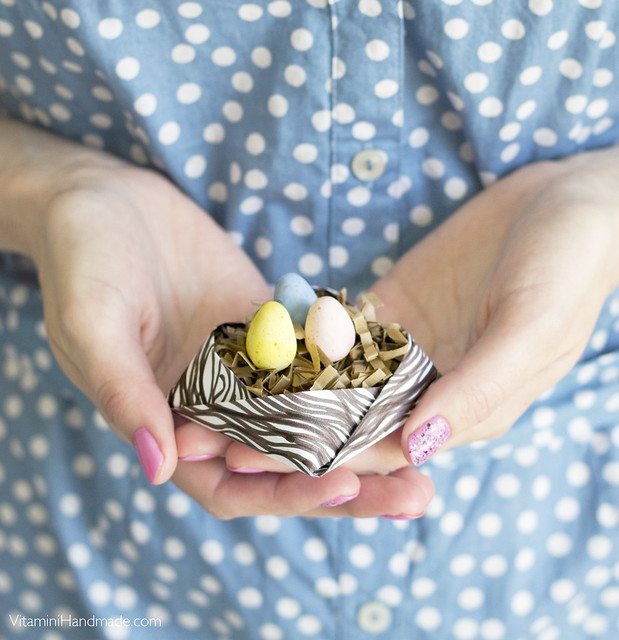
DIY Origami Birds Nest with Free Printable

Top DIY Posts for 2014 | www.vitaminihandmade.com
DIY Marbled Paper Mache Eggs

Top DIY Posts for 2014 | www.vitaminihandmade.com
DIY Paper Magnolia Blossoms (also the top post of the year!)

Top DIY Posts for 2014 | www.vitaminihandmade.com
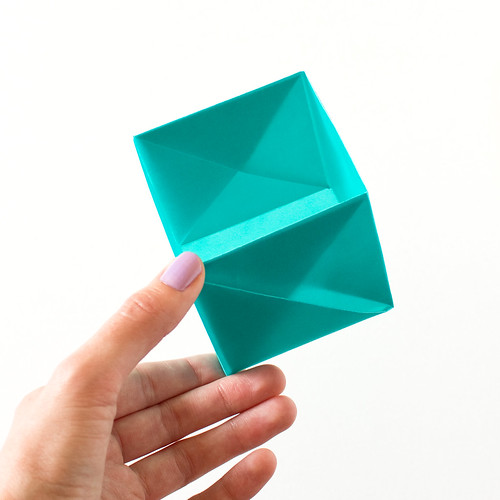
DIY Origami Gift Box

Top DIY Posts for 2014 | www.vitaminihandmade.com
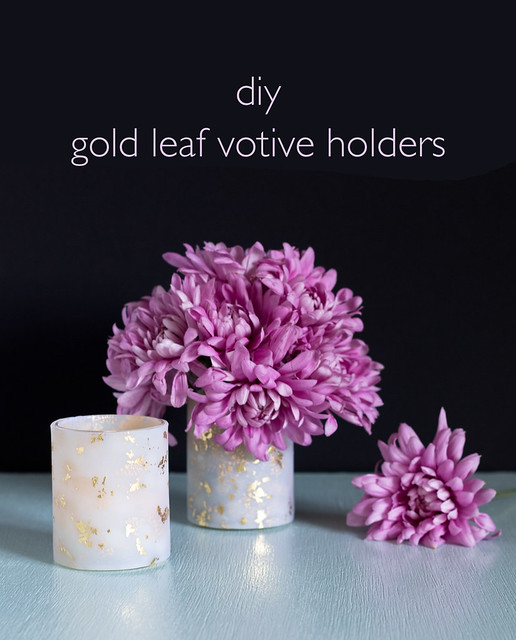
DIY Gold Leaf Votive Holders

Top DIY Posts for 2014 | www.vitaminihandmade.com
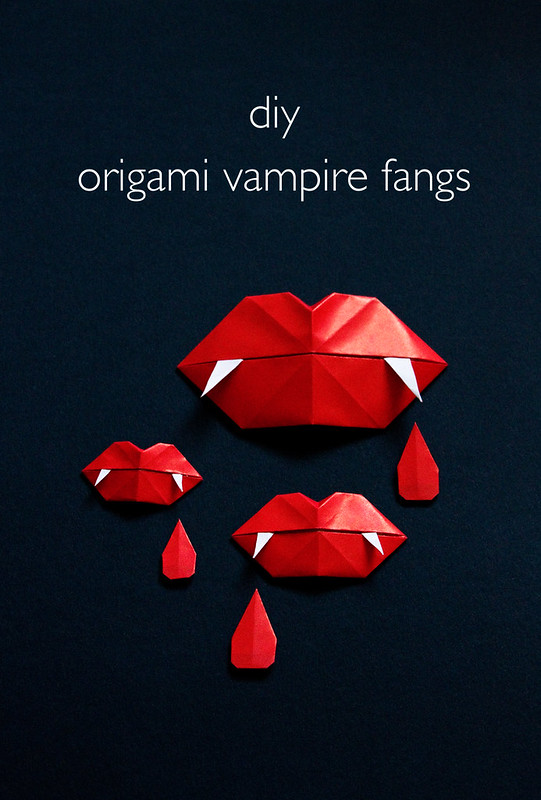
DIY Origami Vampire Fangs

Top DIY Posts for 2014 | www.vitaminihandmade.com
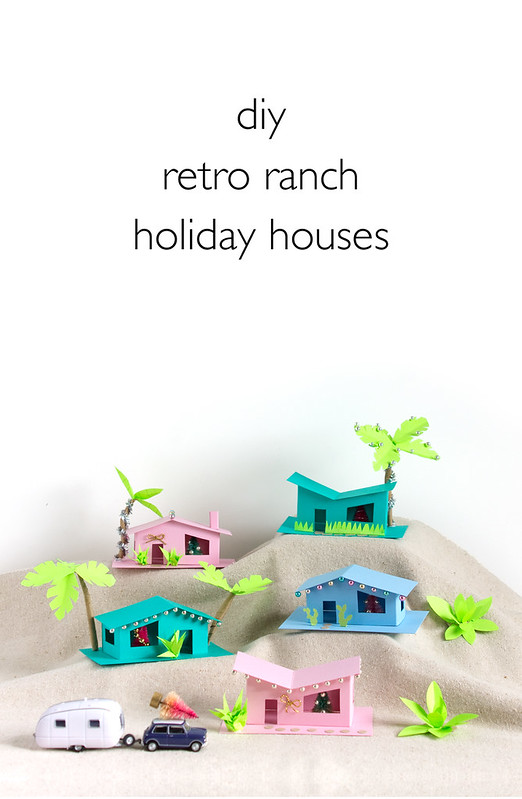
DIY Retro Ranch Paper Holiday Houses

You can see these and the rest of the projects from 2014 (and every other past year) in the DIY Gallery page.
 

vitamini handmade © All rights reserved · Theme by Blog Milk · Blogger