Remember the
marbled paper and fabric tutorial I shared a while back? This is the first of a series of posts sharing projects that can be made with these pretty, custom papers and fabrics! Kicking it off is this simple, classic clutch made with a soft leather back and marbled fabric front. It's so easy to make, you may want to whip up a few!
Here's what you'll need:

- Piece of leather, 8.5" x 11" I found this one at Michael's
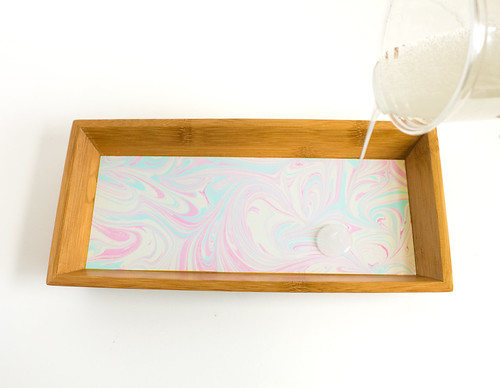
- Accent fabric, 13" x 8.5". I used a piece I marbled myself! Click over to my tutorial to learn how to make your own custom print
- Scrap cardboard
- Permanent marker
- Heavyweight fusible interfacing, 6.5" x 8.5"
- Wonder Clips or binder clips
- Sewing machine with a needle for leather
- Ruler
- Scissors
- Optional: button and needle & thread

Start by drawing a template for the leather onto the scrap cardboard. I knew the front of my bag would start at 6.5" tall. So that would leave 5.5" for the flap. Mark the center point of the flap and trace something round at the end, like a roll of tape. Then draw lines at angles from the side corners to the edge of the circle.

Trace onto the wrong side of the leather with a permanent pen and trim to size.

Following the interfacing instructions, iron it onto the wrong side of one end of the accent fabric. Fold the remaining fabric over and press. This will give you patterned fabric on both sides with interfacing in the middle.

Clip the wrong sides of the accent fabric and the leather together. The raw fabric edges will be at the sides and the bottom, leaving the nice folded edge to make the top of the bag opening. Pins will leave punctures in the leather so use clips instead. Binder clips work just fine, too, but if you do much sewing I highly recommend wonder clips! They hold bulky items together very well and keep everything flat without the hassle of pins. I love them! Ok, back to the project!
Sew the three sides with an 1/8" seam allowance, making sure to sew backwards for a few stitches at each end. My machine worked much better with the leather side down and the fabric side up. Trim excess fabric or leather at the seams (if necessary) and turn right side out.

I forgot to account for the seam allowance when I made my template (oops!), so I had little extra pieces of leather sticking out on the flap. I just trimmed it back on both sides.

If you'd like, add a button closure to the flap. Position the button on the flap and lightly mark its placement with a pen. Cut an opening in the leather as wide as the button. Sew the button onto the fabric, aligning it with the opening. I liked mine just fine without the button, so I skipped that step.

Enjoy your new, handmade clutch! It's a nice size for carrying a few necessities when you're headed out for coffee or dinner.