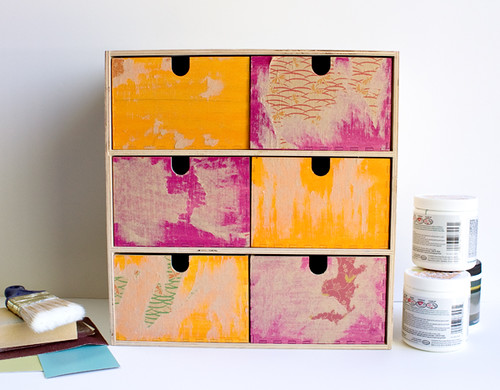
This weekend marks the (unofficial) end of summer. I can't believe how fast this year is flying by, but Fall is my favorite season so I'm looking forward to it! Schools are back in session in my neighborhood, so how 'bout some fun back-to-school crafts? And you don't have to be in school to enjoy them!
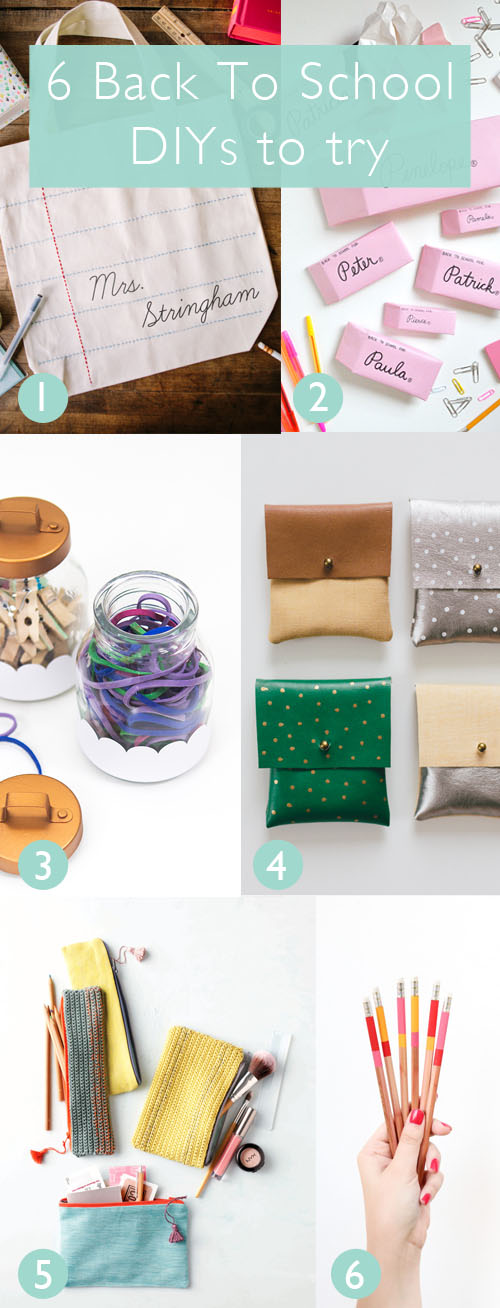
1. Sweet binder paper tote bag by Handmade Mood.
2. I love this eraser gift wrapping by Oh Happy Day.
3. These scalloped containers by Sarah Hearts would keep your desk organized.
4. Make some little purses to hold your lunch money! Project by Fellow Fellow.
5. I love these crocheted pencil cases and zipper bags by Flax & Twine. I haven't done a stitch (ha!) of crochet since college, but this project makes me want to break out my needles!
6. Cute, color-blocked pencils by The Crafted Life. A jar full of these would make a sweet teacher gift.
Enjoy the weekend!
8
Creative Apps
Friday, August 22, 2014
There are so many apps out there that help foster creativity. Pinterest and craftgawker are two of my old favorites. I like to flip through them when I'm stuck waiting in line somewhere, to get a quick idea of interesting projects that I can flag for later to check out when I have more time to follow a bunch of links around. But there's an app on the scene that does something the others don't: instead of a link it gives you a story.
Steller is a great place to share your stories, if they're an artistic collection of photographs, short videos, or even step-by-step photos of a craft project. The author has opportunities to add descriptive text to any of their images to help build their own story, whatever that may be. I've been using Steller for a while and have enjoyed being able to share visual collections in a totally new format. They just launched the new and improved 2.0 version yesterday. It's free in the app store! You can find and follow me there @vitaminimodern.
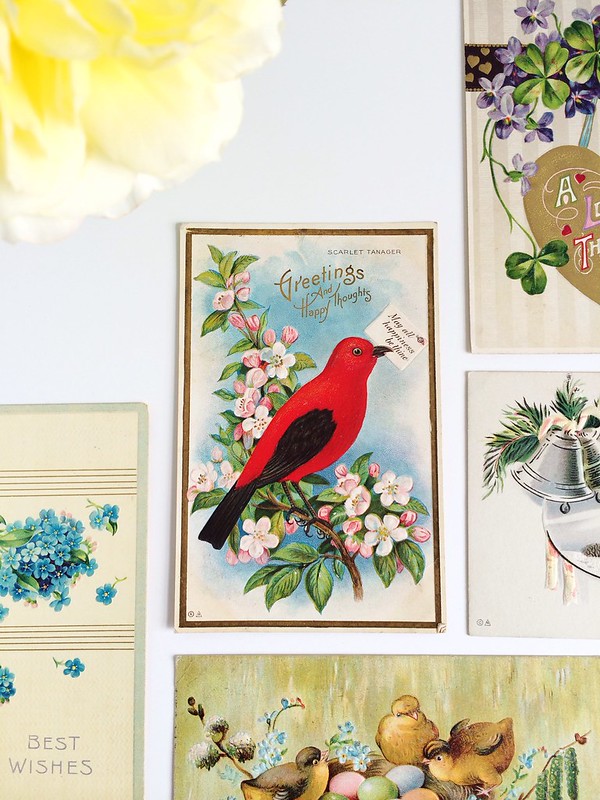
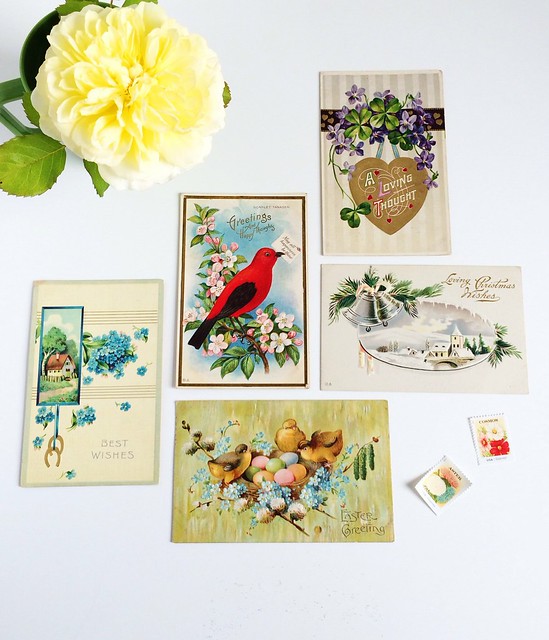
While crafts and diy are my favorite type to share, I also like to publish other types of stories, like this one about some 100+ year old postcards I bought at an antiques fair a couple weeks ago. Check it out! I think you'll enjoy it. :)
Have a creative weekend!
*This isn't a sponsored post - just thought you might enjoy hearing about a cool app!
5
DIY Macramé Key Fob
Wednesday, August 20, 2014
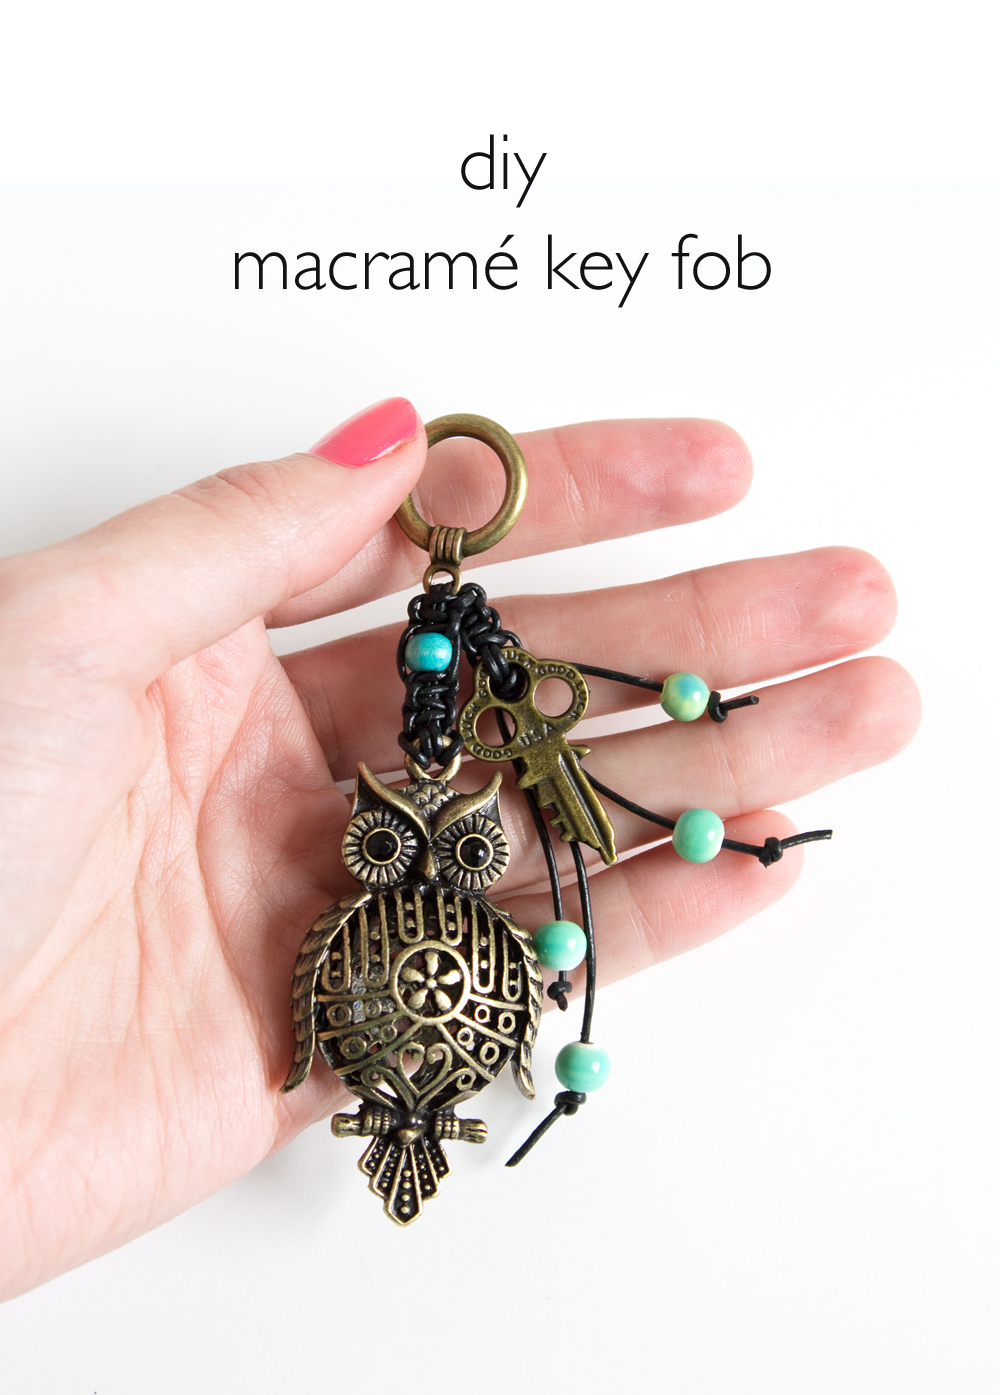
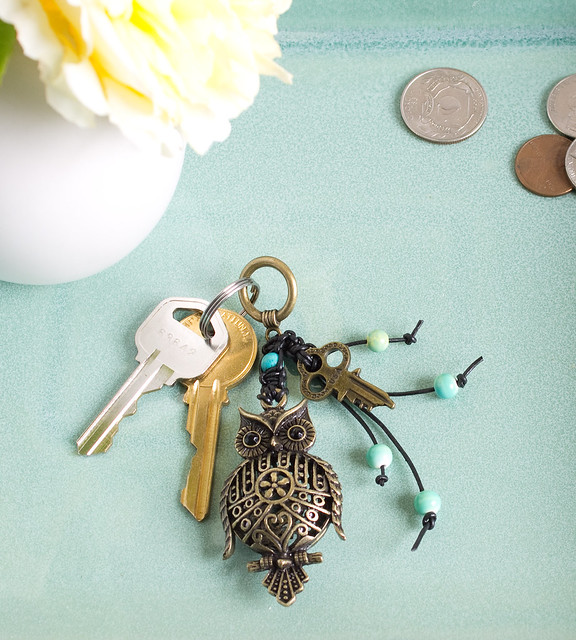
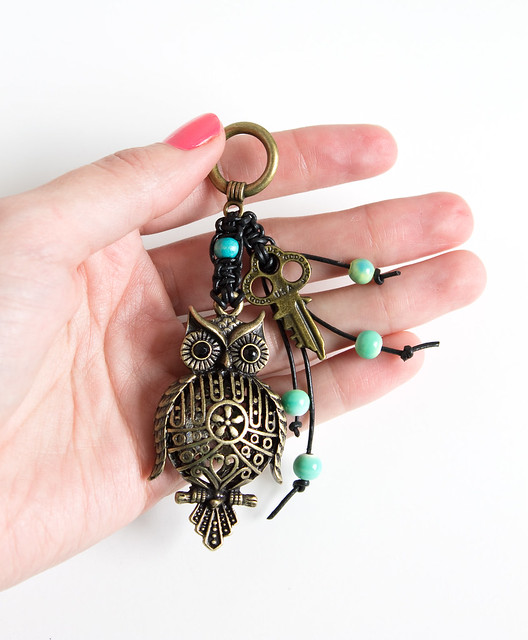
I like to go to craft stores and just wander around. I'm often inspired by pieces I see that I wouldn't have otherwise thought to use. When I spotted this owl pendant charm at Michael's last week I knew I had to have it but had know idea what I'd do with it... I started looking around for other things that would go with it and I found some packages of cute mini key charms. That's it! I'll make a key fob! And nothing goes better with owls than macramé!
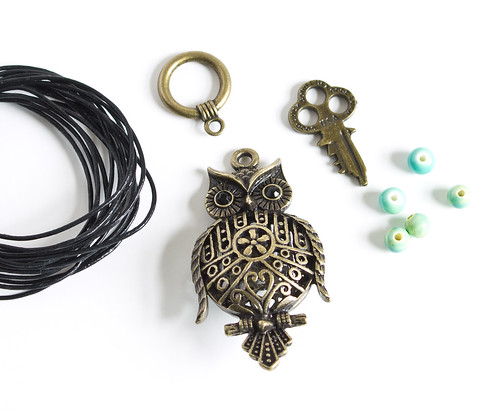
Here's what you'll need to make your own:
- 1mm leather cord
- Owl charm
- Key charm
- Loop part from a toggle clasp
- Beads
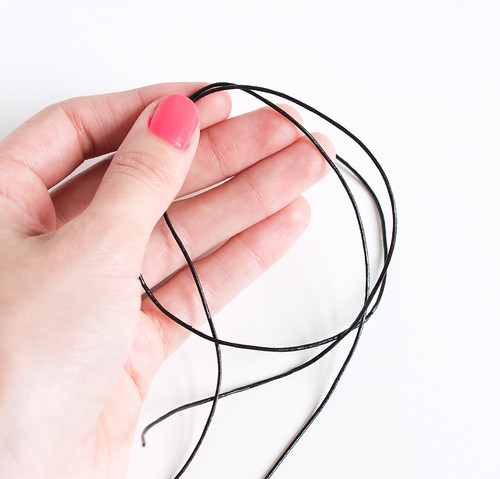
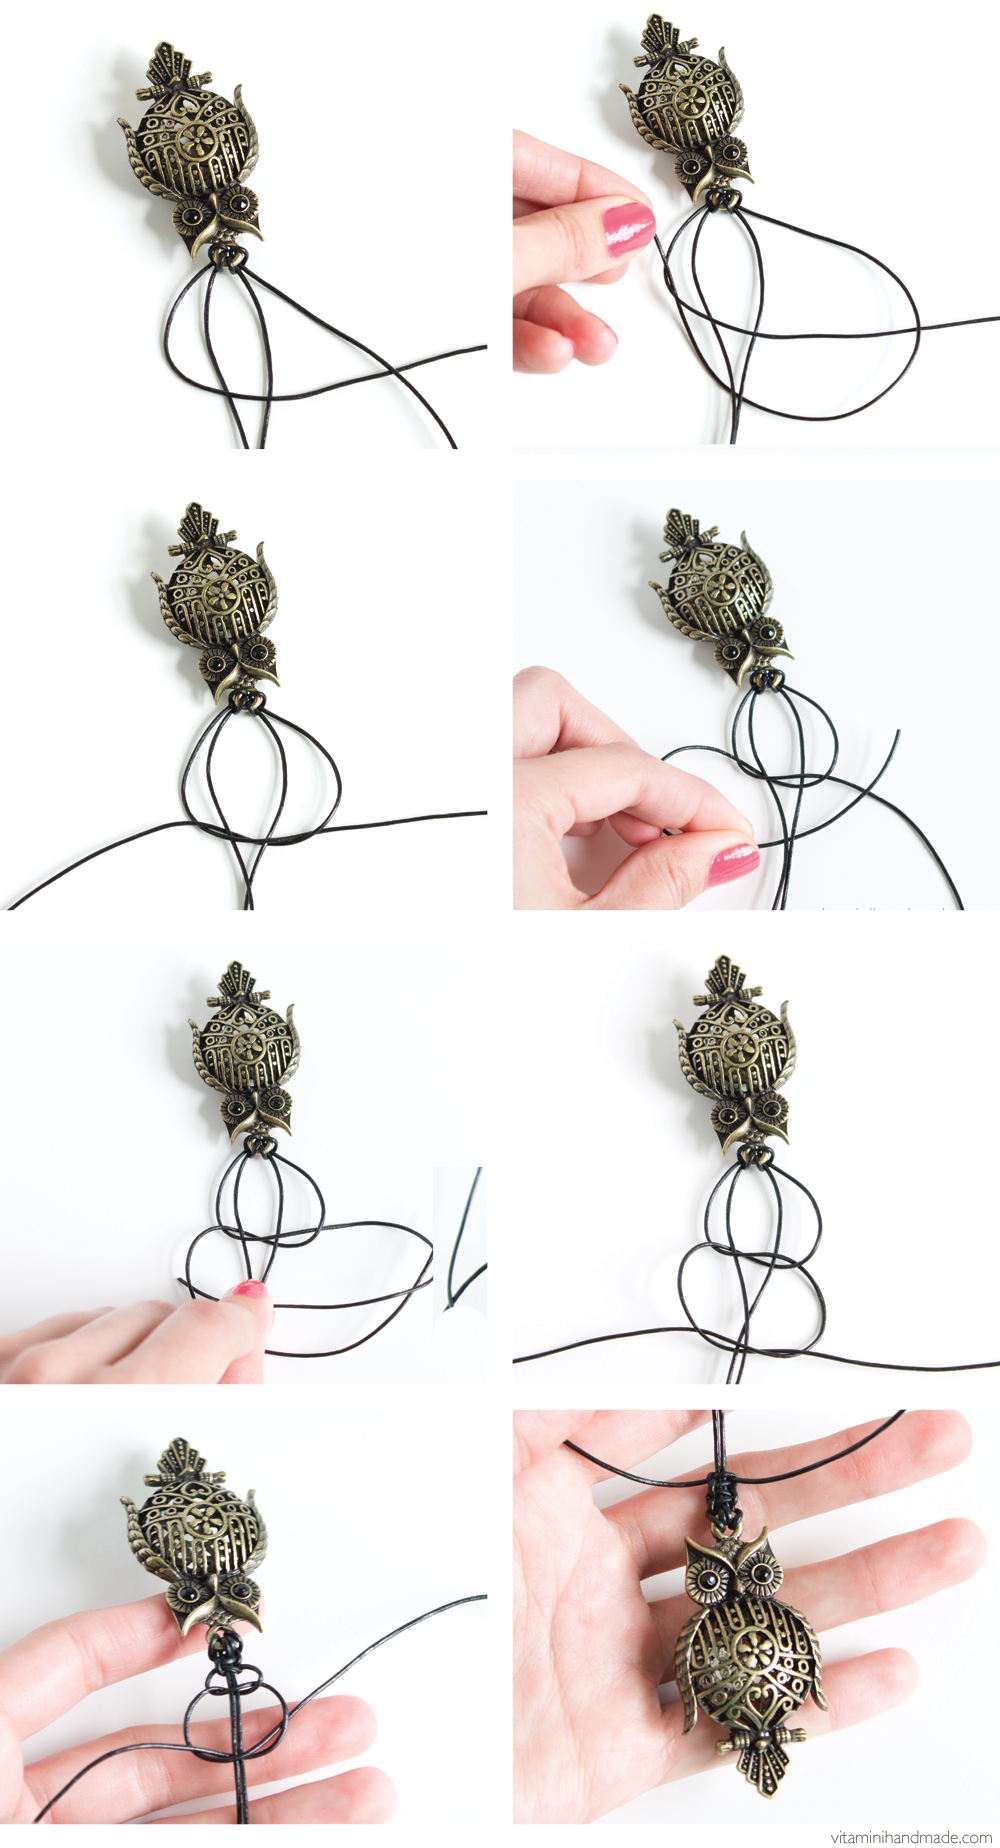
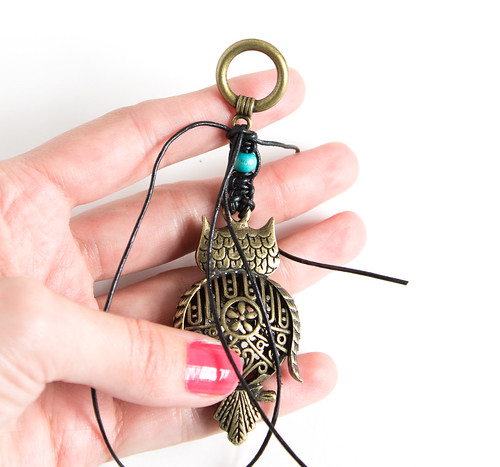
Start by cutting two lengths of cord, about 14" long each. Fold in half and attach to the loop on the owl charm, side by side. In macramé lingo, this is called a larks head knot.
To make a square knot (aka flat knot), start with the cord on the left side. Move it to the right, over the two central cords and under the cord on the right. Take the right cord and move it under the two central cords and up through the loop on the left. Continuing with the same cord, move it under the two central cords and over the cord on the right. Grab the cord on the right and move it across, over the two central cords and down through the loop on the left. Tighten.
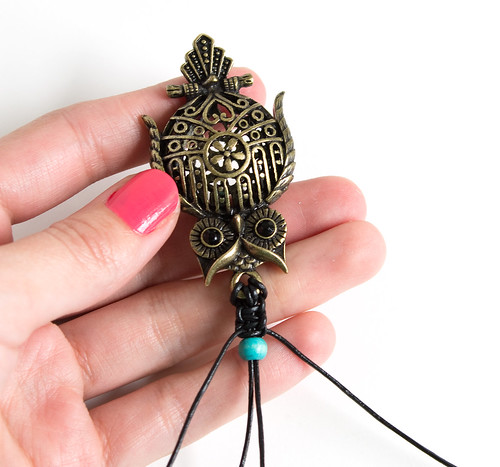
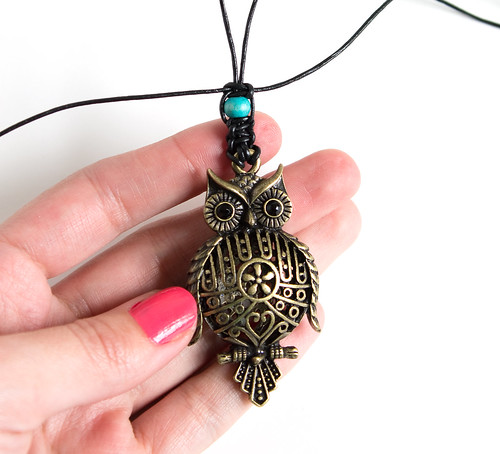
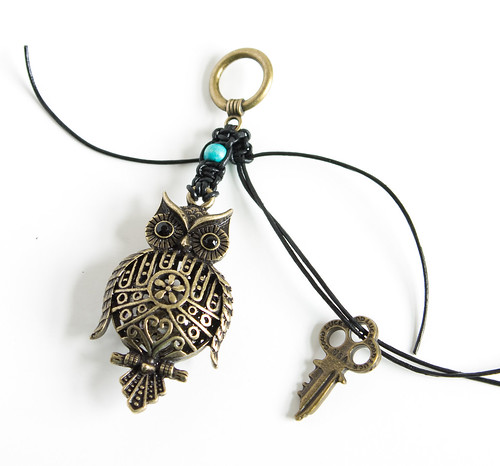
Repeat this process to tie another knot. String a bead onto the two central cords and tie one more square knot.
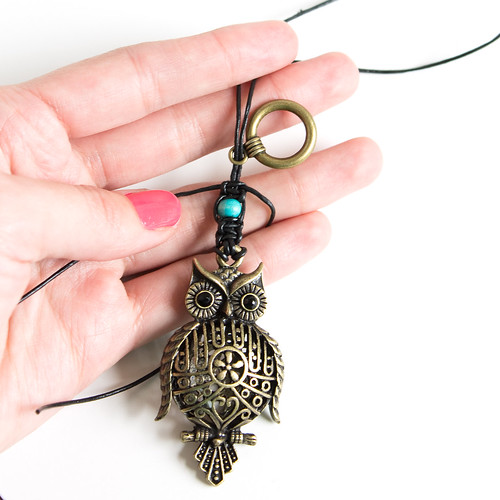
To attach the loop, string it on to the two central cords. Flip it over and tie two square knots in a downward direction.
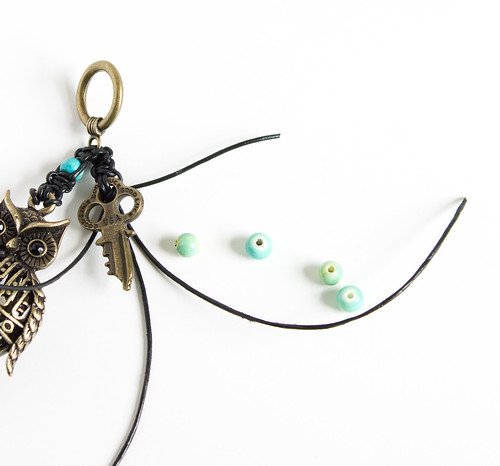
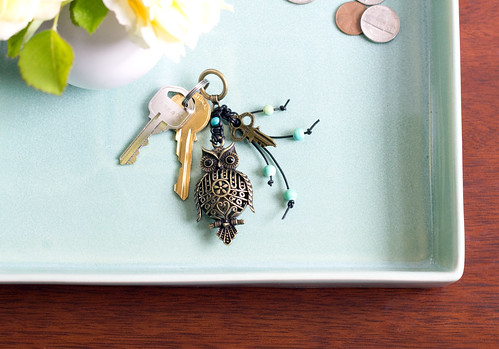
String the key onto the two central cords. Tie one more square knot behind the key charm and then tie the two outer cords into a knot to secure. String beads onto the ends of the cords and tie knots at the ends. Trim excess cord where necessary.
Attach some keys or clip onto your purse. Your friends won't believe you made it yourself!
5
Little Cars in Pacific Grove
Thursday, August 14, 2014
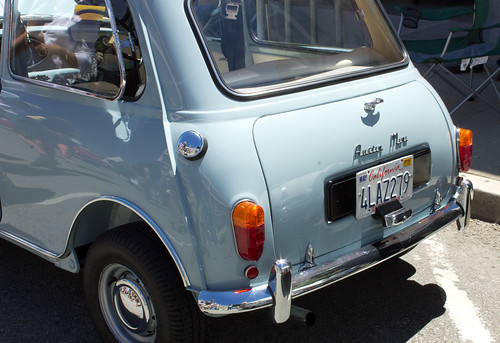
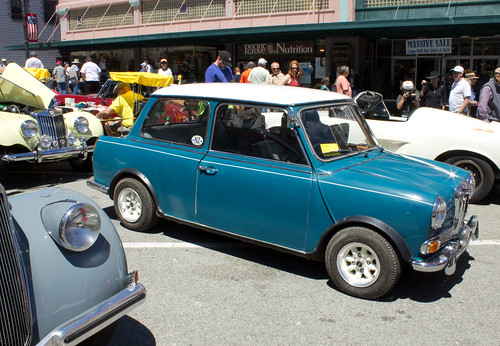
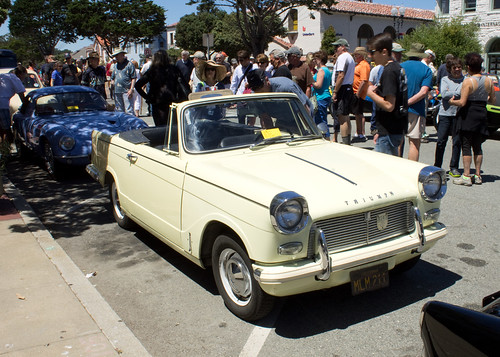
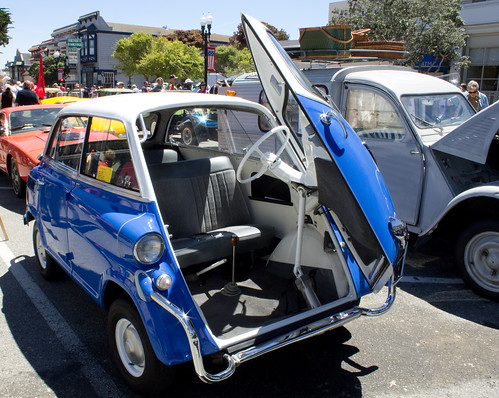
Every August, hundreds of unique, antique, and highly collectible cars converge on the Monterey Bay. A series of car shows, races, auctions, and other car-centric events are scheduled this week, culminating in Annual Concours d'Elegance at Pebble Beach on Sunday. I was lucky enough to learn at the last minute that The Tiny Car Show was scheduled for Wednesday afternoon in Pacific Grove, so I took off as fast as I could to get there and admire as many tiny cars as possible.
This show features little vehicles, like Minis, Fiats, Messerschmidts, MGs, etc. I was all over it! It was so much fun just walking around admiring the cars, chatting with owners, and taking (a ton!) of photos.
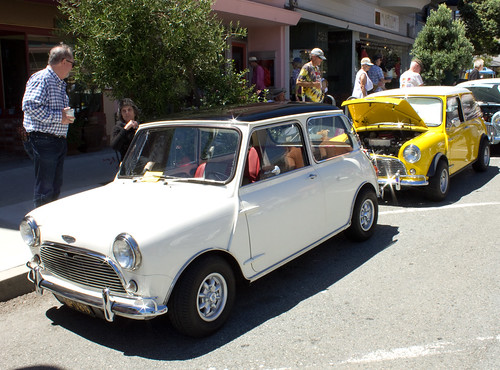
Minis, galore.
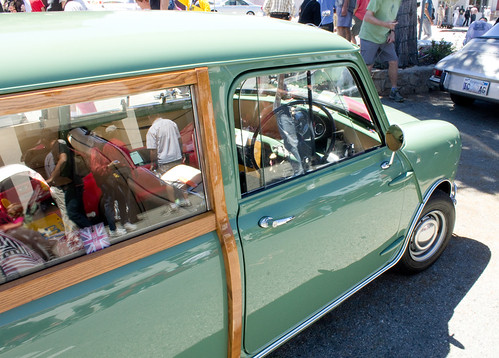
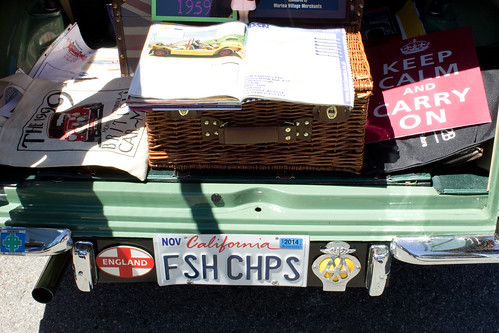
This 1959 Morris Mini with wood trim was all tricked out, UK style.
Yep, it's lavender! What a beauty.
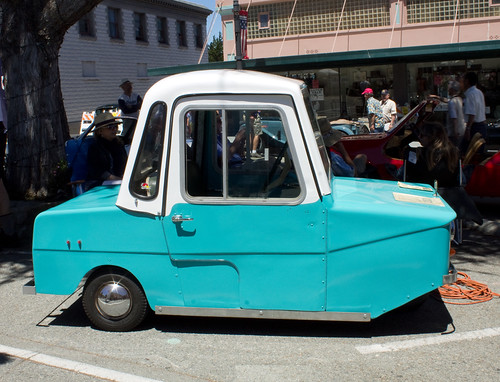
Electra King - retro, 3-wheeled electric car. It was charging with the extension cord.
It's impossible to deny that those minis are photogenic! Here's a list of other Monterey County auto events going on this week.
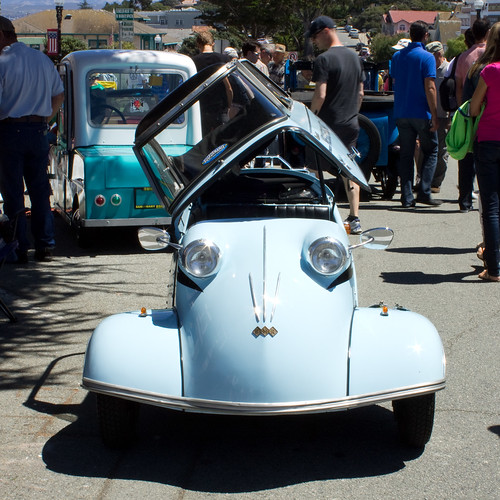
If the first photo of the micro bubble car (a Trident Peel) sparked your interest, check out this post I wrote featuring the retro auto section at the Pebble Beach Concours d'Elegance in 2008.
3
DIY Gold Leaf Votive Holders
Tuesday, August 5, 2014
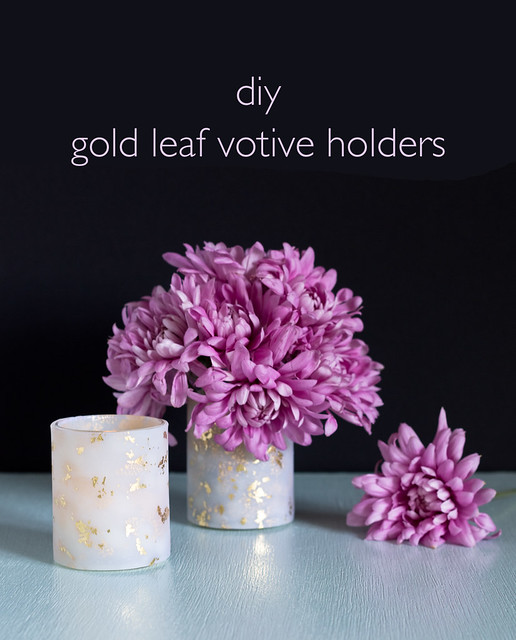
I'ma let you finish, but gold leaf is one of the best craft materials of all time.
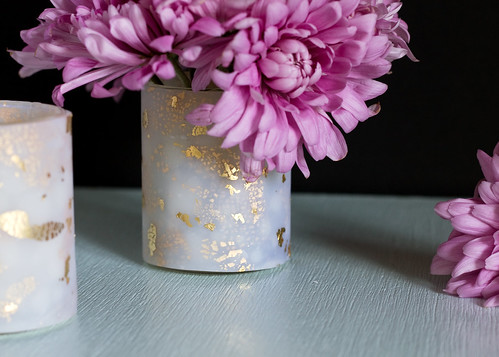
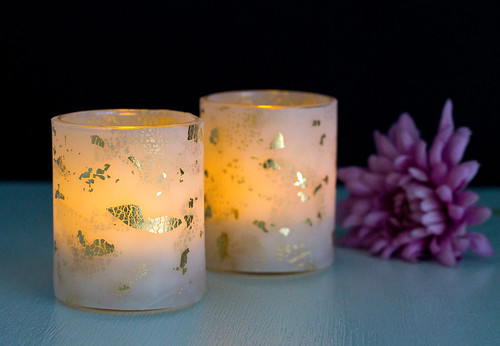
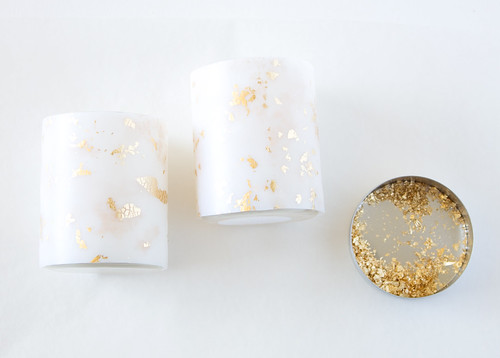
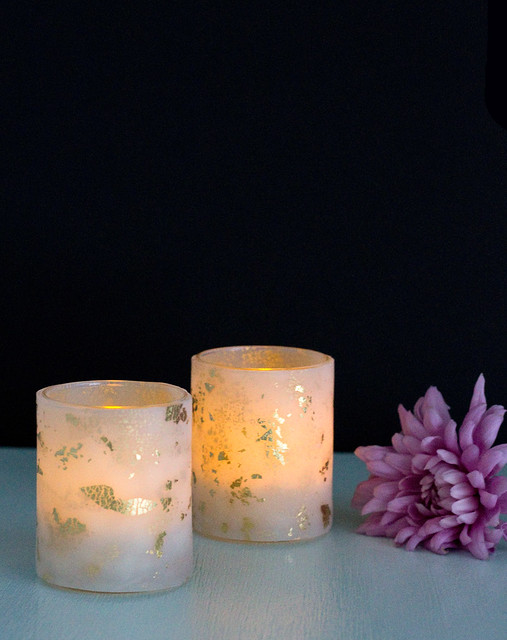
I must be excited about this project if I'm quoting Kanye! These votive holders are relatively easy to make, but are so pretty and unique. The gold leaf mixed into translucent clay gives the pieces lots of dimension. The clay makes them glow when holding tea lights but they're also just as lovely when holding little bunches of flowers.
Here's what you'll need:
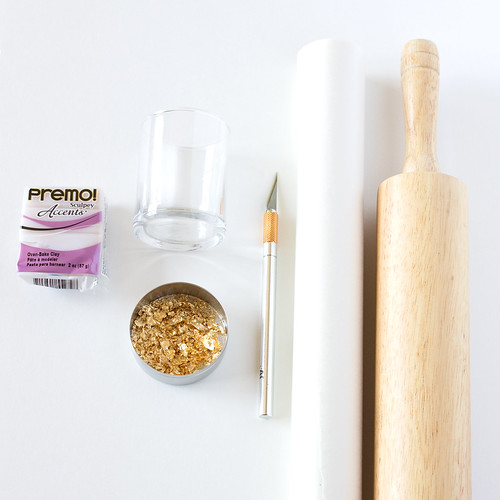
- Premo Sculpey Translucent Clay (one block of clay will cover two holders with a little left over)
- Glass votive holders
- Wax paper
- Xacto knife
- Rolling pin
- Gold leaf (this is a great way to use up scraps from other projects!)
- Spray sealer (not shown)
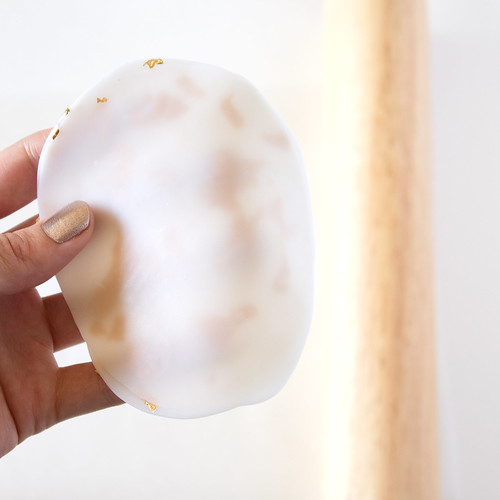
Break off about 1/4 of the clay block and knead it until it's pliable. Roll into a ball and then roll flat with a rolling pin between two sheets of wax paper. Repeat with a second piece of clay the same size as the first.
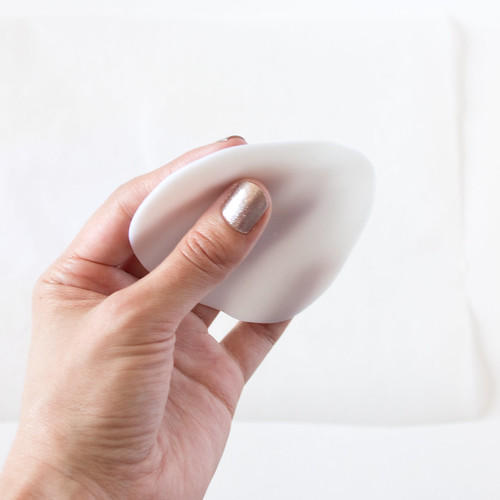
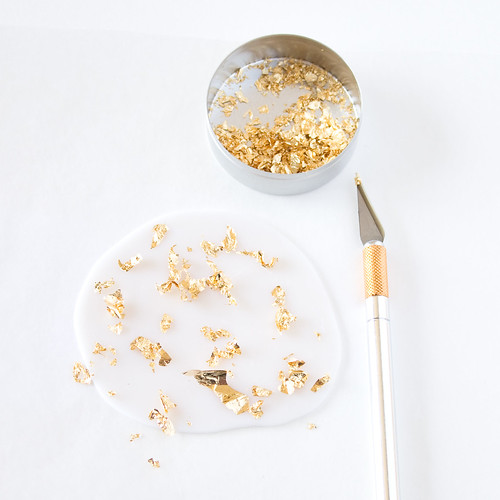
Sprinkle small pieces of gold leaf over the surface of one of the clay rounds. Layer the second piece of clay over the first, sandwiching the gold leaf flecks. Roll out between wax paper again, as thin as possible. Cut the clay piece in half and place the pieces on top of eachother. Roll out again.
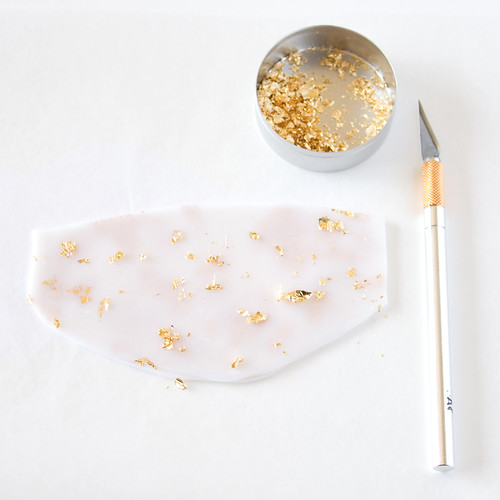
Add a few pieces of gold leaf to the top clay surface. Continue to roll out the clay as thin as you can get it, checking to make sure that the piece is at least as tall as the glass votive holders. When it's as thin as possible, trim the top and sides of the clay straight with the xacto knife.
Roll the clay around the glass votive holder, keeping the top straight with the top edge of the glass. Overlap the clay edge and trim the excess with the knife. Trim the bottom edge even with the bottom of the glass (you could also measure the height/diameter of the glass and pre-cut your clay to match the dimensions). Carefully blend the clay seam with your fingers. Add a couple flecks of gold leaf over the seam to help it blend in.
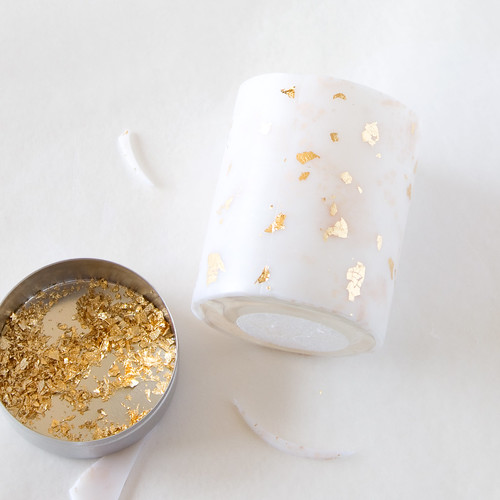
Place on a baking tray and bake upright in the oven per clay instructions. Let cool. Spray with spray sealer.
I love how these glow with candles! They also make pretty little vases!
If you're looking for more projects featuring my favorite material, check out my gold leaf confetti bowls, gold leaf manicure, and gold leaf clutch. Do you love gold leaf as much as I do? I'd love to hear about any other diy projects I could try out! Let me know if you have any recommendations.
12
DIY Retro-Style Storage Makeover
Friday, August 1, 2014
I'm so excited to share this project that I did for Curbly this week!
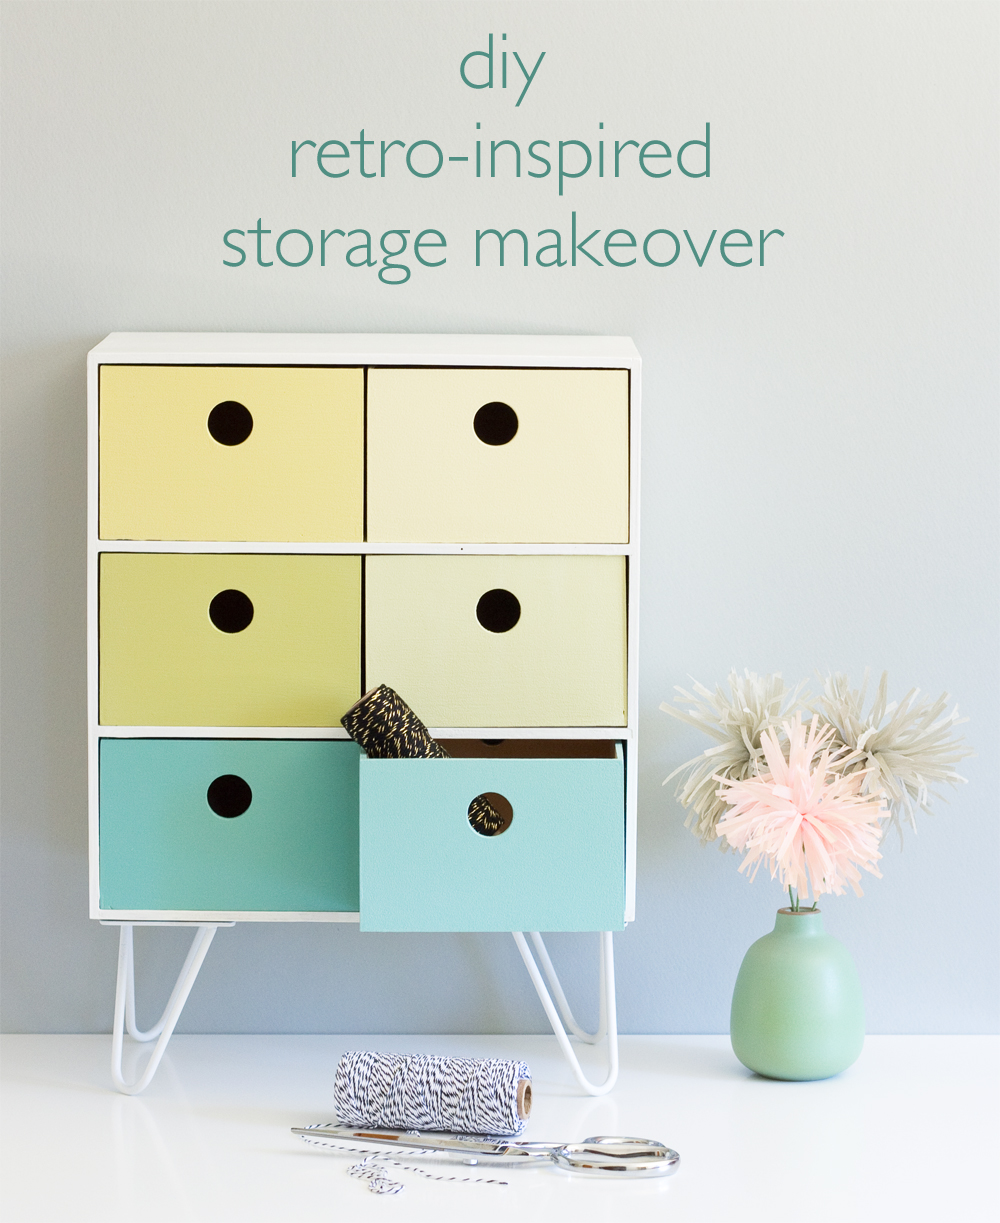
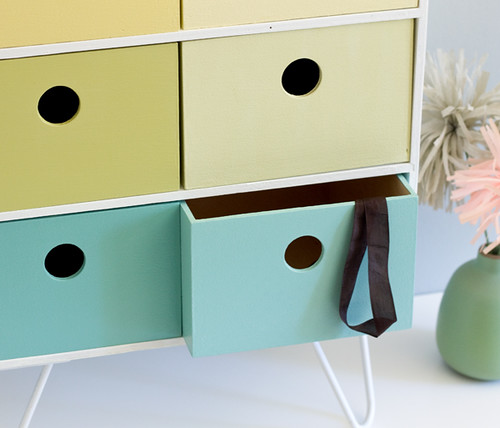
I found this Ikea Fira unit at the thrift store a while ago and boy did it need a makeover. Yikes!
I gave it a colorful update with just a few inexpensive materials. The best part is, all of the paints came from a total of 4 test jars from the hardware store. It's a great way to bring some colorful style into your space without having to invest in a ton of paint. The mini hairpin legs and circular fingerpulls give it a more custom look. I just love how it came out! Click through for the full tutorial and keep your eye out for those ugly ducklings the next time you go thrifting!