1
Renegade Wrap-Up and New Products!
Tuesday, July 22, 2014
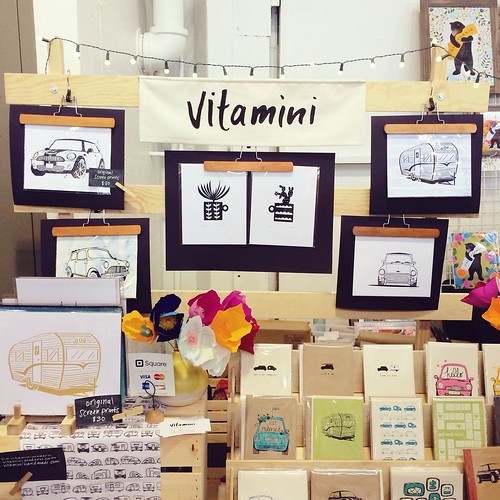
Hi friends! Thank you to all of the local peeps who stopped by my booth at Renegade SF last weekend! I had so much fun getting to meet you in person! It was a wonderful event and I'm already looking forward to the next one. Fort Mason is such a great venue, don't you think?
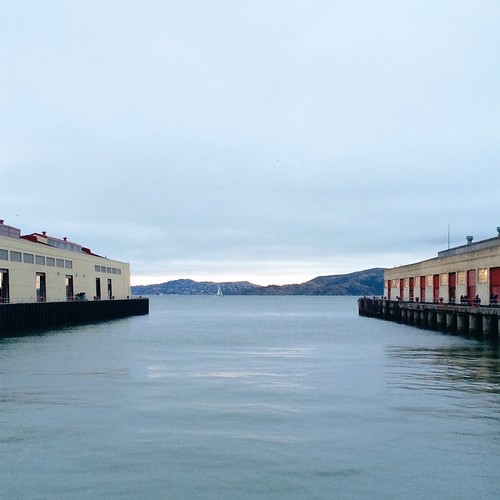
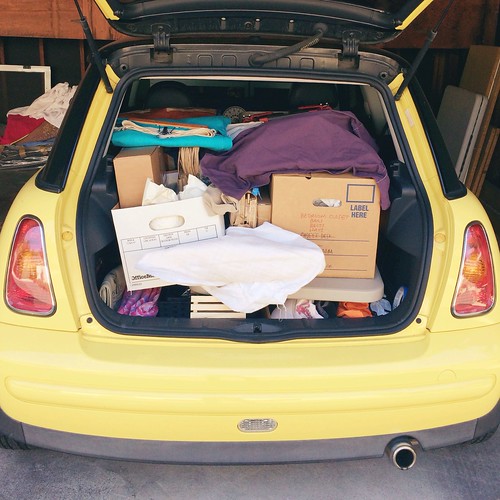
And to all of you who say MINIs are too small? Here's my Maxwell packed up and ready to hit the road, with room to spare, I might add! :)
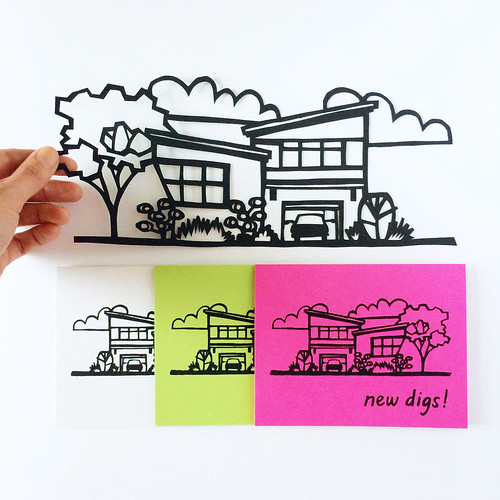
I had a few brand new products make their debut at Renegade over the weekend that I'm excited to share with you.
Remember my Retro Ranch papercuts? I printed these "New Digs" cards featuring one of those papercuts and think they'd be perfect for a housewarming party or to let your friends know you have a cool new pad.
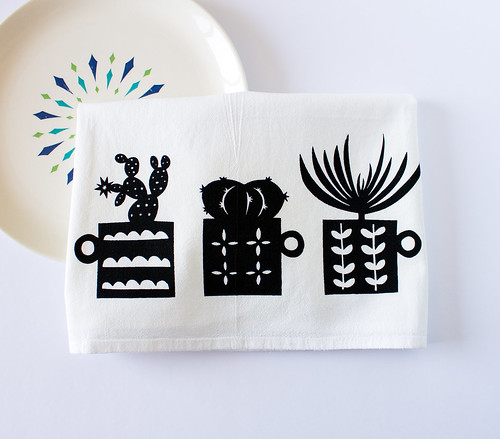
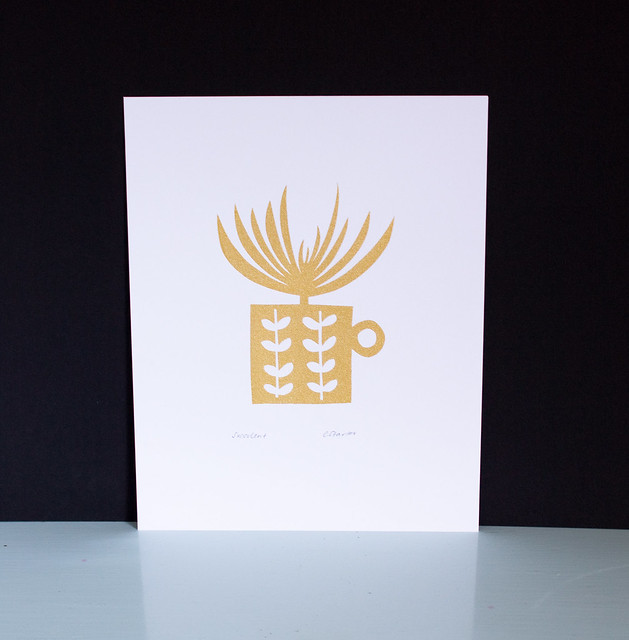
I have these cacti & succulent designs on cards and coasters, but now happy to announce they're on art prints and tea towels as well!
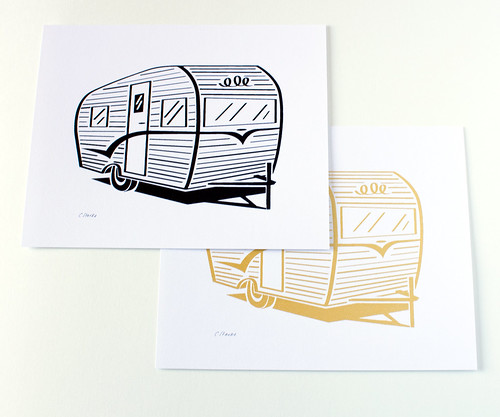
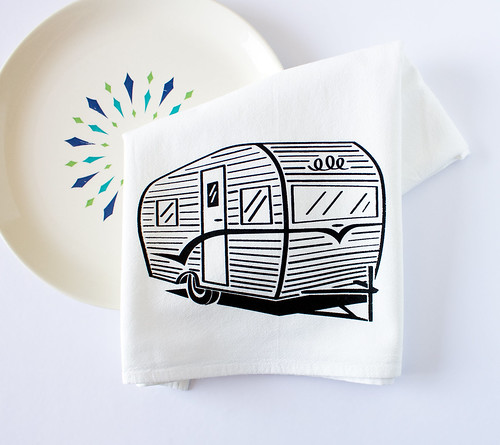
For all of you trailer enthusiasts, I have new art prints and tea towels! Wouldn't the towels be cute hanging in a little camper kitchen?
Now I'm about to dive into the mad dash to get my apartment packed up for the move this weekend. Wish me luck! I'm looking forward to getting settled and jumping back into making DIY projects and tutorials!
5
Life, lately.
Friday, July 11, 2014
It's Friday! I have no idea where this week went! I'm busy getting ready for Renegade SF next weekend so I've been in production mode over here in the Vitamini studios. I have a few brand new products I'm working on that I can't wait to share with you!
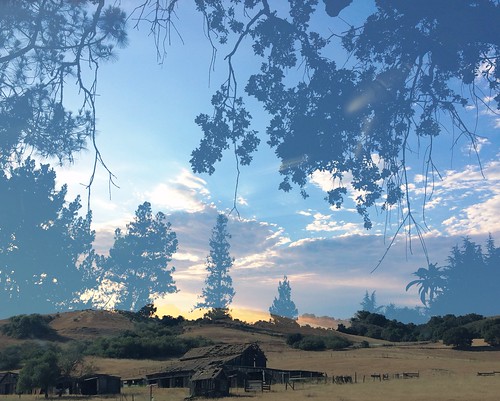
In addition to all of this busy work, I'm moving at the end of the month! Maybe you've noticed more country shots in my Instagram feed? It's because I'll be living there soon! I'll miss the Los Gatos living that I've grown accustomed to, but I'm really looking forward to having more space for my business. The scenery isn't half bad, either. I took this double-exposed photo of the Monterey County hills mixed with a Los Gatos sunset. It's kinda where my head's at lately. Here are a few other shots from my world lately.
New prints coming to the shop! That means lots and lots of trimming...
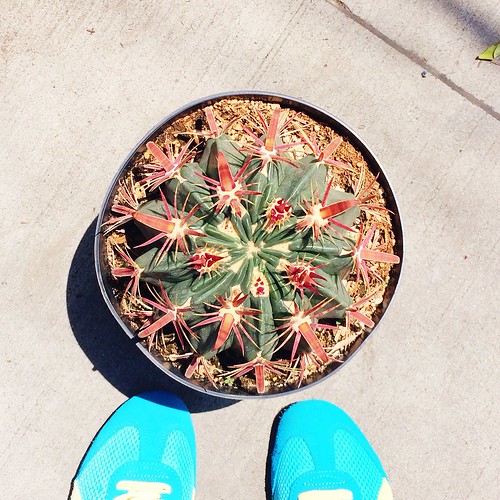
Can't resist a cactus.
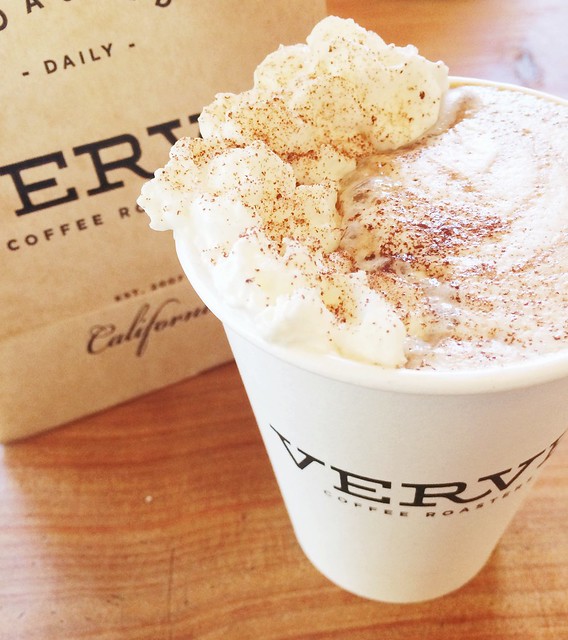
Delicious coffee from my favorite local shop, Verve.
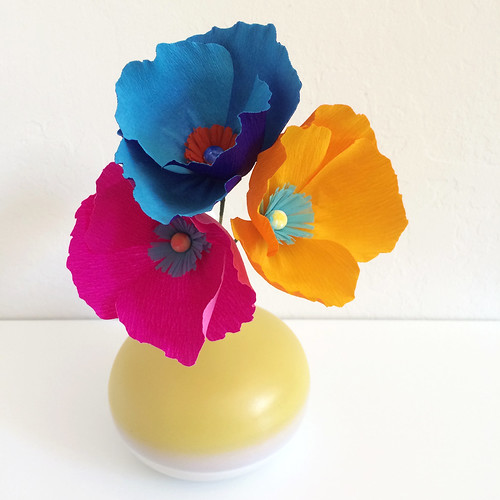
I'm making a bunch of paper flowers to take with me to Renegade. These graphic poppies may be my new favorite! Come visit my booth (#212) at Renegade to see them in person. They'll be for sale, too! Have a lovely weekend!
5
6 Faceted DIYs to Try
Monday, July 7, 2014
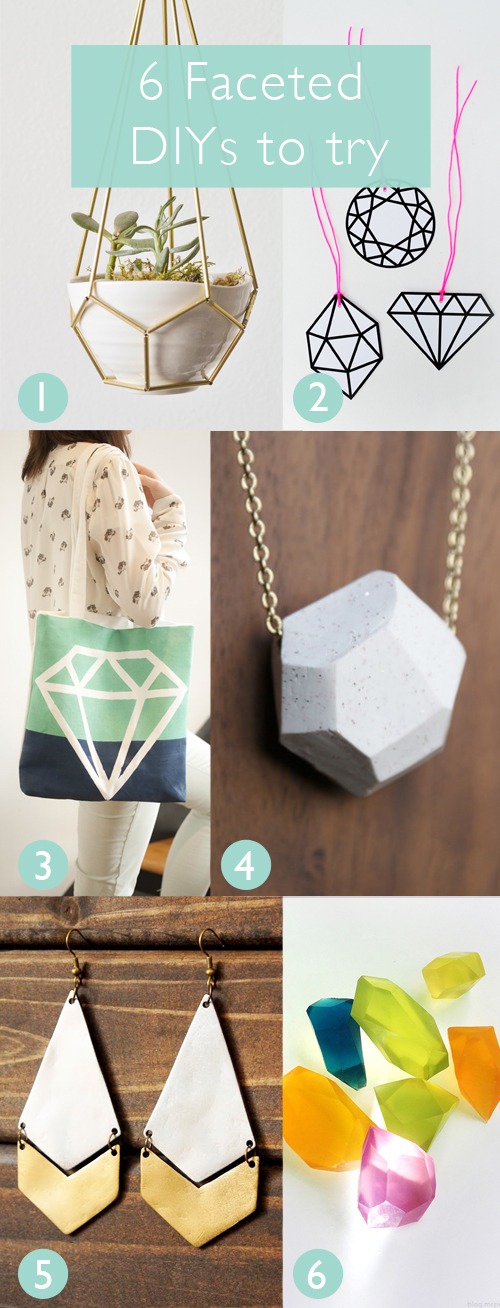
I don't know about you, but I'm glad this faceted trend is sticking around. Here's a roundup of 6 of my favorite faceted diy projects that you can do yourself!
1. Pretty hanging planter from Vintage Revivals
2. Gem gift tags from minieco
3. Beach tote from Whimseybox
4. Clay pendant from Dismount Creative
5. Cool earrings from Minted Strawberry
6. Gemstone soaps from Mr. Printables
I hope these tutorials inspire you to get crafty! Have a great week!
*Photos via their respective sources
5
DIY 4th of July Paper Flower Headband
Wednesday, July 2, 2014
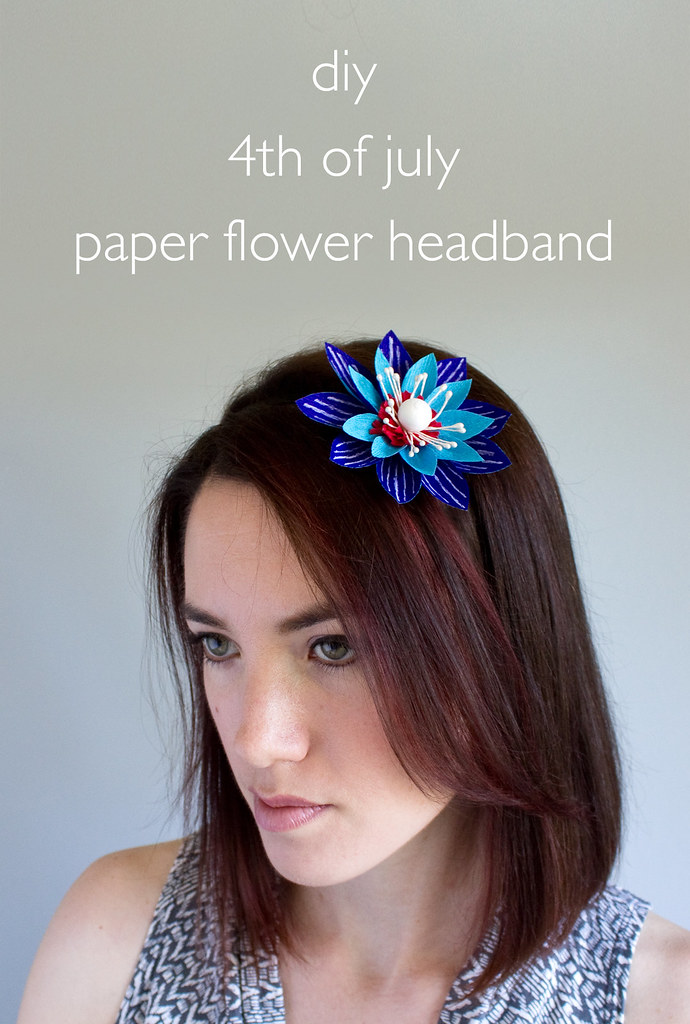
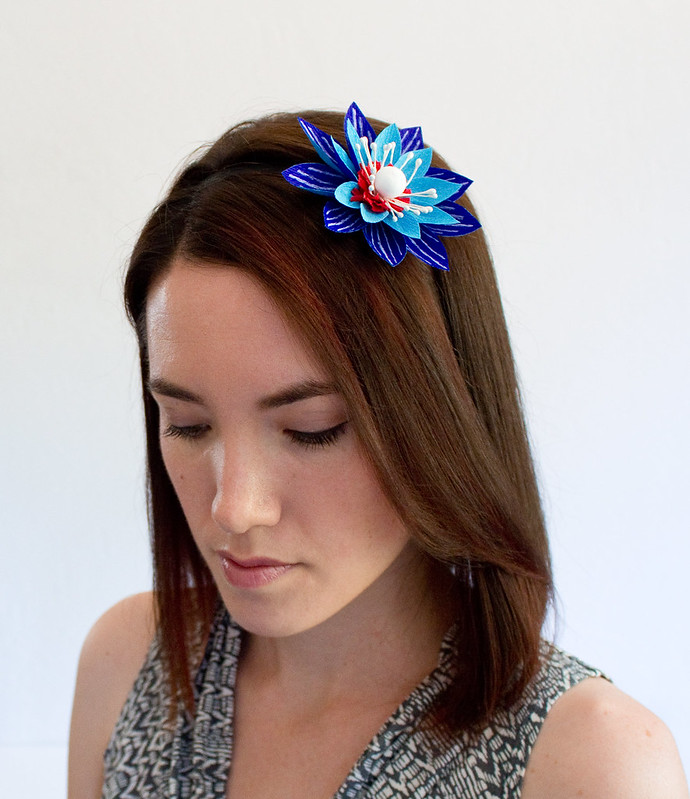
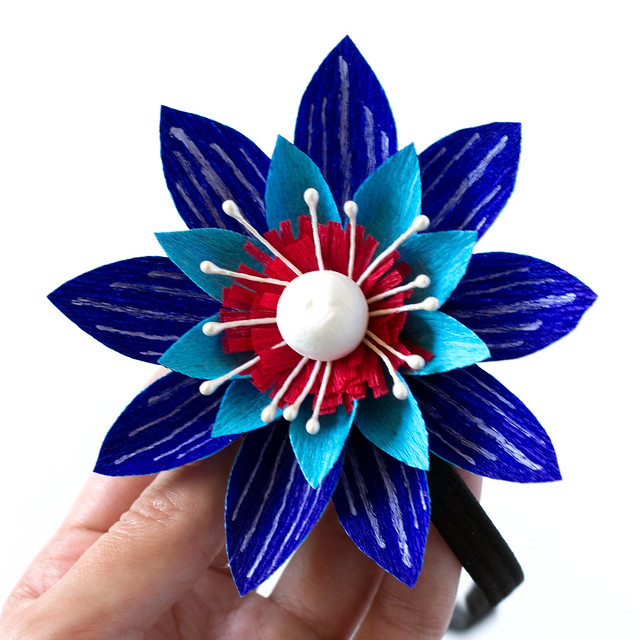
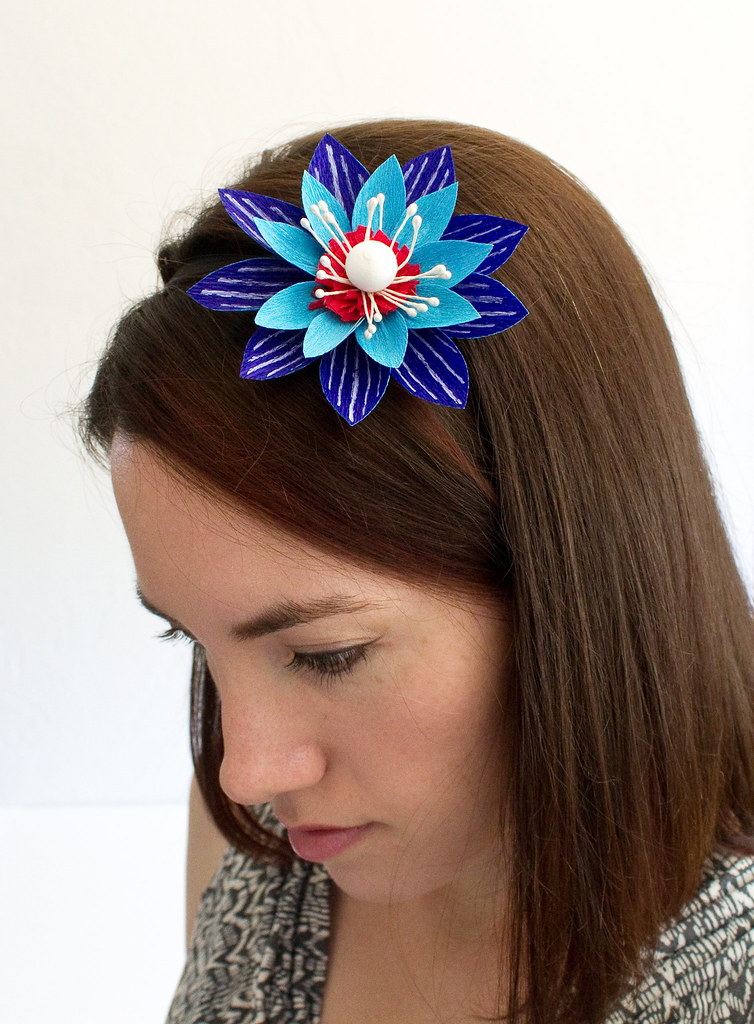
There's nothing like a national holiday to make you want to up your outfit game. Especially on a holiday that's known for parades, barbeques, and fireworks! I've been in paper flower factory mode over here, so I thought up this fun red, white, and blue flower headband to wear to celebrate USA on the 4th. I designed it to look star-like and incorporated stripes, so it's practically an American flag in flower form!
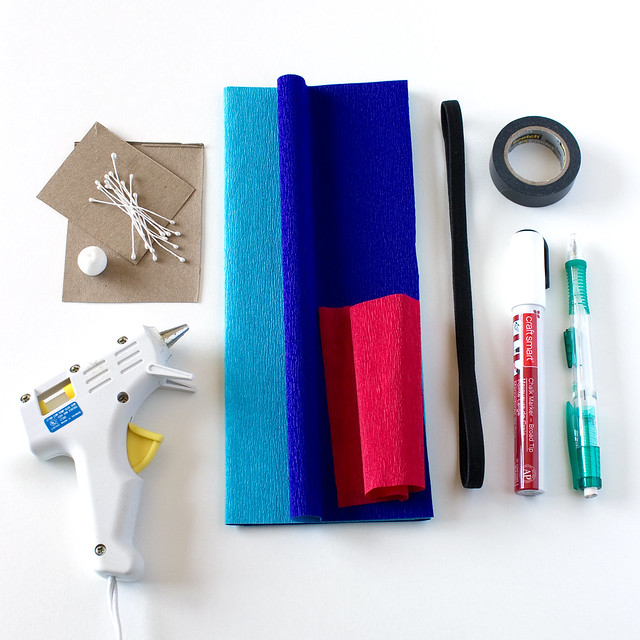
Here's what you'll need:
- Scrap cardboard from a cereal box
- Double-sided crepe paper in deep indigo/bright blue
- Single-sided crepe paper in red
- Round flower center, about 1/2"
- Flower stamen/pips
- White chalk marker or gel pen
- Hot glue gun
- Solid washi tape
- Elastic headband
- Pencil
- Scissors
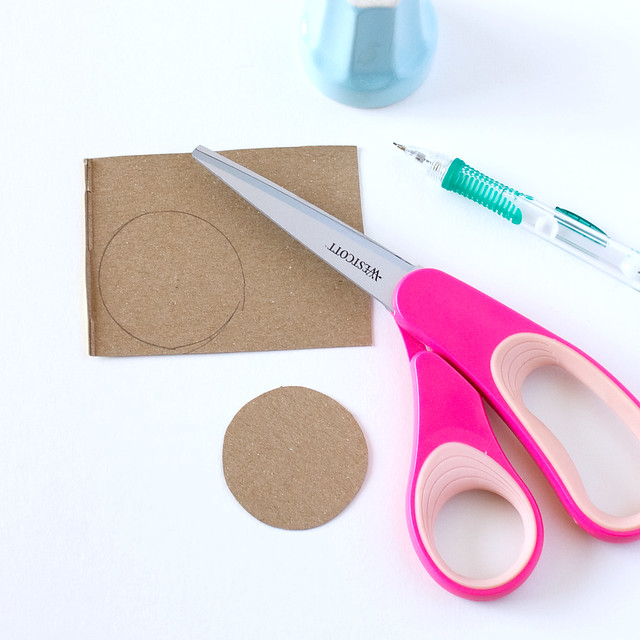
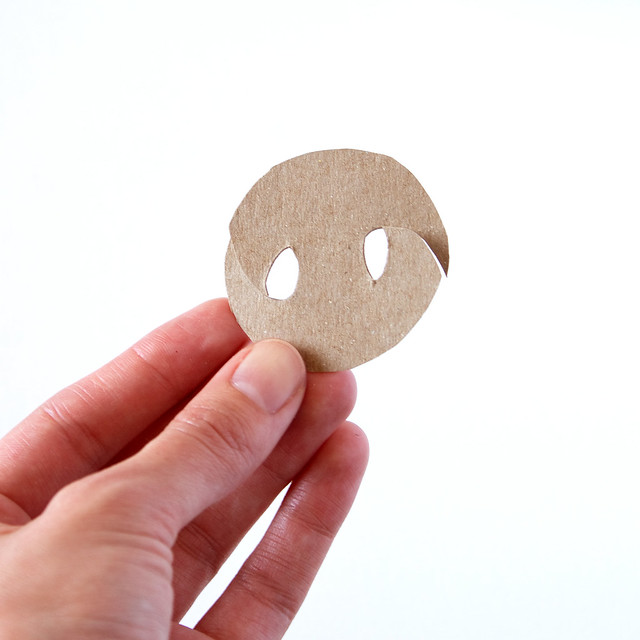
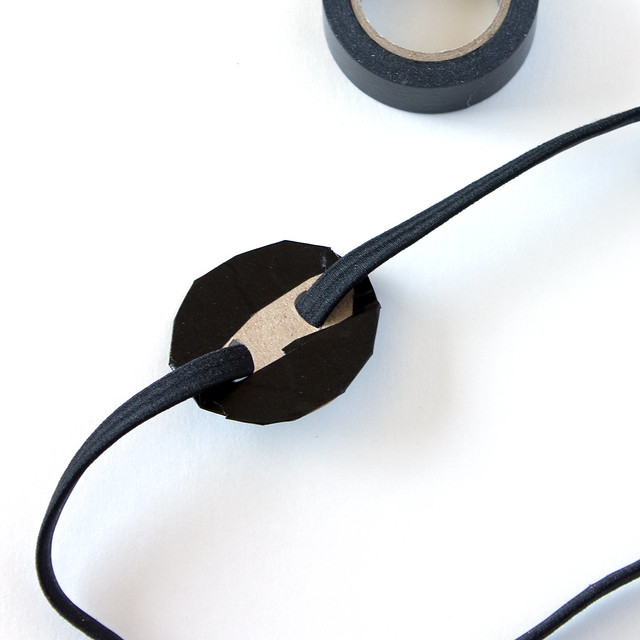
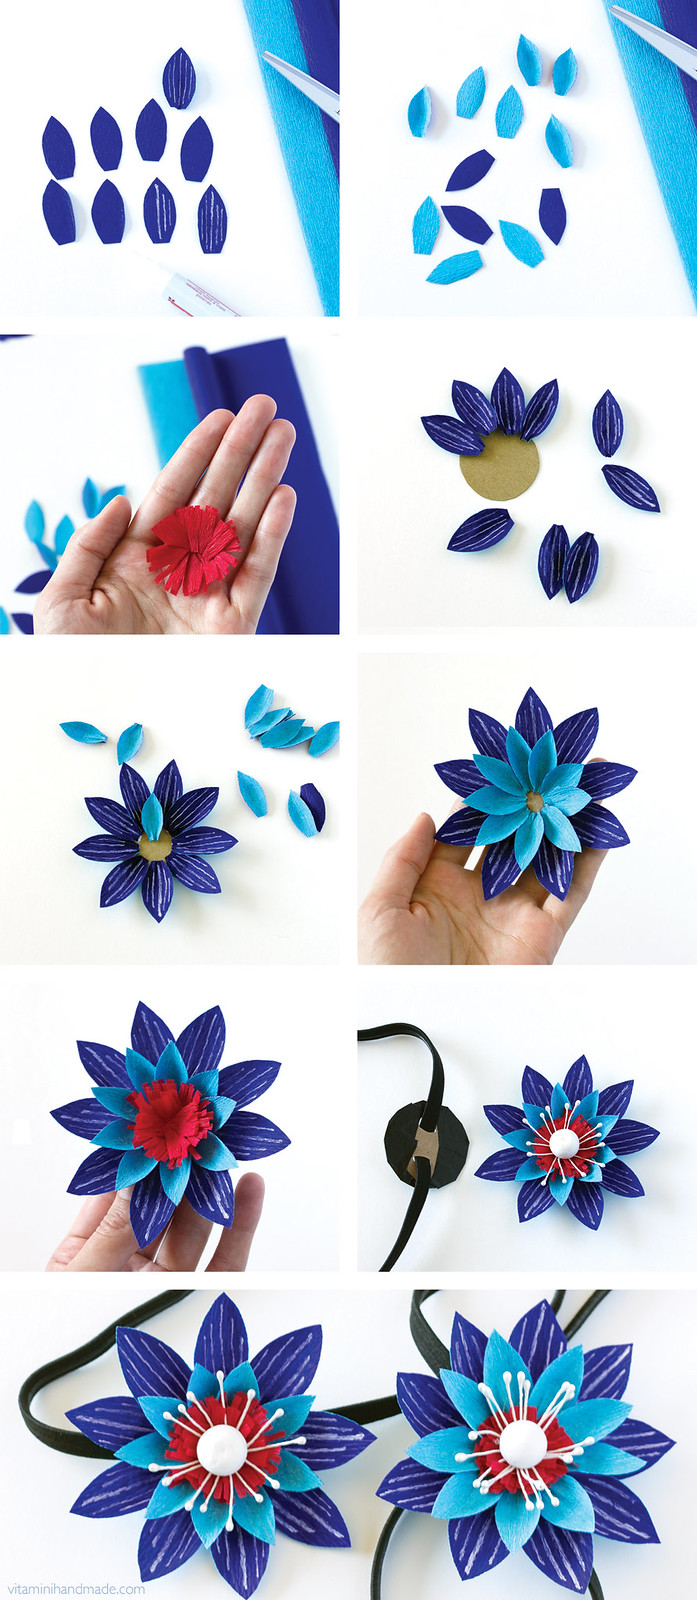
Cut two circles about 1 3/4" from the scrap cardboard. Cut a hole on each side of one of the circles. Thread the headband through the two holes and tape the cut edges. This cardboard piece will enable the headband to stretch and move without affecting the flower or pulling your hair.
Set the headband aside for later.
Make the components: (Paper grain runs vertically on all paper pieces) Cut 9 petals, about 1 1/2" x 3/4". Cut 9 more petals, 1" x 1/2". Draw skinny stripes on the large petals with the chalk or gel pen. Gently stretch the centers and gather the bases of all 18 petals. Fringe the end of a strip of red crepe, about 6" wide x 3/4" tall. Gather it in a spiral, making a rosette.
Assemble: Hot glue the large petals onto the second cardboard round so the edges touch. Hot glue the small petals closer-in on the circle, between the large petals. Glue the red rosette in the center. Add the stamen and finish off with the flower center. Add a small dot of hot glue to the center of the cardboard on the headband (not to the headband itself). Press the two cardboard rounds together to create the finished piece.
Wear it to your 4th of July festivities! I know I'll be wearing mine.