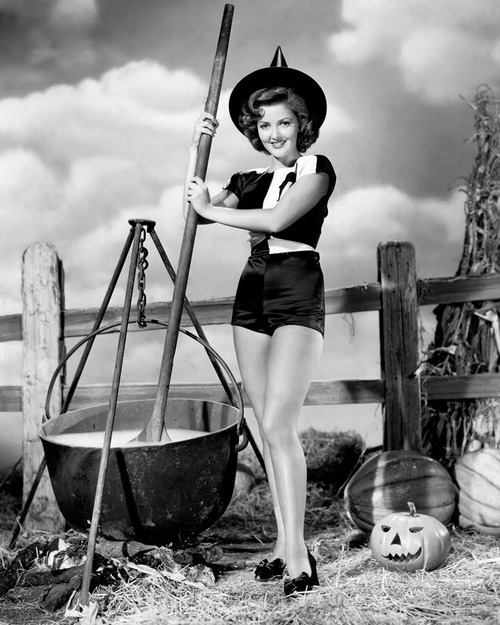
It's Halloween! Dust off your giant spoon and stir up some witches brew!
Image via IHeartChaos.
65
Paper Blossoms.
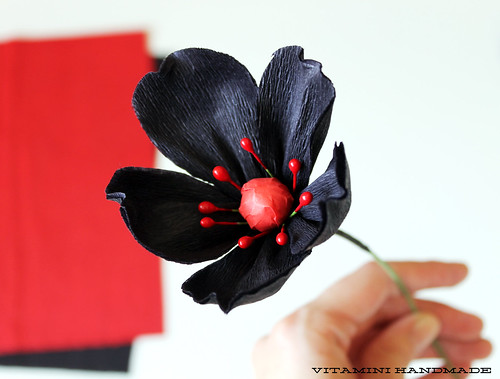
I finally had the chance to try my hand at making a few of the flowers from the Paper to Petal book, and I'm afraid I'm hooked!
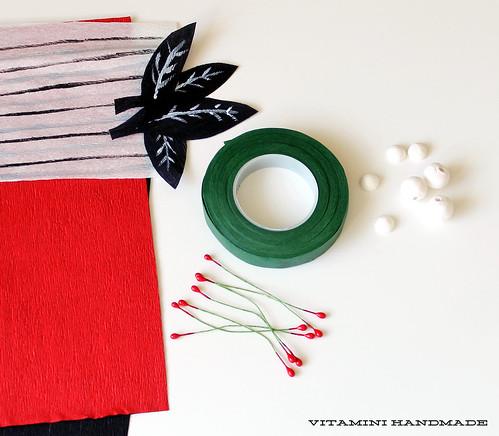
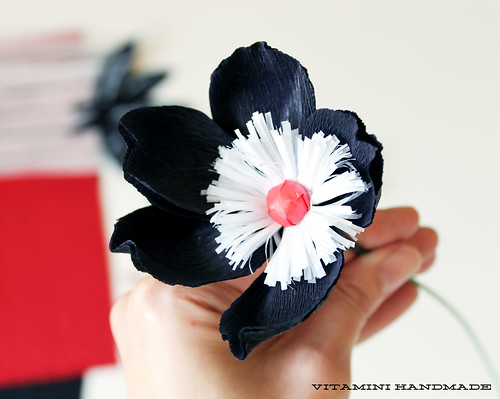
These flowers are the Five Petal Sweeties on page 178. They are so satisfying to make - I want them in every color! I started out with a black, white, gray, and red palette to go with some of my Halloween decor. The red pips (or flower stamen) are from my mom's craft stash and I think are as old as I am. The flower centers are spun cotton that I ordered from this shop.
I purchased the brown floral tape from the craft store, but was having serious trouble with it leaving sticky residue everywhere. I did some online searching and read that the craft store tape is not as good as the 'real' stuff you get from floral shops. I bought a new roll from the local florist and I'm excited to try it out.
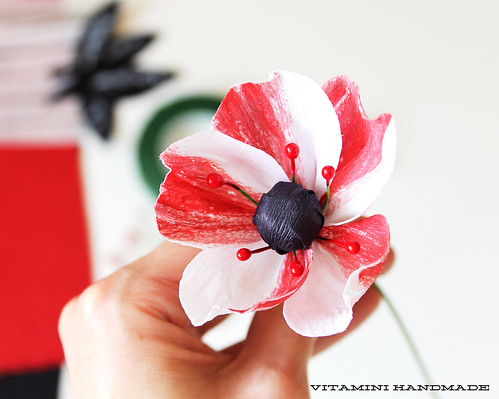
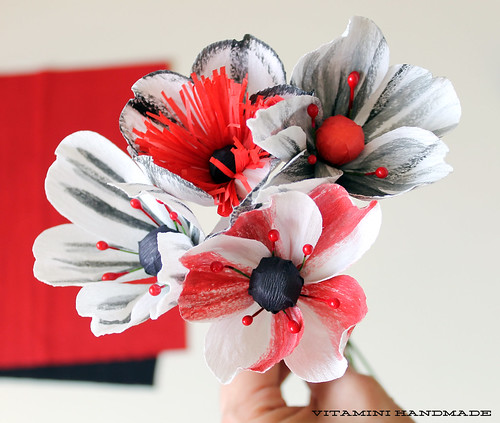
I had fun painting the white crepe paper with acrylic craft paints to come up with custom color combinations. I diluted the colors to get softer affects and visible paint stroke strokes.
I can't wait to try some of the other flowers! Have you made any flowers from this great book? I'd love to see them.
39
7 years.
Monday, October 28, 2013
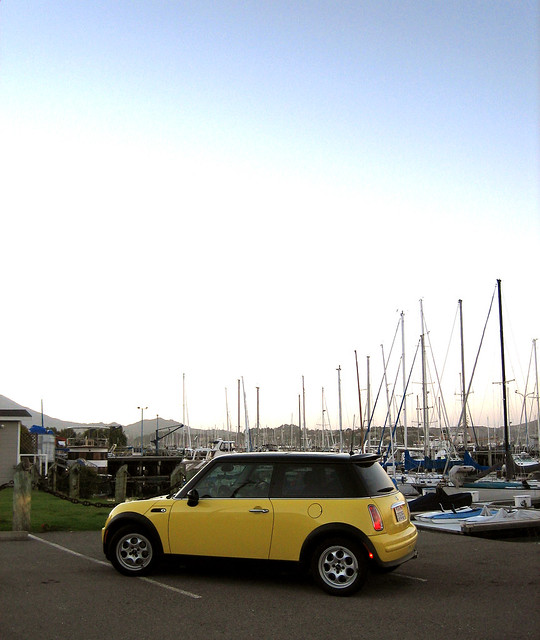
Seven years ago today I went out and picked up my sweet little MINI. It may seem silly that a car would mean so much to me, but getting that car symbolized me reaching a long time goal and it sparked many positive changes in my life. It was my first big adult purchase that I did on my own (yay for independence!), the good feelings motivated me to end a difficult relationship, and it even inspired me to start the creative business that put me where I am today. For that I'm so thankful for that little car. Happy 7 years, Max. To many more!
13
Fondue flowers.
Tuesday, October 22, 2013
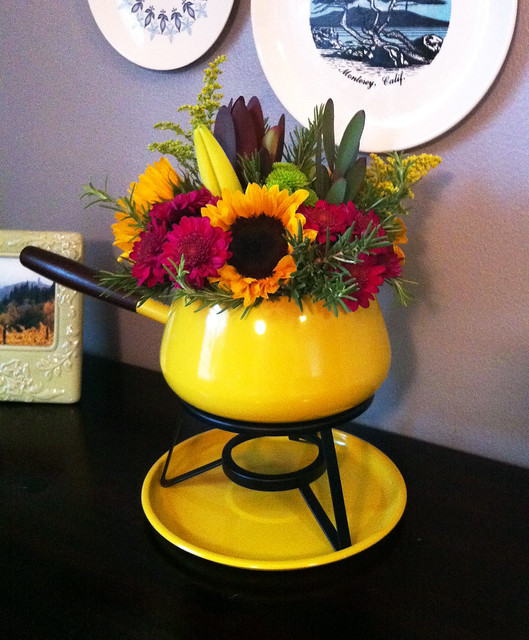
Here's a cute idea for your fall flower arrangements: use your retro fondue pot! I bought a mixed bunch of flowers at the grocery store and arranged them in my groovy yellow pot. I made a tape grid over the opening of the pot, arrange the largest flowers (sunflowers and stargazers) in the grid openings, trimming as needed to create a mound shape. Then I filled in the extra space with the rest of the flowers and fillers. It came out really cute and was a great reason to dust off the fondue pot.
23
DIY: Origami Bats
Wednesday, October 16, 2013
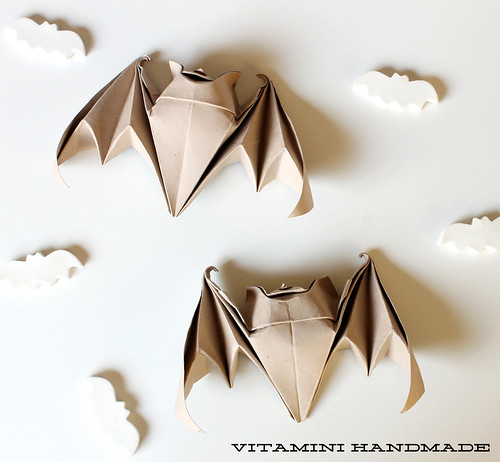
Just in time for Halloween, here are a few different origami bats to fold up! For advanced paper folders, here's a super cute little origami bat with a step-by-step instructional video!

This bat is created with a wet folding technique that results in a nice sturdy finished piece (after the paper has dried, of course). I folded these bats 2 years ago and they still look great! The instructions are a little tricky, so be prepared to press pause a few times while you catch up to the steps. Find the video on the Peabody Essex Museum's Origami page. Just click "fold more models", "origami now!", and "happy goodluck bat."
And for you beginner and intermediate origami artists out there, How About Orange gathered a few other Halloween bat tutorials for you to try your hand at.
This intermediate technique makes a bat that kinda looks like the wet folded one.
This beginner's bat would add a simple, graphic touch to your new bat collection.
*First two photos by Casey | Vitamini Handmade. Second two photos by How About Orange.
24
Thirty one.
Sunday, October 13, 2013

Yesterday was my birthday and I partied like it was my birthday. And by partied I mean I took my mom and my 4 year old niece to the pumpkin patch then had a nice dinner at my parent's house with plenty of kitchen dancing. My 30th year was a mix of wonderful (finally made that trip to London!) and very difficult (my mom's stroke and my dad's struggle with cancer), but I was just plain grateful to be able to spend the day with loved ones and be happy with the little things. Like a beautiful bin of pumpkins and my niece making silly faces every time we tried to take a picture.
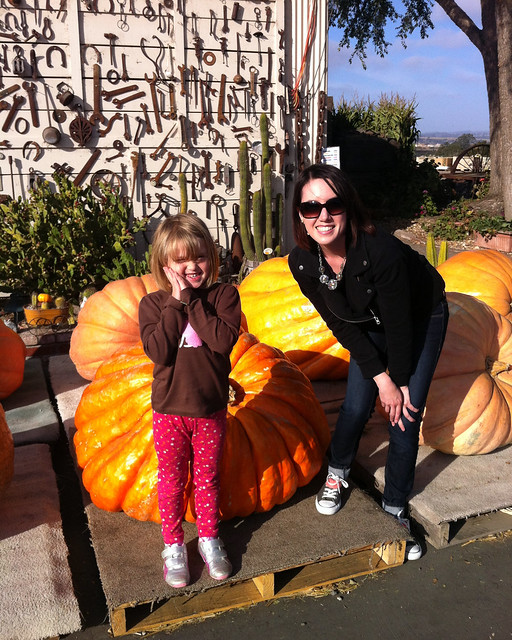
But 31 is going to be even better. I can feel it.
15
Whiteboard Calendar Accessories
Friday, October 11, 2013
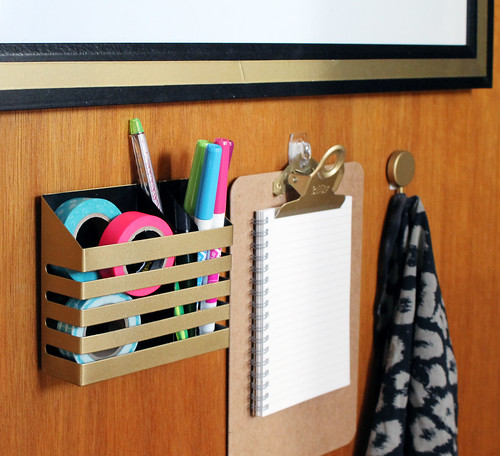
I've been using my Whiteboard calendar for a few weeks now and I love it! Instead of trying to memorize dates, and to-do items, I just open the hall closet door, scribble them out, then close the door. Of course, when I'm in work mode, I keep that door open, but when I'm trying to chilax I can just close the door an no-ones the wiser. After using it for a while, though, I realized I needed a few more things to make it really work for me. The first thing that hit me: where the heck are my dry erase pens? Those need to be handy. The second thing: my sleeves are going to get gross, quick. I need an eraser. Third: What do I do when I need to take my supply order list to my computer and actually order the stuff? Hmmm...
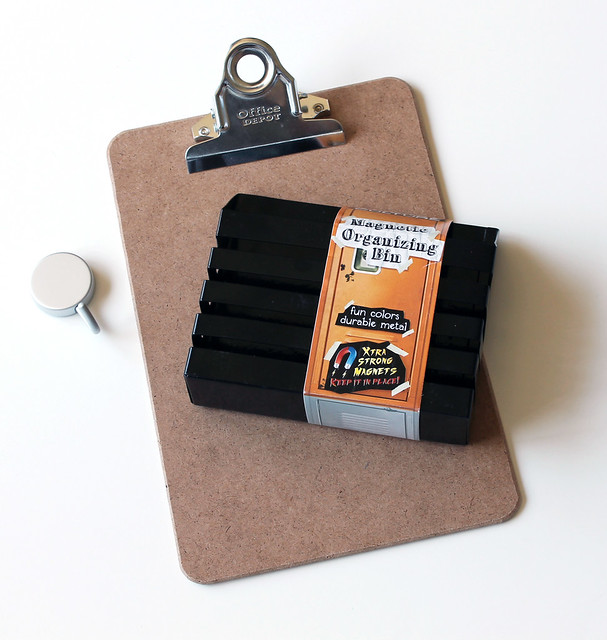
I remembered that Office Depot was carrying locker organizey stuff, so I headed over there. I found this cute metal pen holder and a simple little clipboard. I happened to buy this set of magnetic hooks from MUJI a few weeks back for the kitchen, and had one to spare.
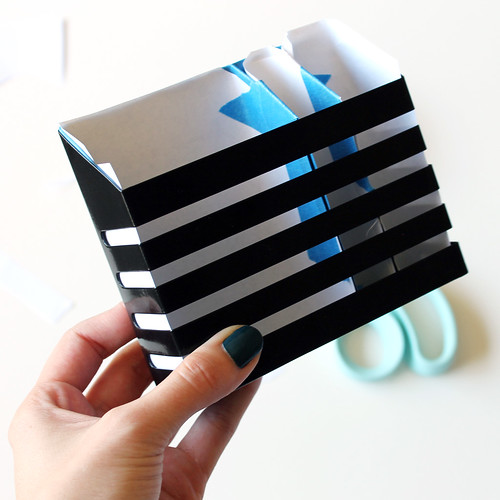
I wanted to unify these things and make them match the calendar, so all I needed was some masking tape and some gold spray paint. The gold ended up matching the gold tape really well. And horray for happy accidents - the gold stripes on the black pen holder match the whiteboard frame perfectly!
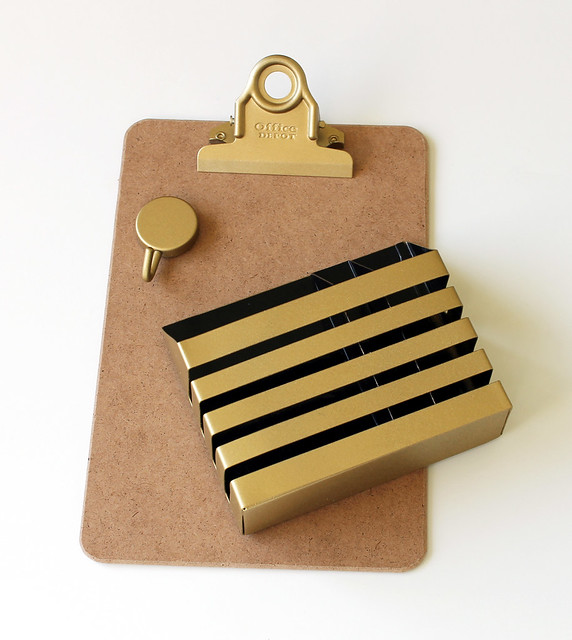
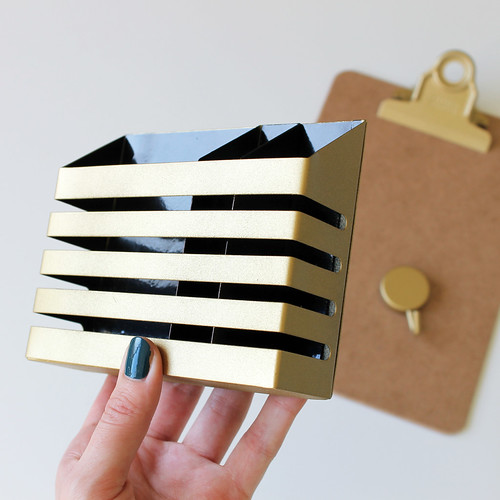
I filled up the pen holder with my washi tape rolls, dry-erase pens, and a ball point pen and attached the whole thing with the same 3M velcro strips that I used on the board. I added a pad of paper to the clip board and hung it on a clear 3M removable hook. That way I can take it on and off as needed. I stuck the hook on with a sticky strip, too, and added a t-shirt rag made from one of my worn out shirts.
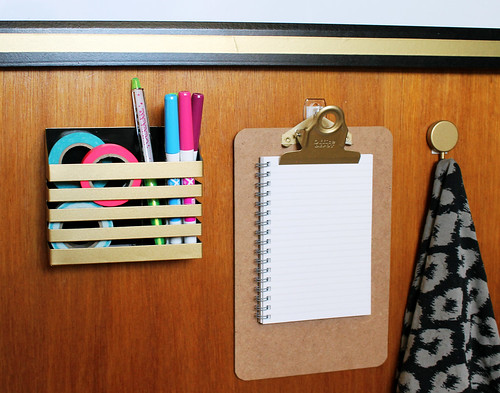
Now my calendar closet door is functional and organized. It looks pretty cute, too!
34
DIY: Glittered Skull Garland
Tuesday, October 8, 2013
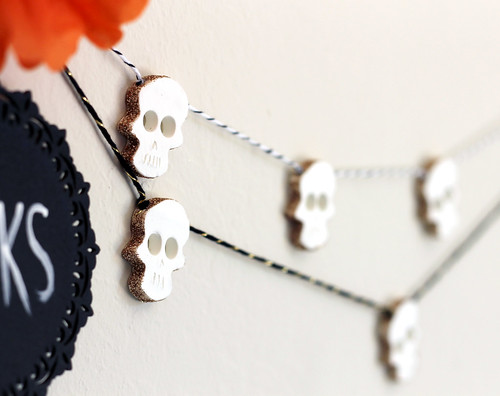
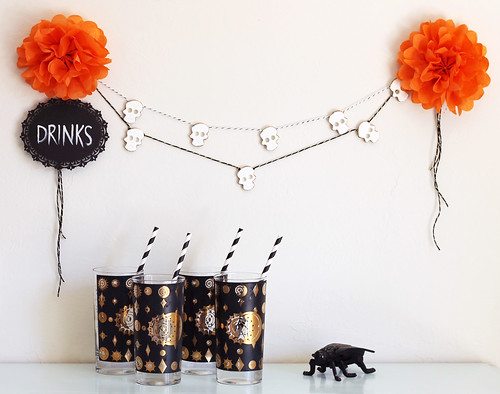
One of the reasons Halloween is my favorite holiday is because it has a sense of humor. Your don't have to take your decorations too seriously. Anyway, they're probably only going to be up for a couple of weeks, so have fun with them! I made this paper clay skull garland and thought it would look great hanging above a Halloween party bar. Here's how you can make one yourself.
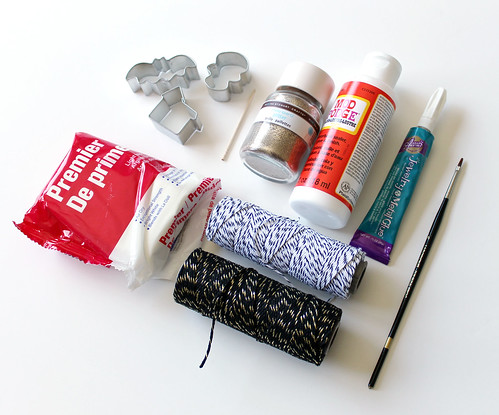
Here's what you'll need:
La Doll Premier Lightweight Stone Clay. This stuff is so fun to work with!
Skull cookie cutters, or any other Halloween shape you'd like. Mine came in this set
Waxed paper
Toothpick
Baker's twine
Glue for the twine. I used quick drying jewelry glue
Glue for the glitter. I used Mod Podge
Small brush
Glitter. I used Martha Stewart Smoky Quartz
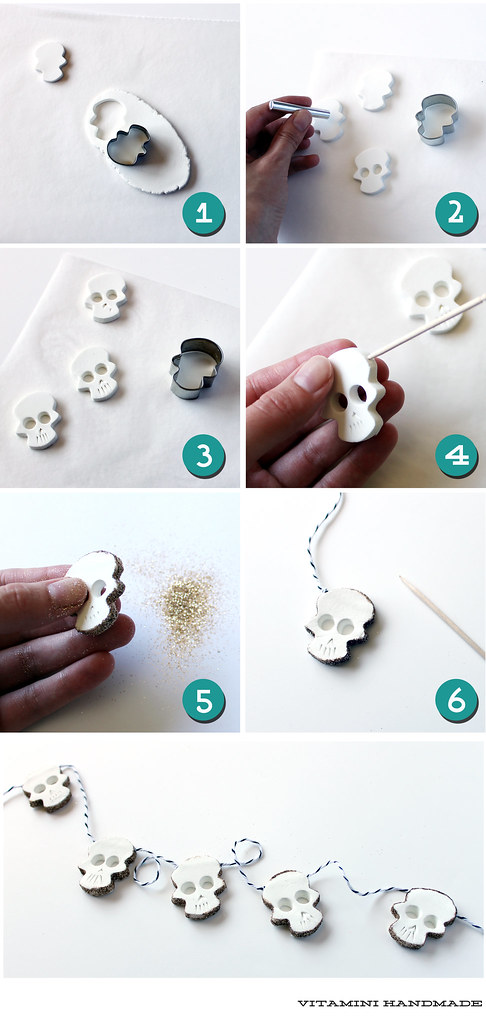 1. Roll out the clay in between two pieces of waxed paper. Cut out your shapes. Keep a cup of water nearby. Dip your finger in the water and smooth out the edges of your cutouts.
2. Using something round like a pen cap, punch out the eyes.
3. Using the toothpick, imprint the nose and the teeth.
4. Add two holes on each side. Let your cutouts dry on a drying rack for a couple of hours. Keep the unused clay in a sealed container so it won't try out.
5. Brush the modpodge around the edges of the skulls. Sprinkle the glitter on and shake off the excess.
6. Cut the baker's twine in 4" - 7" lengths. Tie a knot near each end. When the Mod Podge is dry, add the jewelry glue to the holes and attach the twine. The knot in the end will help it stay put.
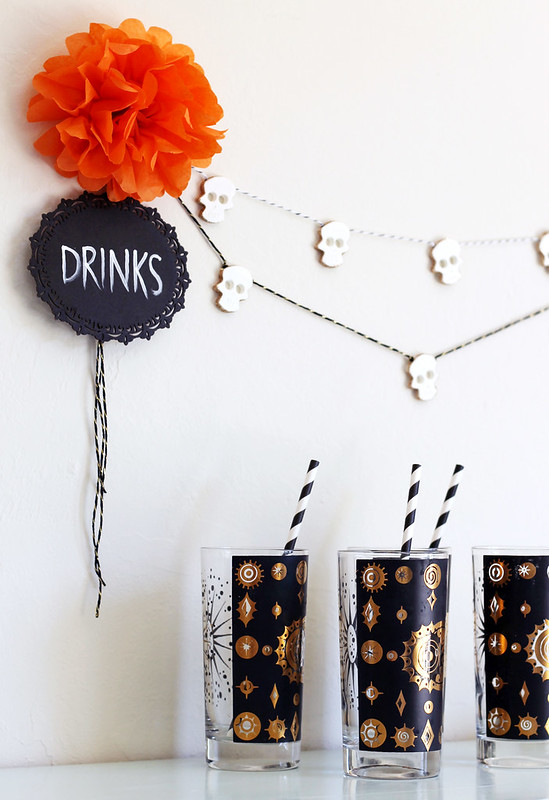
Continue adding skulls to your garland until it is your desired length. Hang up your new garland in layers! I made some tissue paper flowers in orange and painted this cute little drink sign. Perfect decorations for a spooky Halloween drink bar!


Here's what you'll need:
La Doll Premier Lightweight Stone Clay. This stuff is so fun to work with!
Skull cookie cutters, or any other Halloween shape you'd like. Mine came in this set
Waxed paper
Toothpick
Baker's twine
Glue for the twine. I used quick drying jewelry glue
Glue for the glitter. I used Mod Podge
Small brush
Glitter. I used Martha Stewart Smoky Quartz
 1. Roll out the clay in between two pieces of waxed paper. Cut out your shapes. Keep a cup of water nearby. Dip your finger in the water and smooth out the edges of your cutouts.
2. Using something round like a pen cap, punch out the eyes.
3. Using the toothpick, imprint the nose and the teeth.
4. Add two holes on each side. Let your cutouts dry on a drying rack for a couple of hours. Keep the unused clay in a sealed container so it won't try out.
5. Brush the modpodge around the edges of the skulls. Sprinkle the glitter on and shake off the excess.
6. Cut the baker's twine in 4" - 7" lengths. Tie a knot near each end. When the Mod Podge is dry, add the jewelry glue to the holes and attach the twine. The knot in the end will help it stay put.
Continue adding skulls to your garland until it is your desired length. Hang up your new garland in layers! I made some tissue paper flowers in orange and painted this cute little drink sign. Perfect decorations for a spooky Halloween drink bar!


5
Current events.
Friday, October 4, 2013
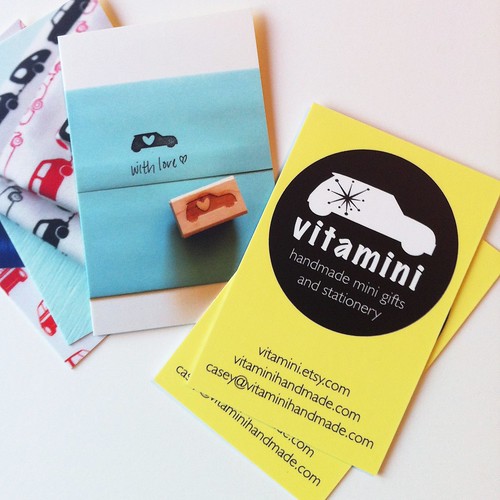 |
| Reworked my logo a little bit with my new business card design. I just got my delivery from Moo yesterday and I'm so happy with them! Love the photos on the back, too. |
A little bit of what I've been up to lately. We're approaching the busy time of year! Wait, what am I saying "approaching", we're IN the busy time of year! I've got a lot of projects in the works. I've designed two new holiday cards! One of the new designs is still living in my sketchbook while the other is half way done. I screened the first color last weekend and had to make a new screen for the rest of the design. Just stretched a new screen last night! I'm working on getting new, bigger, Made in USA tote bags in the shop to replace my previous model. The others were nice, but these will be nicer.
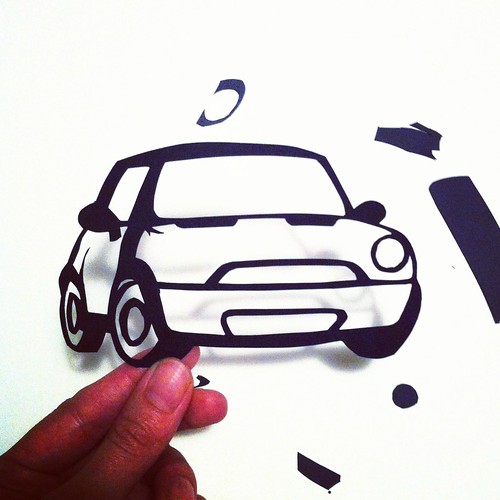 |
| My new Vitamini holiday cards are based on this papercut I did a couple weeks ago. |
I just finished up another Alt for Everyone session last Saturday and I learned so much! I think it's important to keep learning and making connections with others who have the same passions. It's energizing to get to chat with people with similar goals and concerns. I have some plans bouncing around in my head and I'm excited to start implementing them. I've slowly been making some changes to the blog layout (have you noticed my new bio pic and social media buttons?). And if you're visiting from the AFE blogroll, welcome!
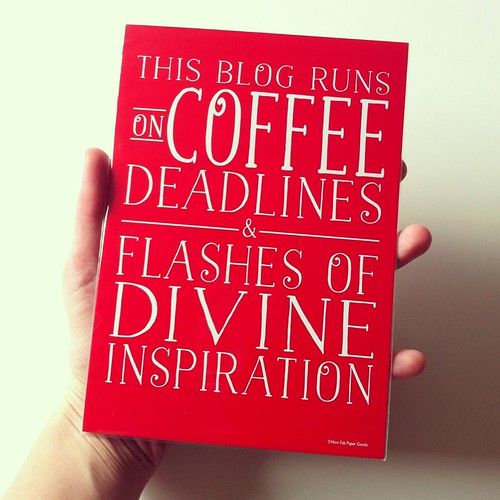 |
| The Alt for Everyone participants got some really great gifts! This print is from How Fab Paper Goods. |
It was my dad's 71st birthday yesterday, so I'll be spending tomorrow celebrating with the family. Here he was something like 35 years ago looking rugged while building my family's first house.
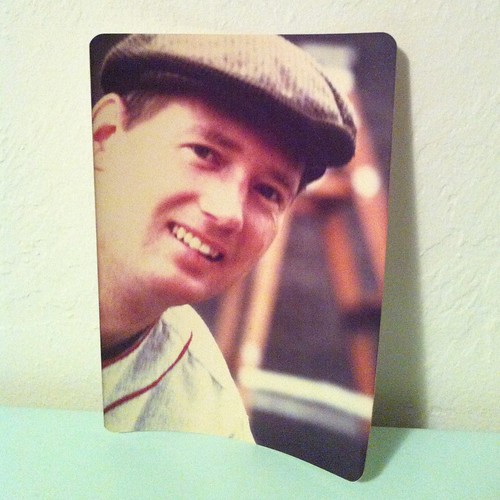 |
| Happy birthday, dad! |
These pics were from Instagram, so if you want to follow me in real time, I'm @vitaminimodern. Have a wonderful weekend!
2
Decorate for Halloween with plants!
Thursday, October 3, 2013
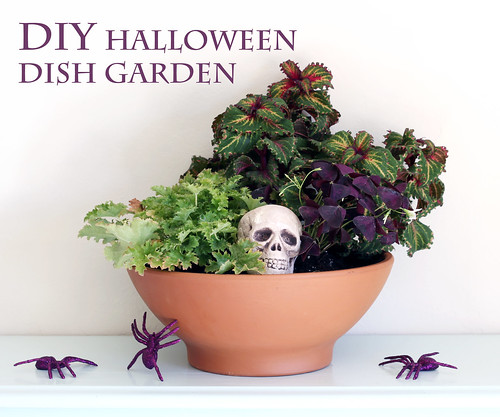
As a plant-loving apartment dweller, I have to get creative with my collection. Thankfully, container gardening works for me, because it's my only option!
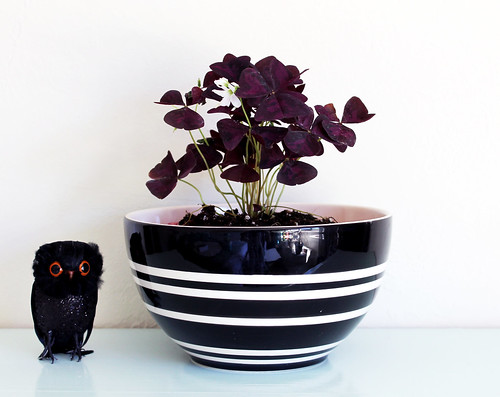
I'm a plant lover. I'd probably make a pretty crummy landscape architect if I wasn't, huh? I love plants of all kinds, but I'm especially drawn to unique and unusual varieties. I was browsing around at the local hardware store over the weekend looking for spray paint and (as always) wandered into the small garden section. I spotted this great deep purple Oxalis, and that was it for me. I decided to plant a halloween themed dish garden with this Oxalis as a feature. What's spookier than an almost black plant? Here's what I ended up getting. Thank you to my new owl for playing Vanna White for these photos.
Oxalis 'Charmed Wine'
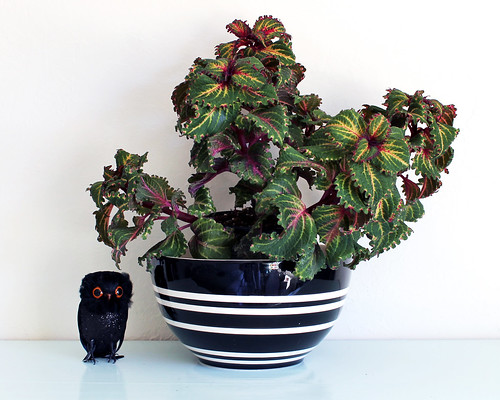
Coleus 'Peter's Wonder'
Heuchera 'Apple Crisp'
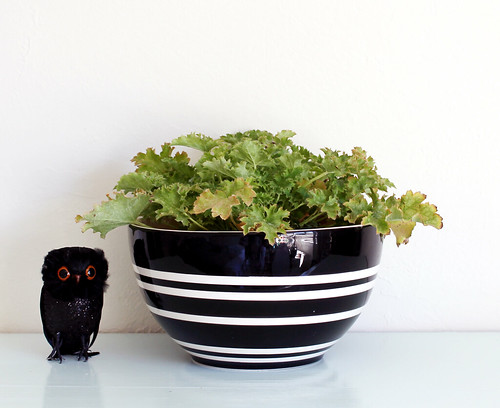
Three things to consider when selecting plants for a container garden:
- Take their water and sunlight needs into account. Choose species with similar needs.
- Consider the color, size, and form of the plants. Find plants of varying heights and varying textures. When selecting for color, I typically choose two that compliment each other, and a third that contrasts.
- Select an odd number of plants. Odd numbers always look more natural in landscape settings.
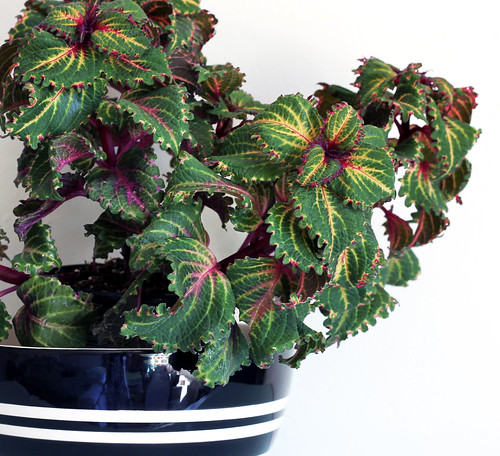
Starting with the deep purple leaves of the oxalis, I knew I needed at least one other plant with purple. The coleus was a great find, because of its interesting leaf shape, tall form, and cool variegated leaves (with purple!). Those two plants compliment each other in color and form, so next I went looking for something with contrast. I found this great lime green heuchera, that when paired up with the other two, really pops. It also satisfied my need for something low. All three of these work well in containers and part shady conditions of my porch. I picked up a simple clay pot and a bag of soil and I was ready to get started!
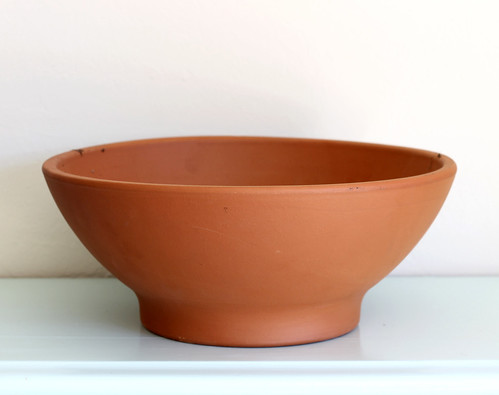
To arrange the plants in the pot always place the taller ones in the back and the shorter in the front. I like to add a little something extra in my container gardens (as seen in my succulent dish garden) so I kept a little space open in the front for this skull that I found in my box of Halloween decorations.
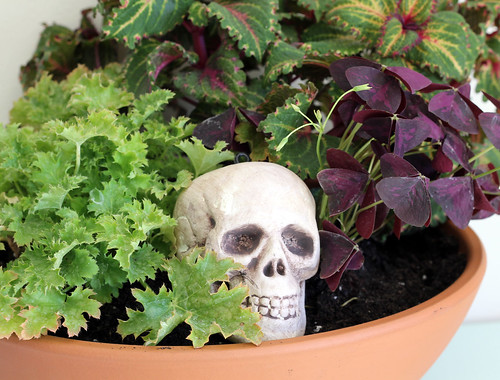
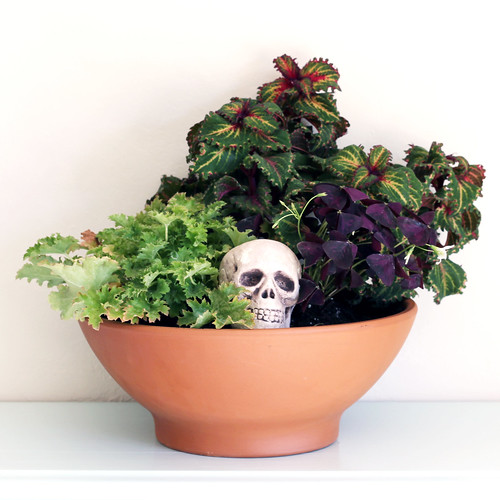
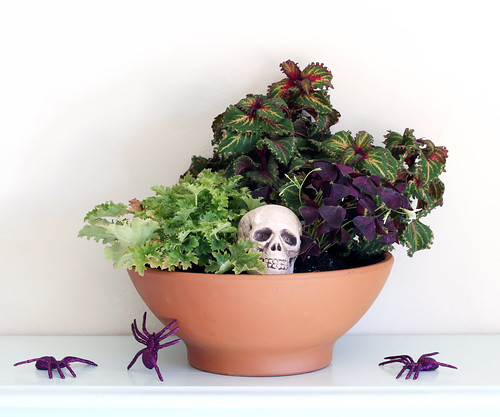
Done! And it'll make a nice centerpiece for evening get-togethers this fall. Just add some creepy spiders. In the meantime, it looks great on my front porch and reminds me of fall every time I walk by.


