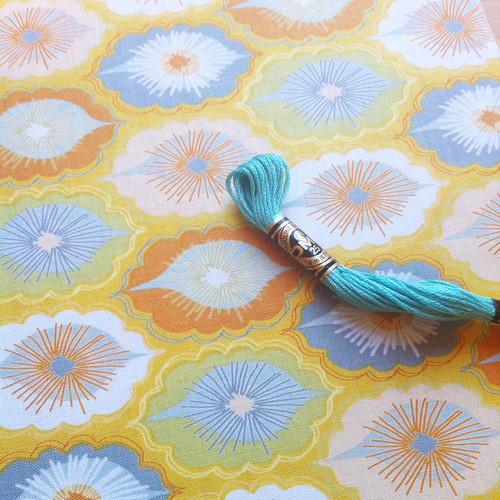
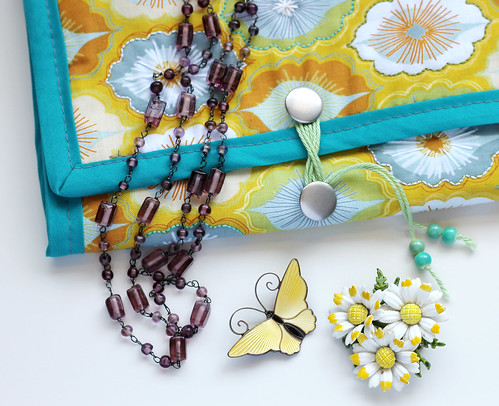
Before I left on my trip to London, I had been thinking about things that would make my life a little easier when I'm traveling and realized that I didn't have anything to hold my jewelry! I had just purchased a 1/4 yard of this great fabric and thought it would be perfect for a jewelry wrap! I found this great tutorial from
Sew Crafty Jess but altered the steps to fit the materials I had on hand and the style I was going for. Here's what I did and the materials I used:
1/4 yard outside fabric
1/4 yard felt or batting
Embroidery floss in coordinating colors
Embroidery hoop
1/4 yard inside fabric
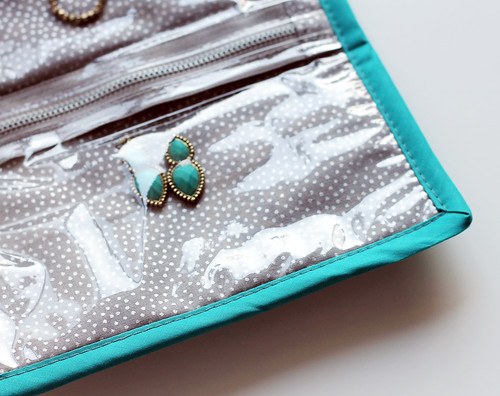
1/4 yard clear vinyl
3 zippers
1 package double fold bias tape
2 buttons
Yarn or twine for the tie
Beads for the tie ends
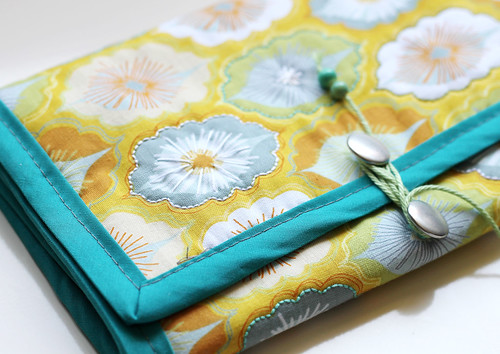
I used this tutorial as a guide, but altered the process a bit to fit my materials. Finished dimensions of the wrap are 8" wide x 18.5" long
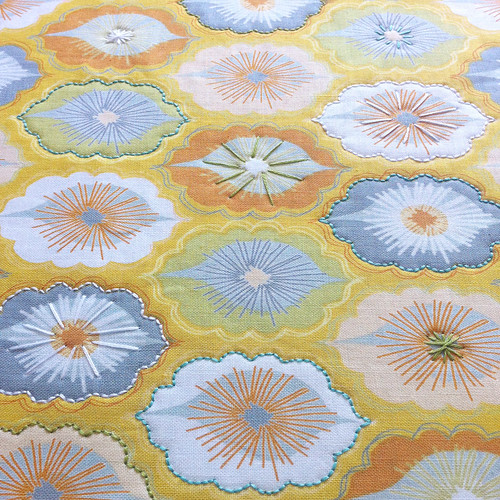
I basted the felt onto the outside fabric and did some embroidery using floss in coordinating colors. You can skip the embroidery step, but I thought it gave the fabric a little more character and special detail. The felt also gives the wrap some extra padding.
Cut a 4" x 9" strip of fabric for the zipper ends. Iron it in half lenthwise. Open it up, and fold the outer edges inside to the center fold and press. You'll end up with 1" x 9" strip. Cut it into 1 1/2" pieces to go on e
After I had my outer fabric all ready, I cut the inside fabric to size (8" x 18.5"), and then just followed the directions from the tutorial. I also altered the size of my pockets a little bit since I only had 3 zippers instead of 4.

What I learned:
Vinyl can be difficult to sew! I used 4 gauge vinyl for this project and found it to be very slippery and stretchy. As I was sewing, it would shift under the pressure foot, making it difficult to keep straight and aligned. Fortunately, there were only a couple small spots on the inside of the pockets that bunched up. Maybe thicker vinyl wouldn't shift as much? I'll have to do some experimenting.
*Here's a little tip that I heard somewhere years ago: Vinyl can stick to your sewing machine's pressure foot if your foot isn't non-stick. To fix this and make your vinyl glide under the foot while you're sewing it, just put a piece of scotch tape on the underside of the foot, cutting out the space where the needle passes through. Voila! No more sticking!
Since I used metal zippers, it was better to use larger zipper ends so I wouldn't have to sew over the actual zipper when I added the bias tape. I cut 4" x 9" strips for the zipper ends, followed the steps in the tutorial for ironing, and cut it into 6, 1.5" pieces. These larger zipper ends also made the bias tape lay flatter than it would if I had to sew over the zippers.

All in all it was a fun sewing project to try out and was so useful on my trip. My jewelry was easy to see and was nice and safe when all wrapped up. I'm planning on making a few more soon. I think they'd make great, useful gifts!