


 I'm slowly getting more adventurous with my sewing projects, and I'm really having fun with it! Months ago I saw this pin of a fabric whale on Pinterest and thought it was the sweetest. The original pin source is in Finnish, but there were some helpful photographs of the steps. So, last December, armed with some fabric and a little time, I decided to dive in and get started making one for my niece for Christmas!
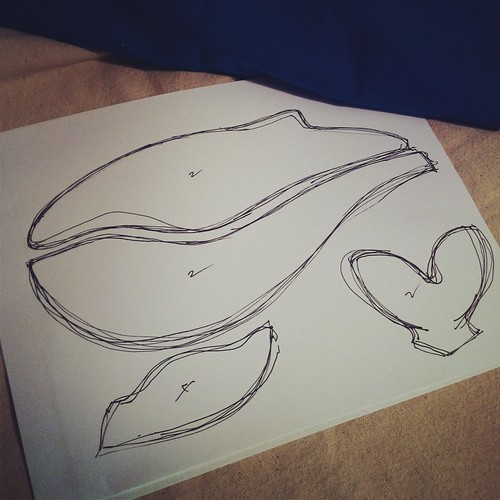
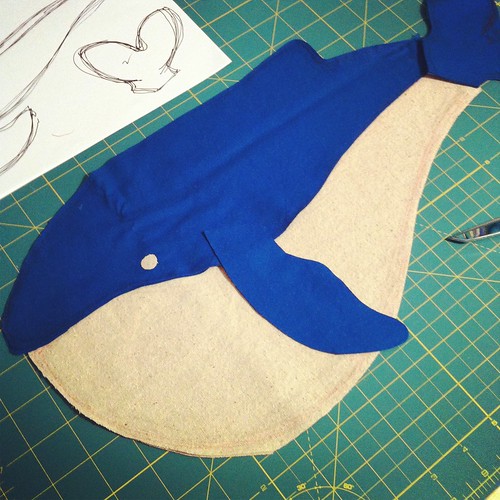
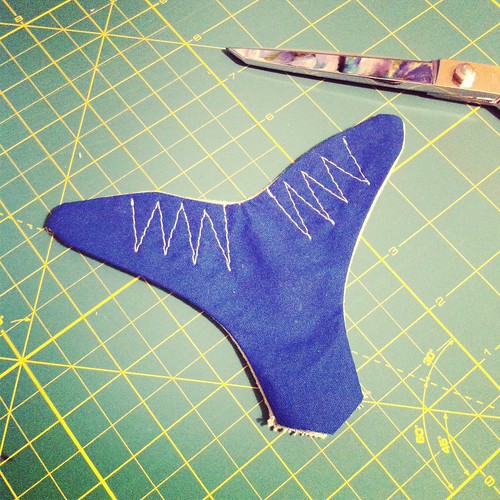
I used a oatmeal fabric for the underside and a vintage deep blue cotton for the rest of the body, fins, and tail. I sketched out some rough pattern shapes on tracing paper, knowing I'd probably make a few adjustments here and there while I was sewing. Once I had all of the pieces assembled I tweaked the seams here and there to get the proportions too look right.
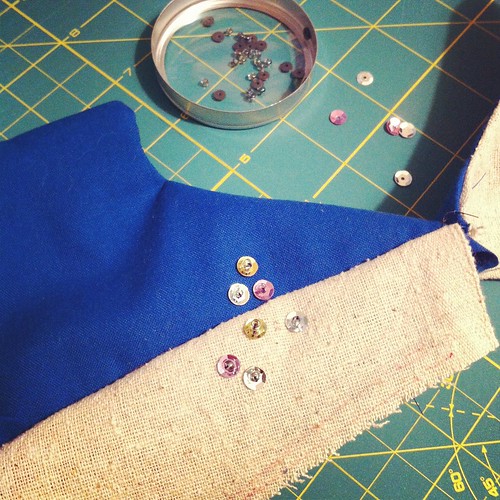
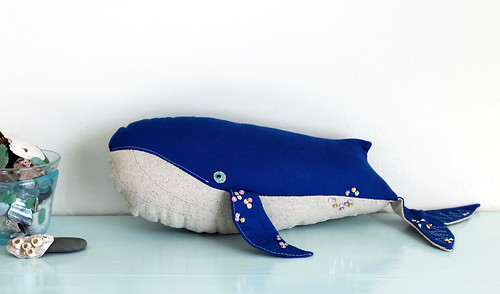
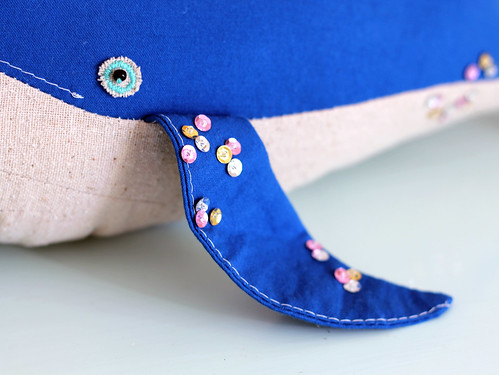
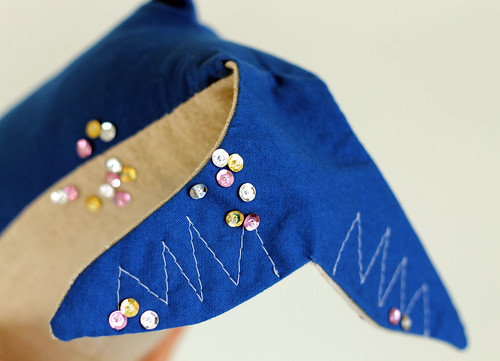
I didn't have any big black beads for the eyes, so I embroidered the oatmeal fabric using blue thread and added a small black bead to the center. I wanted to give this guy a little extra character, so I sewed on silver, gold, and pink sequins for barnacles! Too cute! After that, all that was left to do was to stuff it up and sew it closed. Once the first whale was done, I knew my heart would break giving him away, so I made another one for myself to keep.
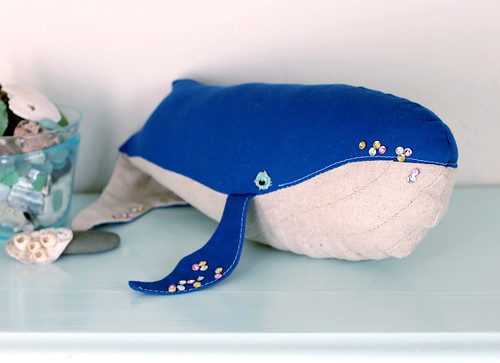
Here he is! I named him Barney after all of his bling-bling barnacles. :)
Brilliant tutorial. Thank you very much!
ReplyDeleteI just posted a tutorial on creating custom fabric wall art. I am a new blogger & would love to know what you think. http://everydayillustrated.wordpress.com/2013/02/20/the-result-diy-framed-textile-art/
He's very cute! Might have to add it to my long list of projects to make!
ReplyDeleteThis comment has been removed by the author.
ReplyDeleteLove the wonderful things that you show related to Embroidery Digitizing
ReplyDeleteNice knowledge gaining article. 토토사이트 This post is really the best on this valuable topic.
ReplyDeleteEMDigitizer has been providing premium quality embroidery digitizing service for embroidery digitized by experienced digitizers.
ReplyDelete