I'm a total freak for vintage lamps. I have a ton of them, and I love all of them deeply. I get even more excited when the lamp has a fiberglass shade! Fiberglass lamp shades were very common in the 50's and 60's. They came in a variety of colors, finishes, and patterns, and cast a nice glow since the fiberglass is semi-transparent. The were often laced with leather or plastic along the tops and bottoms in a contrasting color. Here are a few of the fiberglass shades I have around my place:
 |
| My mom gifted me this great lamp for my birthday a couple years ago. She knows me well! |
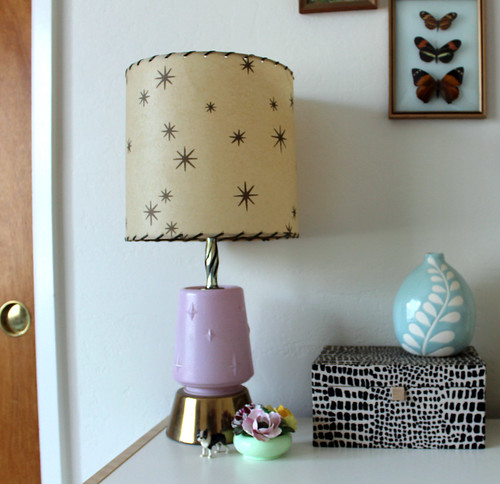 |
| I bought a pair of these great vintage lamps on Etsy a few years
back. I love the starburst design on the shades! These lamps are
especially nice, since there's also a light bulb inside the pink glass
base! |
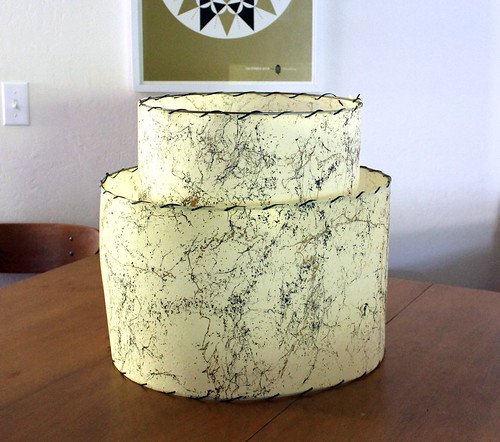
So my mom bought a floor lamp with this tiered fiberglass shade at a garage sale in Pacific Grove for $2! The lamp was beyond repair, but the shade had potential. She gave it to me, and I decided to fix it up. Here's what I was working with:

The good:
- The paint splatter paint pattern is great, and I love the gold accents.
- It's huge (almost 18" tall) and is just the right scale for a glass/brass fixture shade that I'd like to switch out.
- It isn't an heirloom, so I don't feel like I'm going to wreck anything if I try to fix it.
The bad:
- It's really wonky. I think the rings are bent.
- The lacing was loose and/or broken in places and the seams were gaping open.
- The rings and spider fitters were rusty.
- It smelled like it had been stored in a shed underneath a pigeons nest. Yucko!
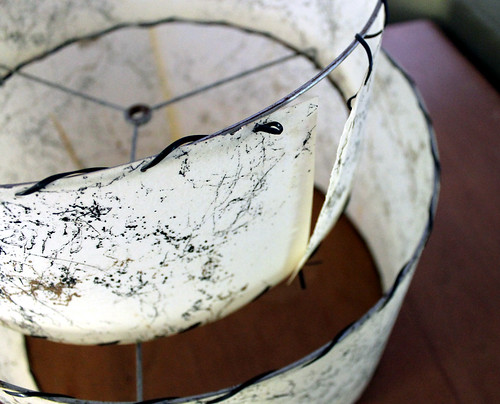
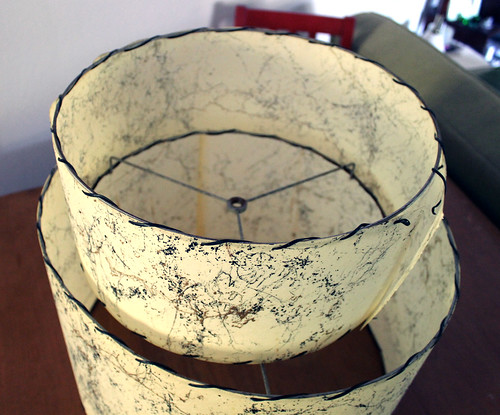
Let's get to work! I started by cutting off all of the lacing, since it was already damaged beyond repair (if your lacing is in good shape, you can still clean the shade with this method, but you'll be cleaning around the rings and will dry it upright). Most of the glue was long gone, but where it was still intact, I carefully pulled it off, taking care not to damage the fiberglass sheets. So I had the rings, and two sheets of fiberglass, ready to be cleaned.
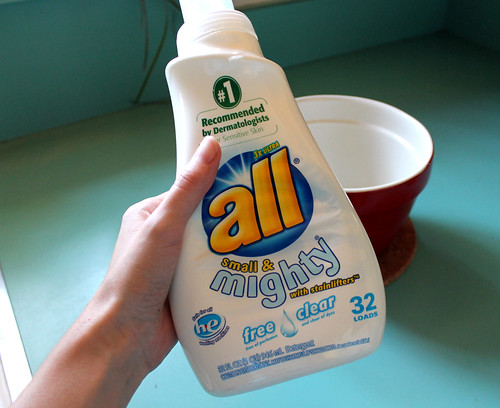
I found
this recipe for whipped up detergent. I used All Small and Mighty, because it's what I had. Since it's super concentrated, I only used about two tablespoons to about a cup of water. I whipped it up with a whisk attachment.
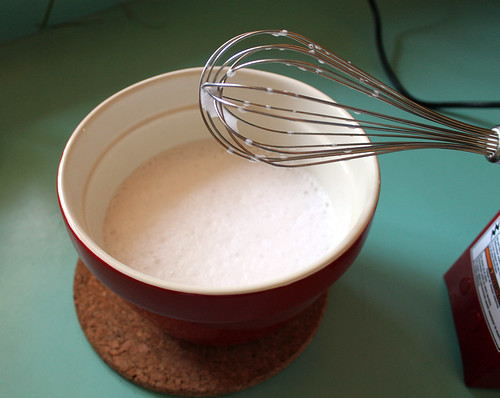
I'm not sure why the whipping is necessary, though. The bubbles immediately started disappearing when I stopped whipping, and eventually disappeared entirely. Either way, I scooped the foamy soap onto a sponge, and carefully wiped it across the fiberglass, making sure to go in the direction of the "grain".
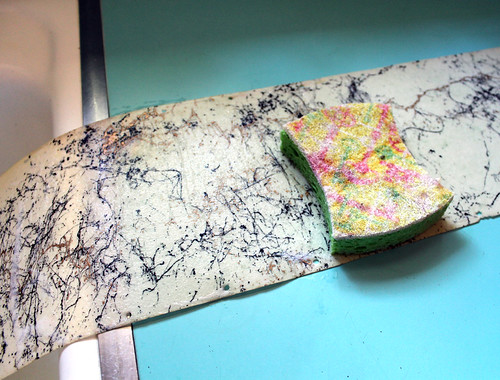
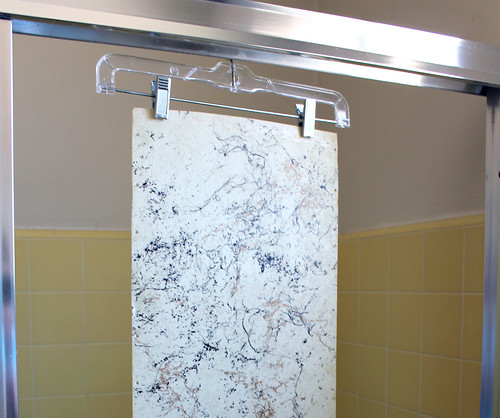
Fiberglass is composed of lots of tiny glass fibers, and rubbing in the wrong, or in multiple directions may rough up the surface. I rinsed the sheet with warm water, and then laid it out flat on a towel to dry. The larger sheet was a little more difficult, since it was so big, so I improvised and clipped it up with a skirt hanger and hung it up in the shower to dry.
I *hope* to eventually be able to switch out this ugly glass shade in my work area with my freshly-restored shade.
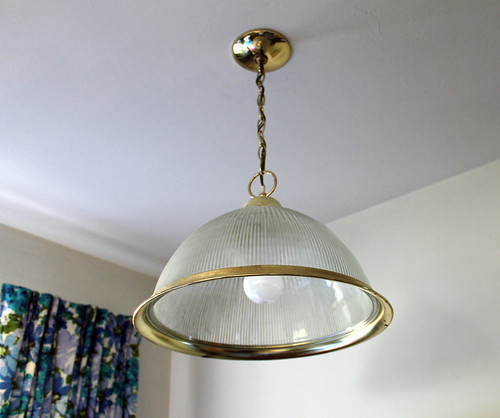
This glass and brass shade really doesn't add anything to the space, so a new shade would really spruce up the area. It'll look great hanging in front of my vintage floral curtains!
I will be reassembling the shade in part 2 of this post, and will be retrofitting the shade onto the light fixture in part 3, so check back again!
Please note: These methods worked for me and my particular shade. If your shade is delicate, or valuable and you are concerned about potentially damaging it, consult with a professional.



 I love making beautiful things and I love sharing them even more! Here you'll find original craft tutorials and views of my life as a stationery designer and small business owner. Click here to read more.


