317

DIY Pysanky Easter Eggs

Saturday, April 23, 2011

DIY Pysanky Style Easter Eggs
Easter isn't Easter without crafts. I'd like to share the project I did this year: Ukrainian eggs, also known as Pysanky. I've been meaning to try out this technique for a few years now so I was very excited to finally get a chance. A local art store had all the supplies I needed: a kistka (a small brass funnel on a handle), and a little square of beeswax. Add a little dye for the eggs and that's it!

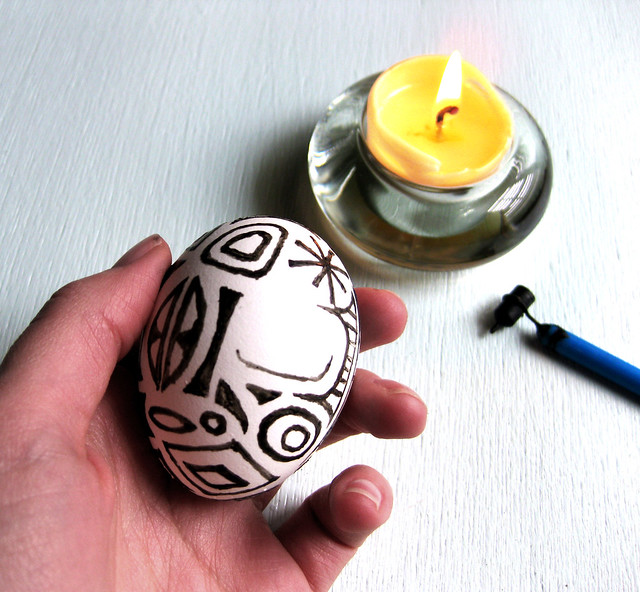
The first step was to blow out the eggs. I did this the old fashioned way - with one hole on the top and bottom of each egg and lung power. After that, I heated the kistka over a candle flame, scooped up a tiny bit of the beeswax, and started drawing directly on the egg shell. With this technique, everything you draw will eventually be white (or whatever your base color is), so it's a reverse design.
DIY Pysanky Style Easter Eggs DIY Pysanky Style Easter Eggs

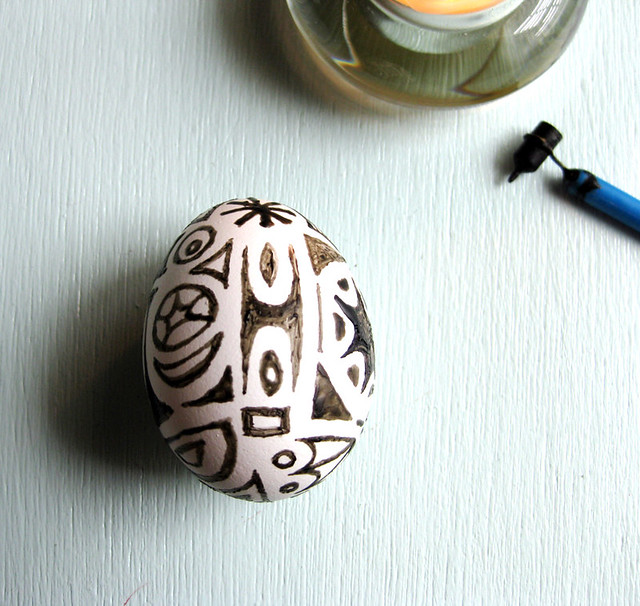
I filled in this egg with retro-style designs. The egg is entirely covered and ready for the dye!
DIY Pysanky Style Easter Eggs DIY Pysanky Style Easter Eggs

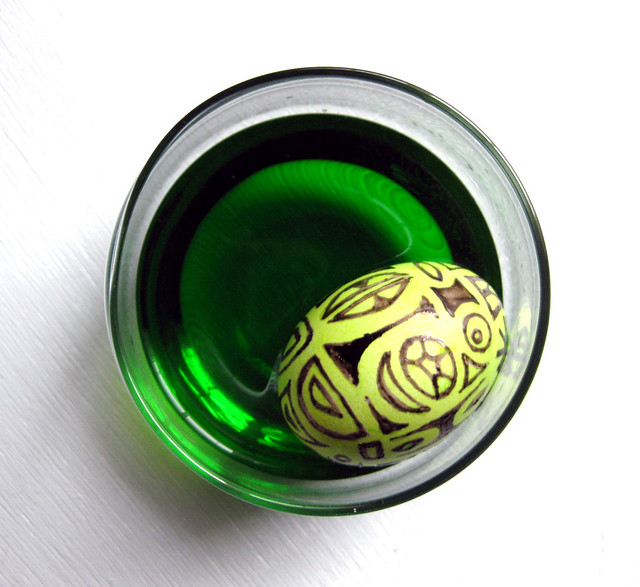
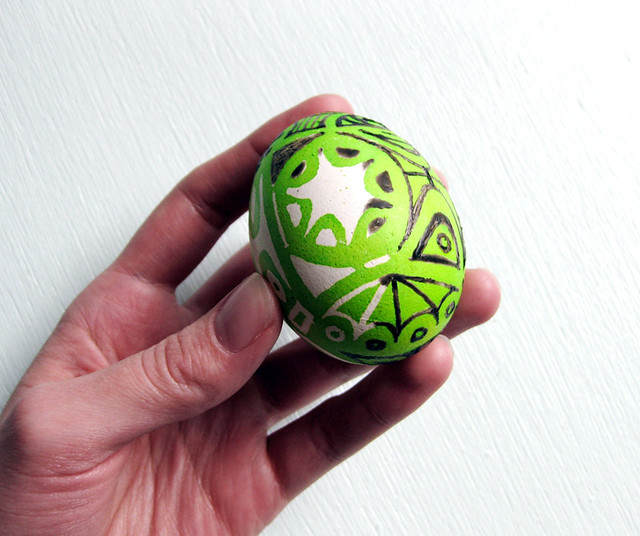
I couldn't resist doing a Mini Cooper and trailer design on one of the eggs. :) After the dye is completely dry, I held the egg over the side of the candle flame to melt the wax. Do this one small section at a time, and wipe the melted wax off with a paper towel as you go.
DIY Pysanky Style Easter Eggs

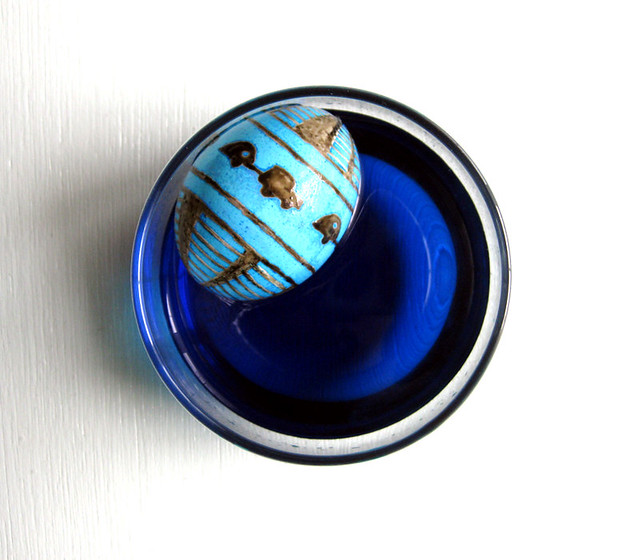
The white design is almost completely revealed. It was exciting to see the crisp white coming through from under the dark wax. Applying the wax can be time consuming, depending on the complexity of the design, but revealing the design at the end is very satisfying! Because of this, the whole process can be a little addicting. Traditional Ukrainian Pysanky use many layers of color and wax, eventually resulting in an elaborate design in a rainbow of colors. I just did one or two dye colors this time. Try dying a light colored base coat before applying the designs.

DIY Pysanky Style Easter Eggs DIY Pysanky Style Easter Eggs DIY Pysanky Style Easter Eggs

Here's my collection. These were so much fun to make and I'm sure they will be part of my Easter decor for many years. Happy Easter, everyone!

29

KISS your MINI.

Friday, April 22, 2011

MINI USA and KISS have teamed up to support UNICEF to help children in Japan by auctioning off 4 custom painted MINI Countrymans; one MINI inspired by each KISS member. If you can't make it to the auction, you can buy a vinyl wrap for your MINI in any of the 4 designs!


My favorite is the Demon, top right. :)

5

Spring is here!

Tuesday, April 19, 2011

The weather here was beautiful this past weekend! Not that I got to experience it much, I was inside painting my studio. I did get a chance to sit in the backyard with a cup of coffee and kick the ball around for Bailey on Saturday morning. I'm sorry I missed most of the sun, but I think it was worth it. I'm so excited to unpack everything and get back to work! I still have to touch-up the ceiling. The dark green that was there before wasn't very good at staying inside the lines! I'll post pics of the new paint job this weekend.

Anyway, here are a few iPhone shots of Spring around here:


Colorful plaza with fountains in downtown San Jose.


Beautiful flowering pear tree.


Fragrant lemon blossoms in my backyard!

2

The Great Move of 2011.

Wednesday, April 6, 2011

Well, it wasn't that great, but the fact that it's over is! I've been living in my new place for a week now, and had the final walk through at the old place just last Thursday. I think it took me the entire weekend to recover from the stress and hard work. Of course the 31st (and my cleaning day) had to be 90 degrees out, and probably 100 degrees in my 3rd floor apartment...that was fun. Even though I was so excited about the new place, I was still sad to leave the place that was my home for a year and a half.


I will miss my old place for so many reasons - the sunsets from my 3rd story window were so beautiful, the high ceilings and vintage character made the place feel special. I won't miss how the place felt like a microwave in the afternoon and the weird vibrations from the laundry room right above my bedroom. Now I have my own office/studio/workroom AND a backyard. So there. 

I'm just getting started working on my new workspace. It's going to be so great to be able to start a sewing project and just leave it out when it's time for dinner instead of packing up and putting everything away to clear the kitchen table. I've got a few decorating projects planned for my new room, but first things first, it needs paint!


Excuse the grainy photo, but I don't think these walls would look any better in focus anyway. It's a decent-sized room, but with only one window it can look a little dark in there. Especially with the dark wall color.
I need something simple and neutral on the walls since I'll be taking product photography in there. I was looking for something in the warm gray family and I've settled on this color:


Whetstone Gray from Martha Stewart. I think it'll look nice next to the white trim and will help make the room look light and bright. It will be a huge improvement from what's on the walls right now. I've got my work cut out for me and lots of other projects on my to-do list (including painting the master bedroom which is currently a very ugly brown). But for now, it's really nice having only one set of house keys on my keyring.
 

vitamini handmade © All rights reserved · Theme by Blog Milk · Blogger